How to Locate and Manage Your Organization’s Tenant in the Platform
Overview
This guide shows how to find and manage your organization’s tenant in the platform using the main dashboard. You’ll learn how to navigate tenants, check your roles, favorite specific tenants, and get to the key administration area quickly.
Step-by-step instructions
Open the tenant overview
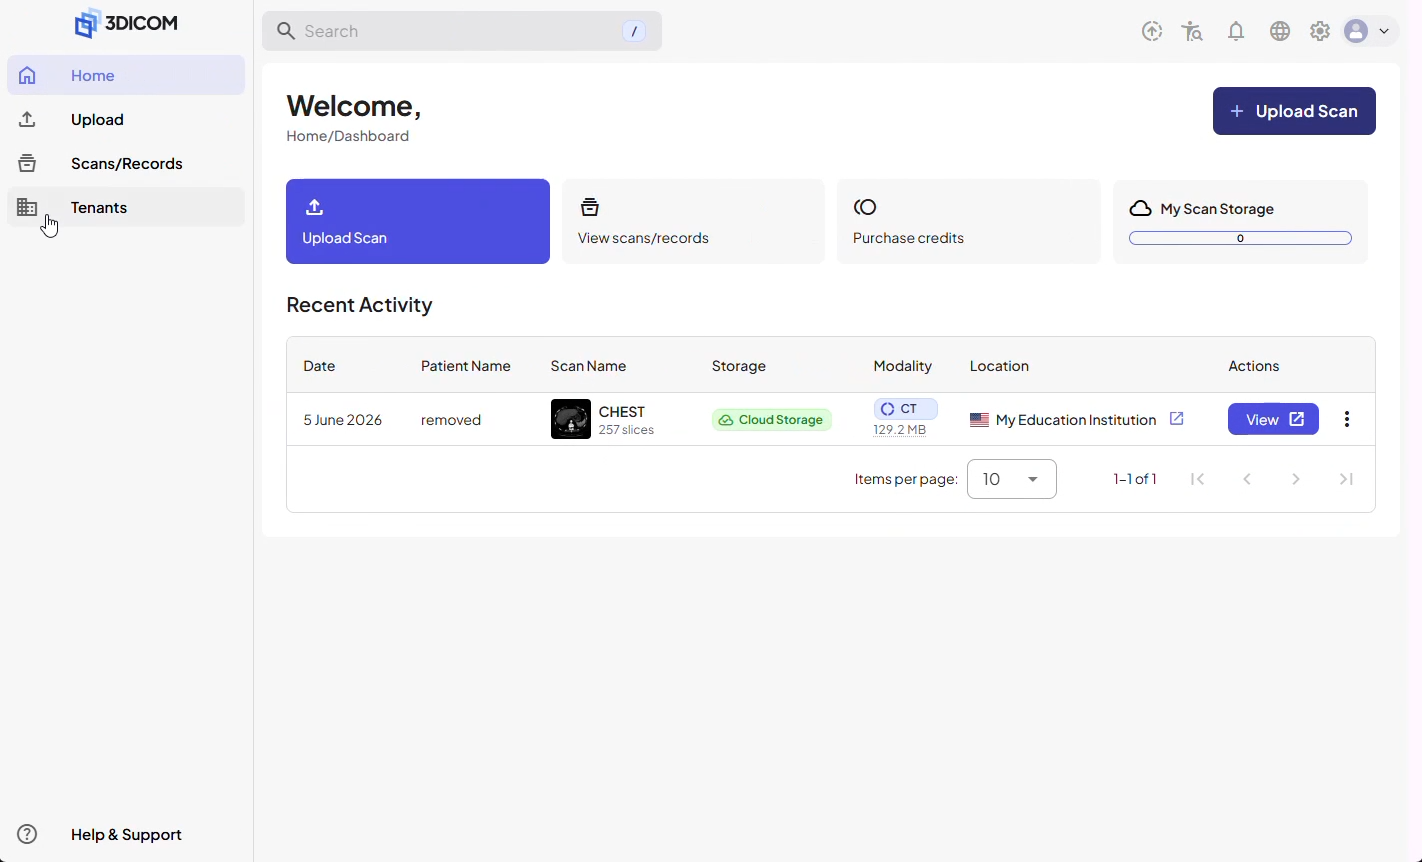
Step 1. From the welcome page, locate the sidebar on the left.
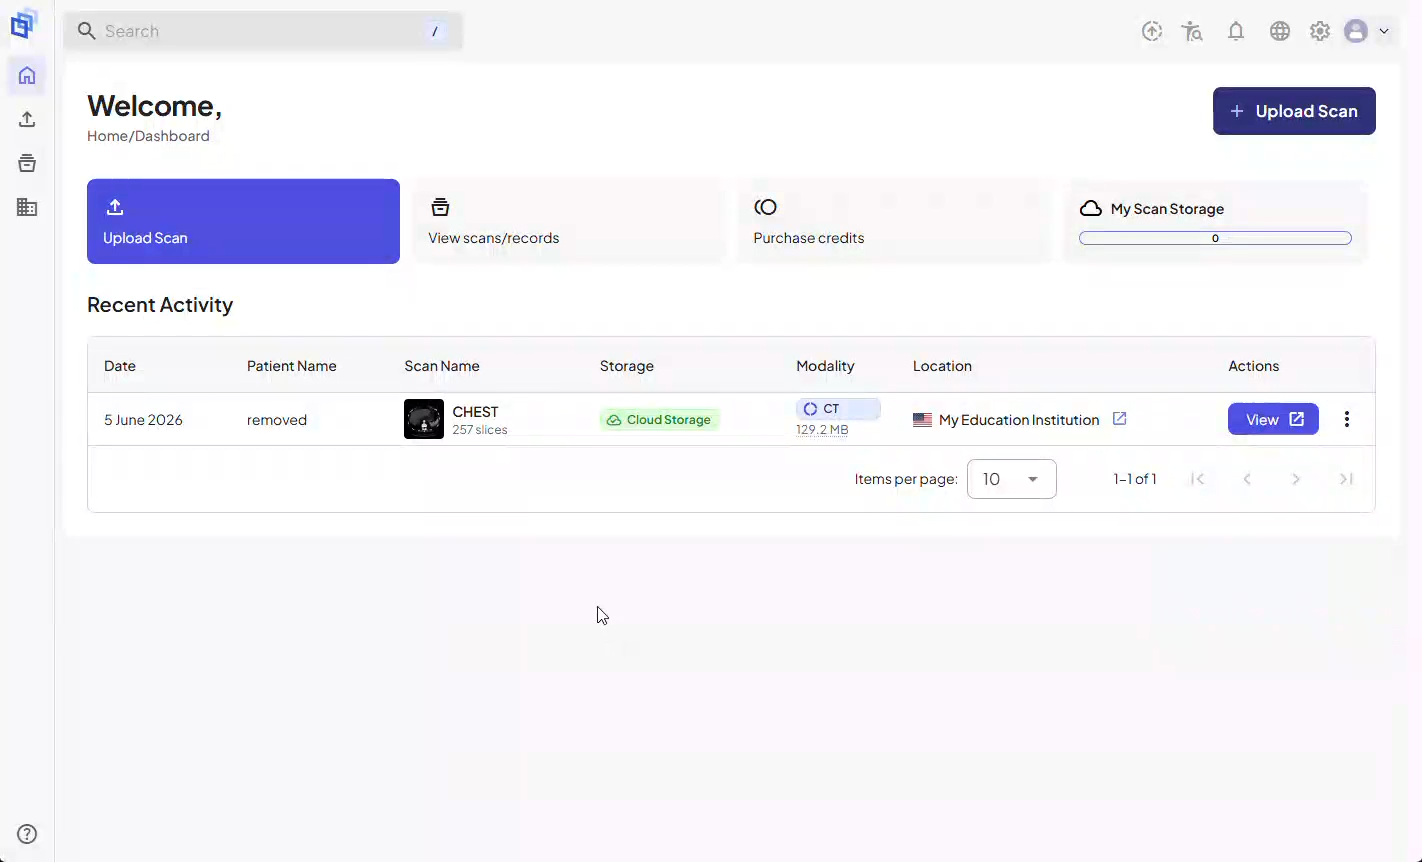
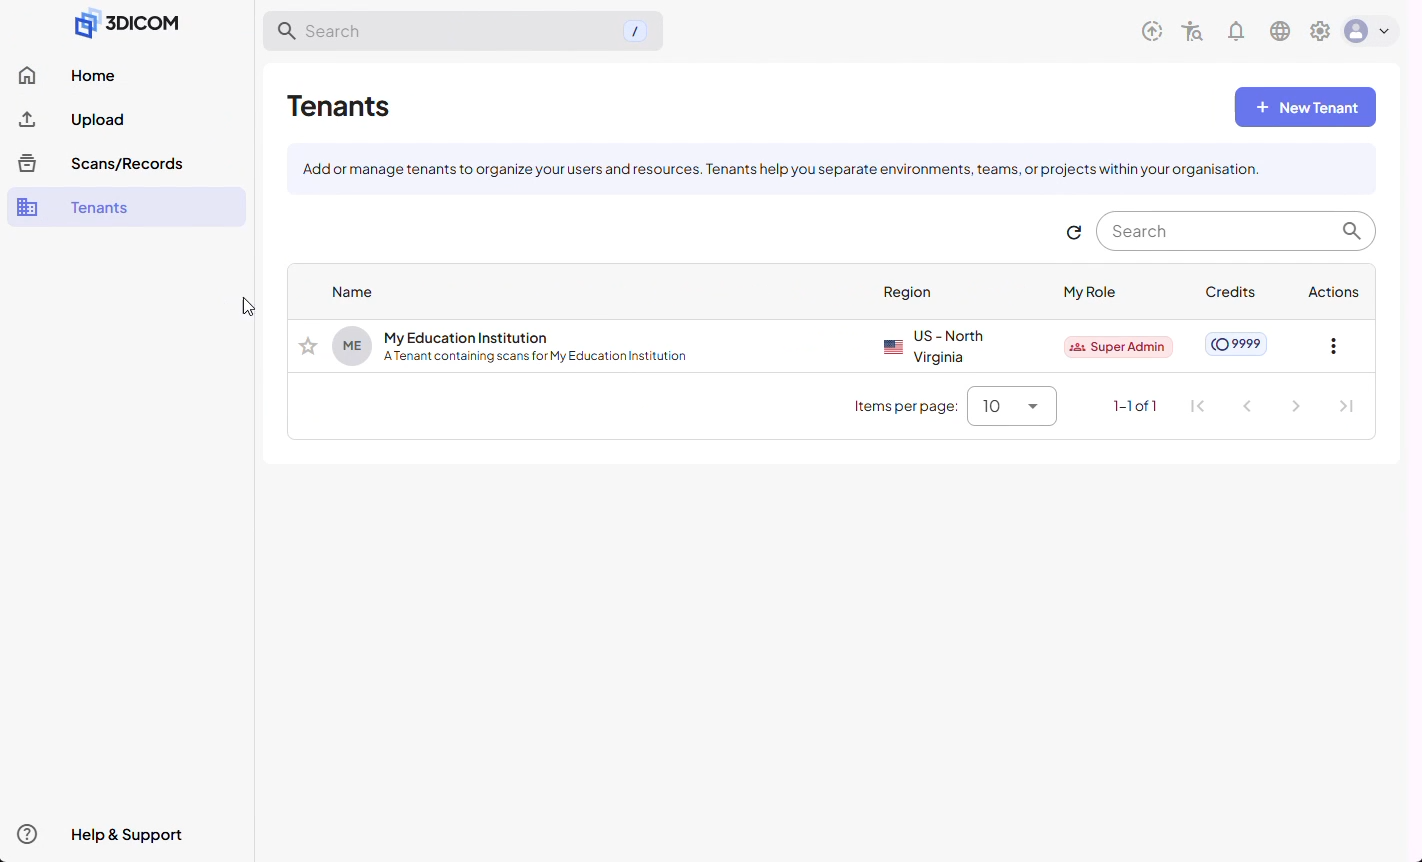
Step 2. Click Tenants in the sidebar. This section is represented by the building icon.
Review your tenants
Step 3. On the Tenant Overview page, view all tenants you belong to. You’ll see your role in each tenant and the available credit balance for each one.
Create a sidebar shortcut for fast access
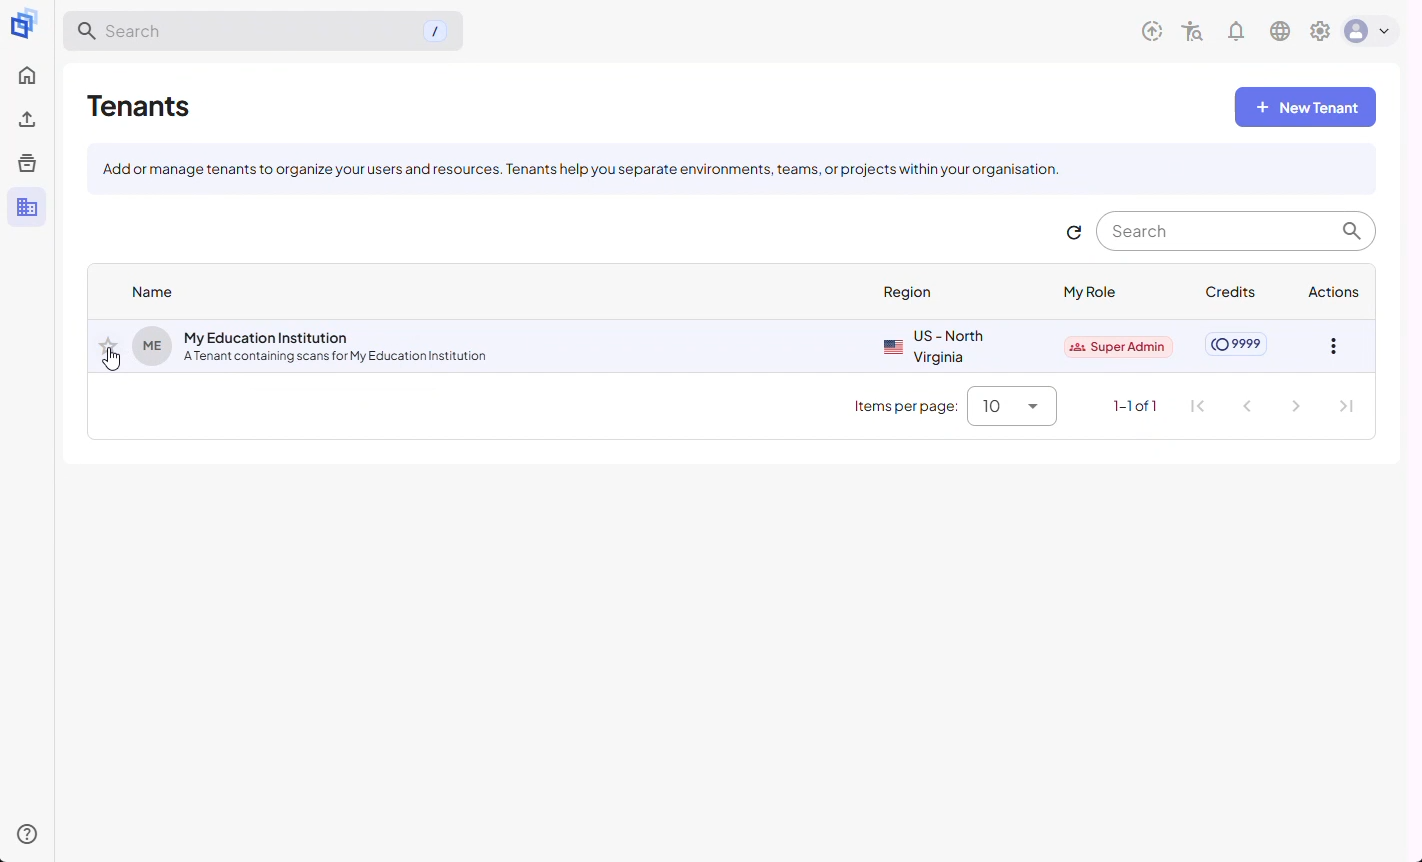
Step 4. Click the star icon beside your desired tenant. This creates a shortcut in the sidebar for quicker access in the future.
Enter the tenant management area
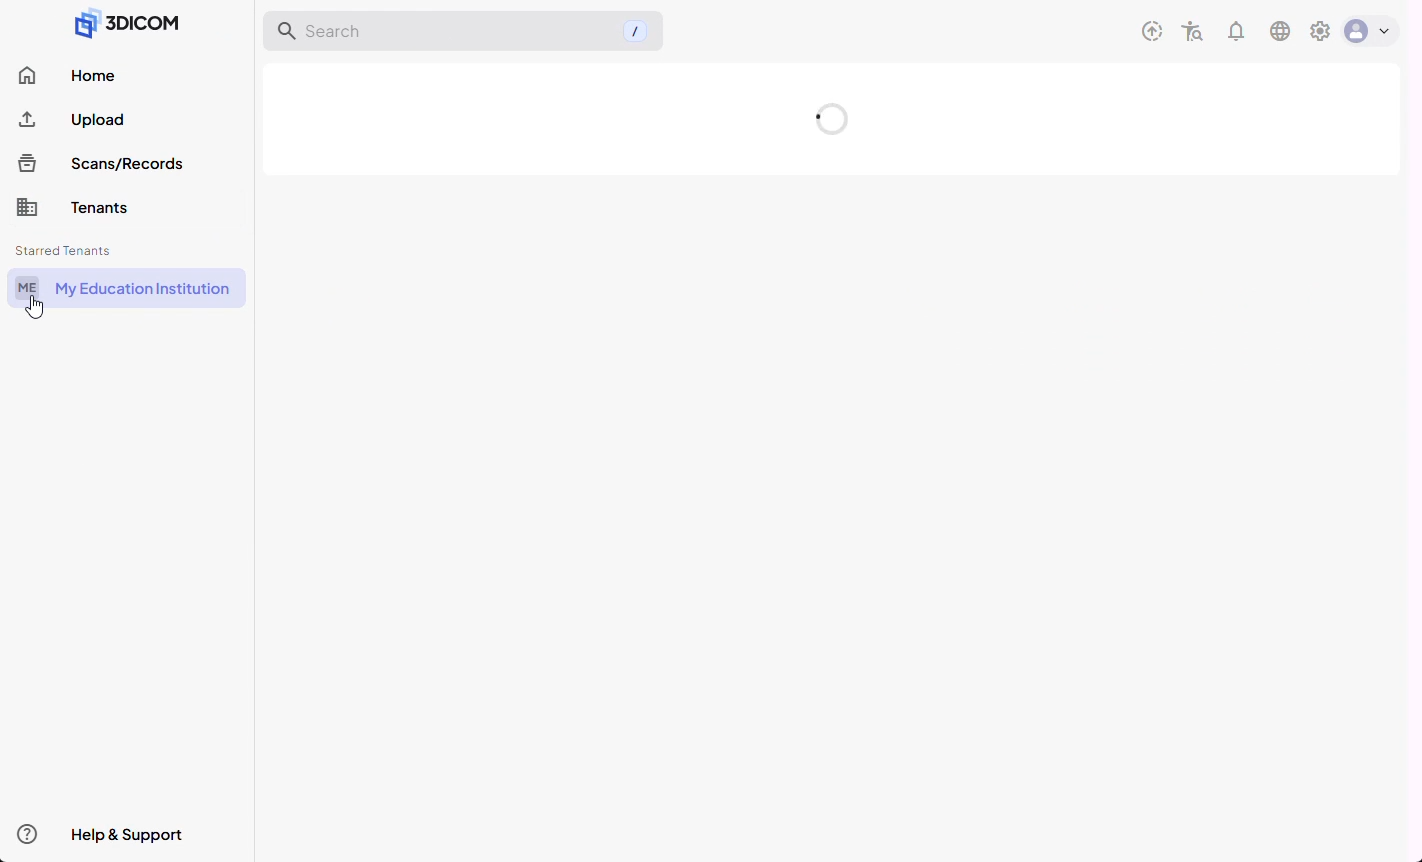
Step 5. Click your tenant’s shortcut in the sidebar to open the Tenant Management area.
Manage tenant settings and access
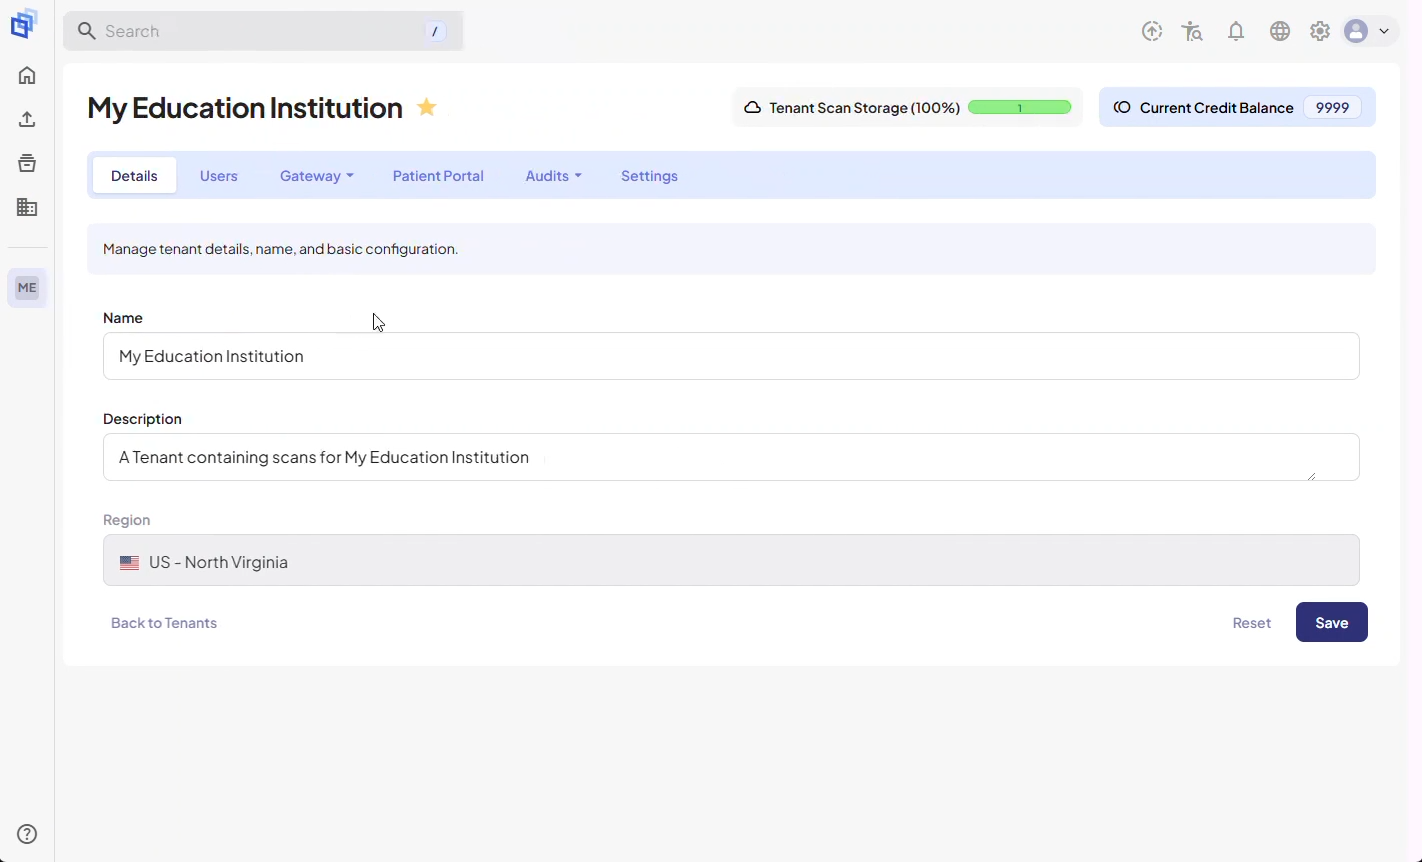
Step 6. In the tenant management area, authorized users can:
Manage user access and permissions
Configure Gateway settings for connecting to your organization’s PACS infrastructure
View audit logs to track activity
Update tenant settings as needed
Note: Medical images are uploaded and associated with the tenant from the Scans and Records area—not directly within the Tenants section.
Result
You now know how to locate your organization’s tenant, set up a sidebar shortcut, and manage core tenant administration features. This setup ensures fast, reliable access to your organization’s tenant and easy navigation across the platform.