How to upload medical images to 3DICOM for the first time
Overview
This guide explains how to upload medical images to 3DICOM, including steps for anonymizing sensitive information, selecting storage options, and confirming where your files are stored in the platform. To learn how to upload a scan from a CD-ROM, please read this article.
Step-by-step instructions
Start the image upload process
Step 1. Click the Upload Scan button or drag and drop your medical imaging files into the upload zone.
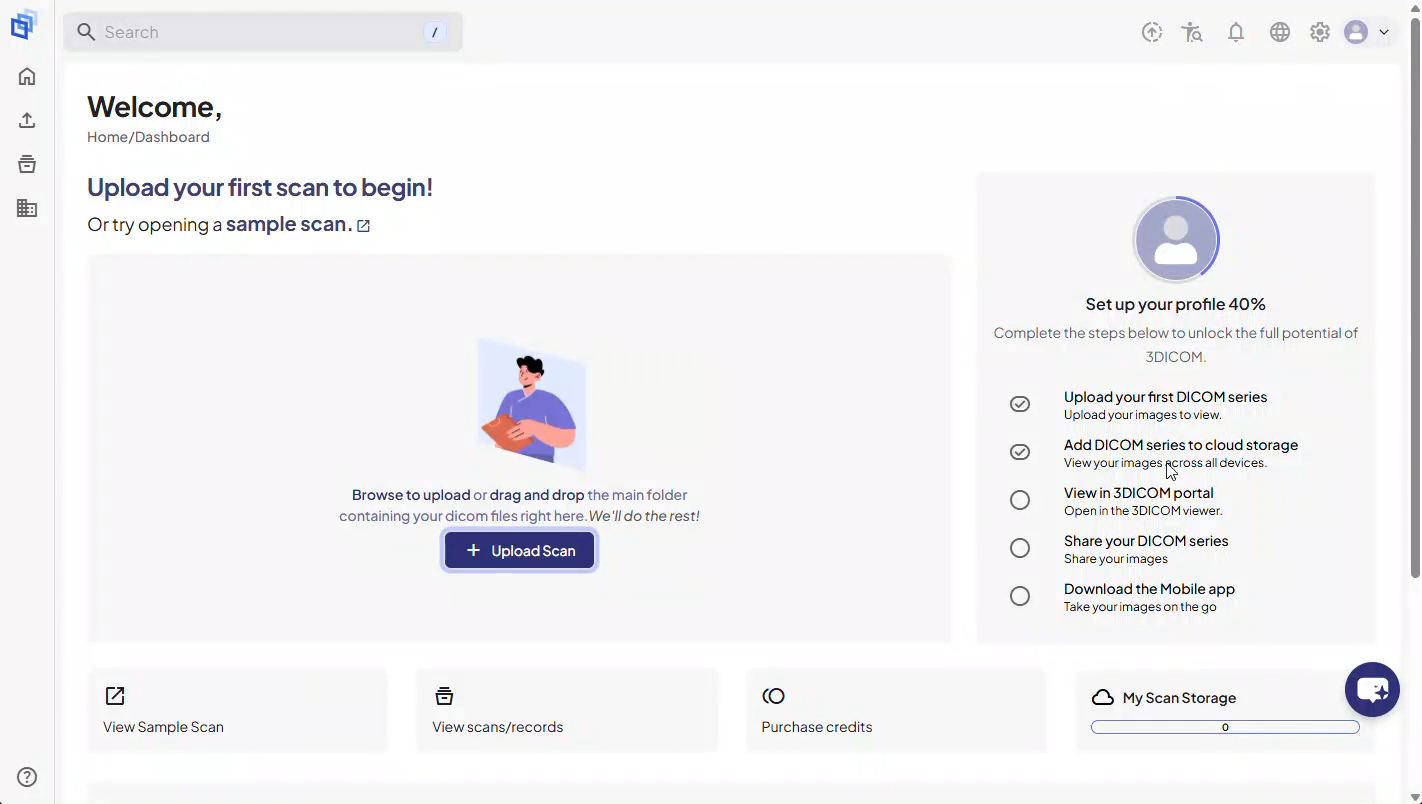
Step 2. When the upload popup opens, the platform will automatically fetch your available studies.
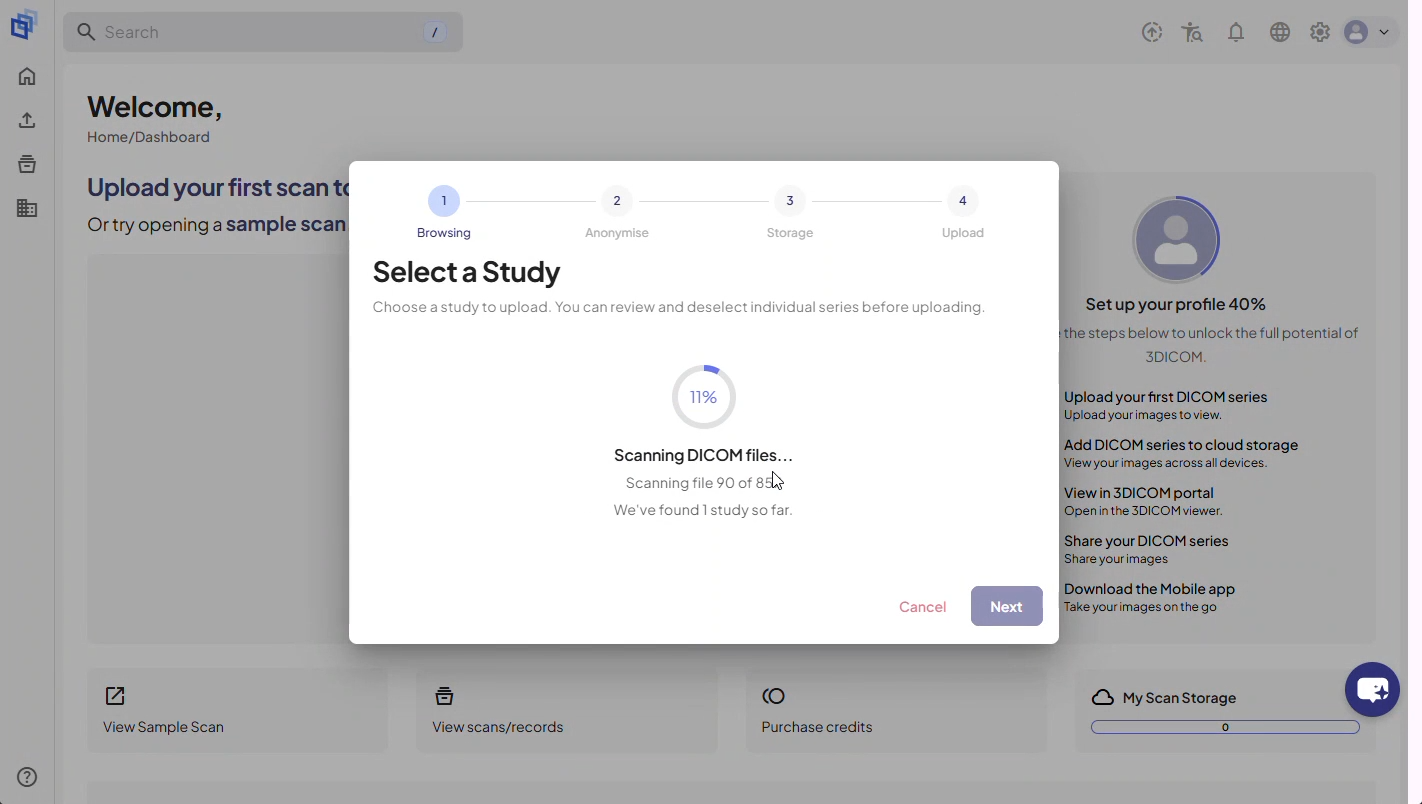
Step 3. Review the list to check the content of each available study.
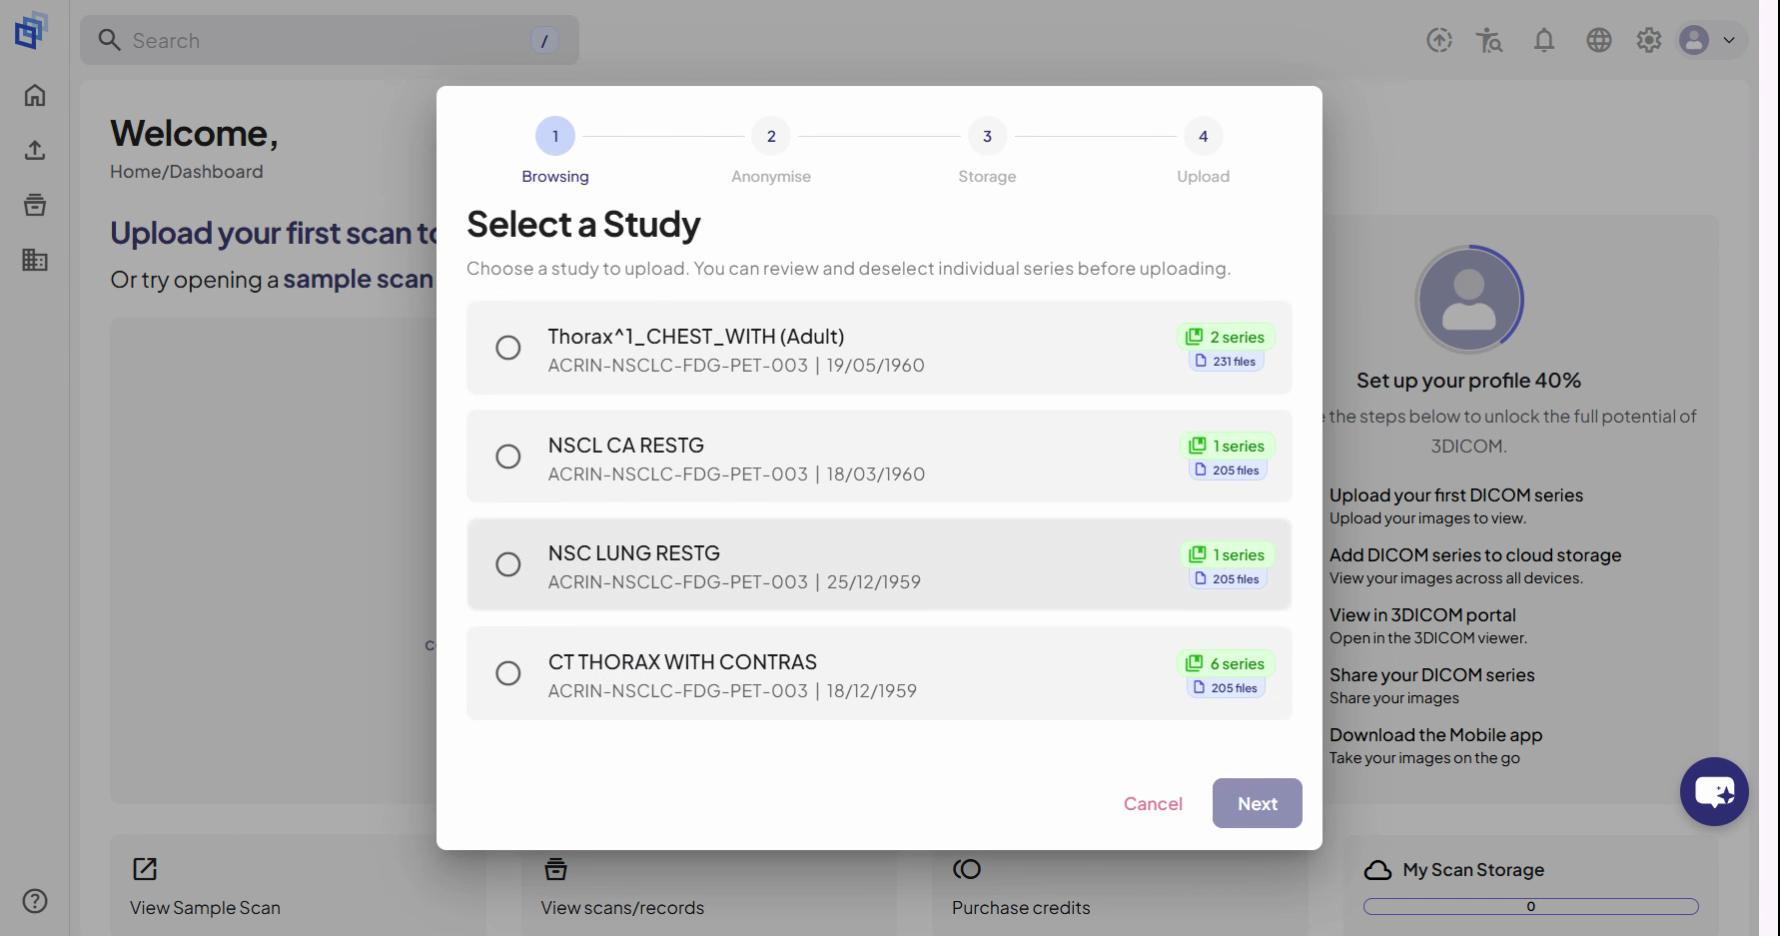
Step 4. Select the study you want to upload.
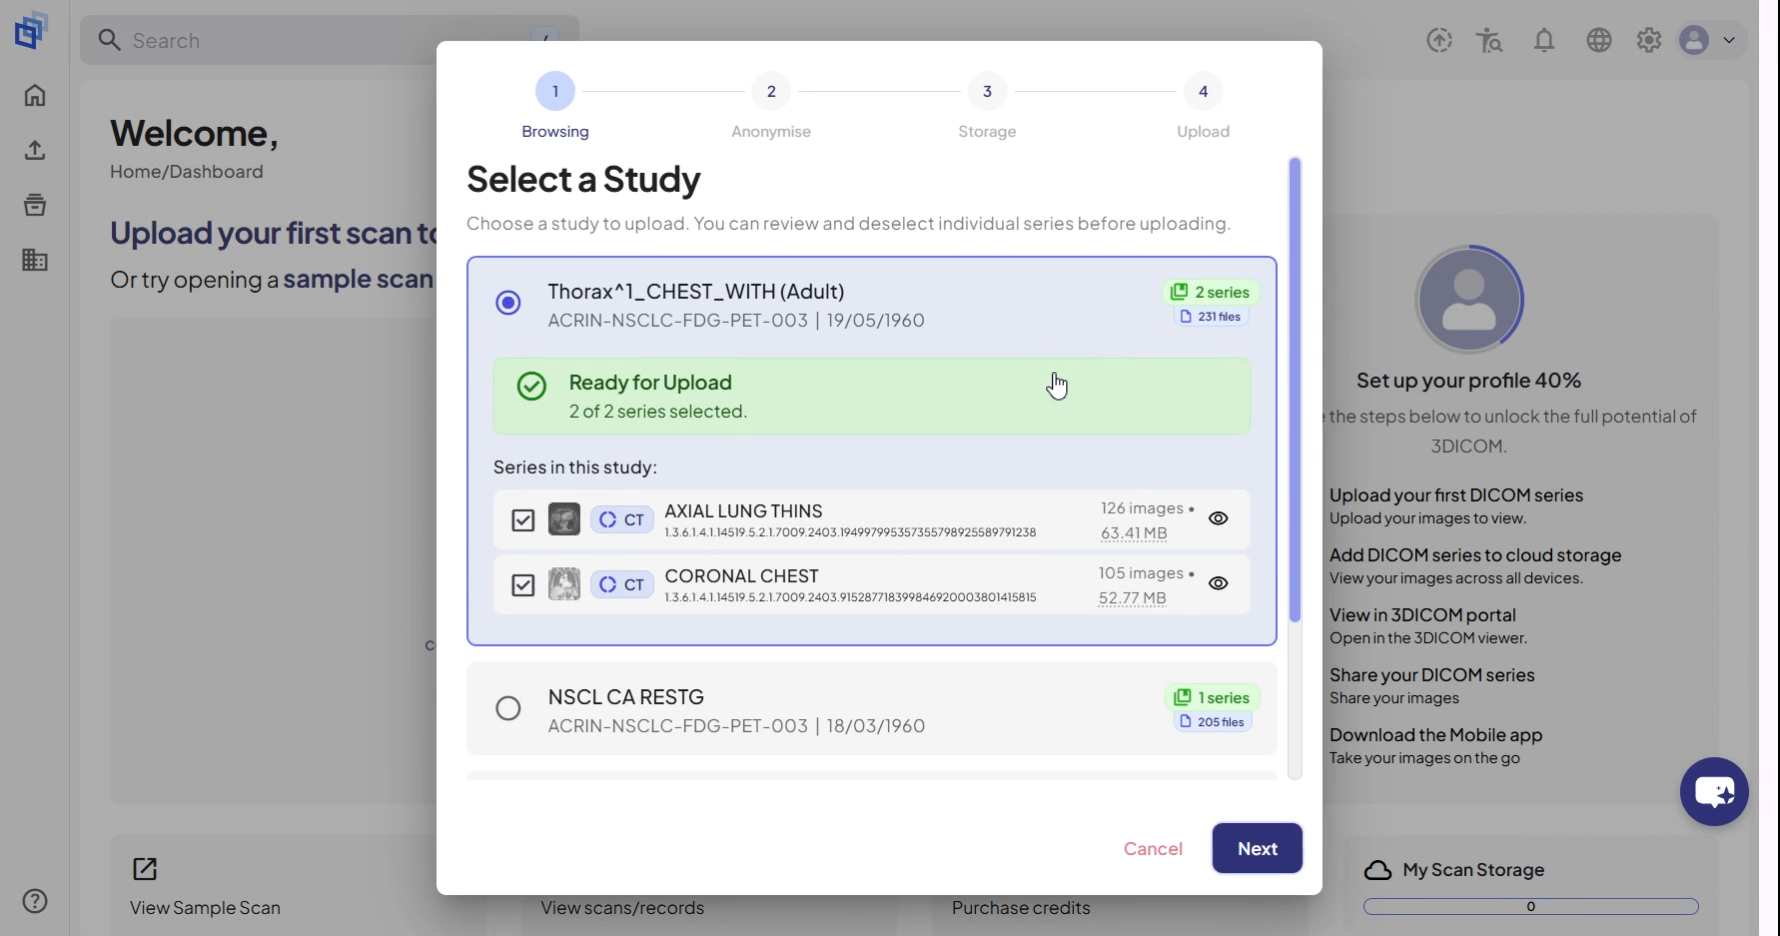
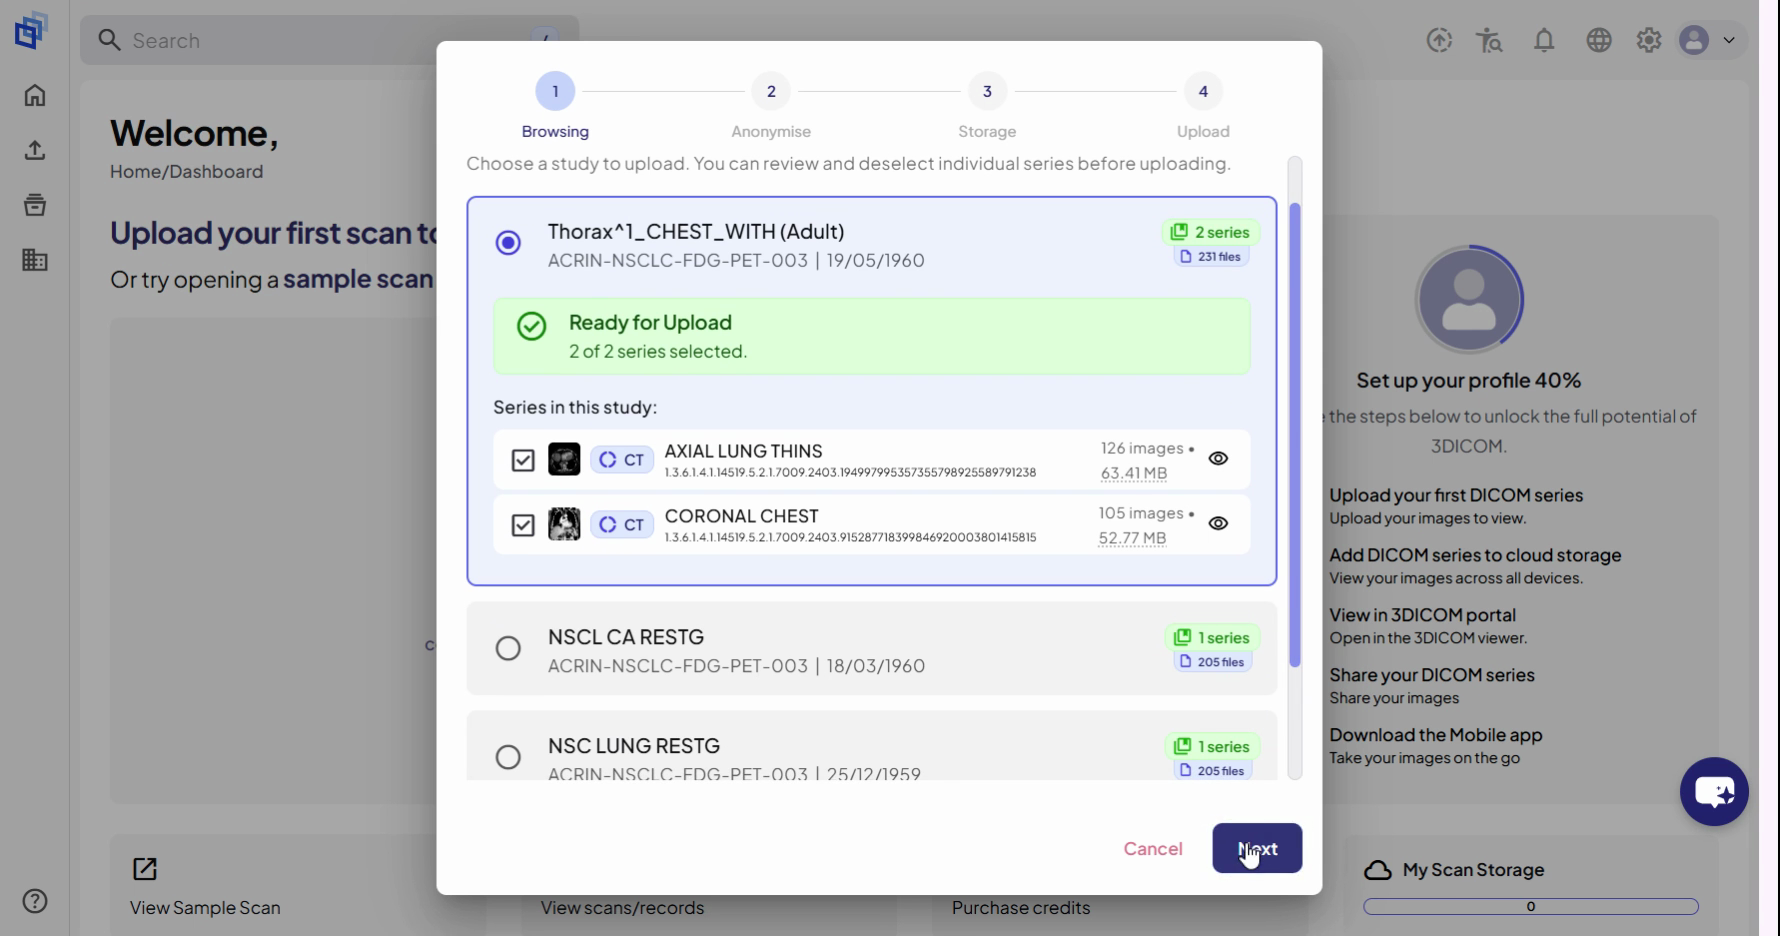
Step 5. Click Next to continue.
Configure anonymization settings
Step 6. At the Anonymization step, choose whether to remove patient-identifying information. This is recommended if you plan to share images for education.
Step 7. (Optional) Turn on the Anonymize on upload toggle to remove names, birthdates, and other personal details. Edit folder names if needed.
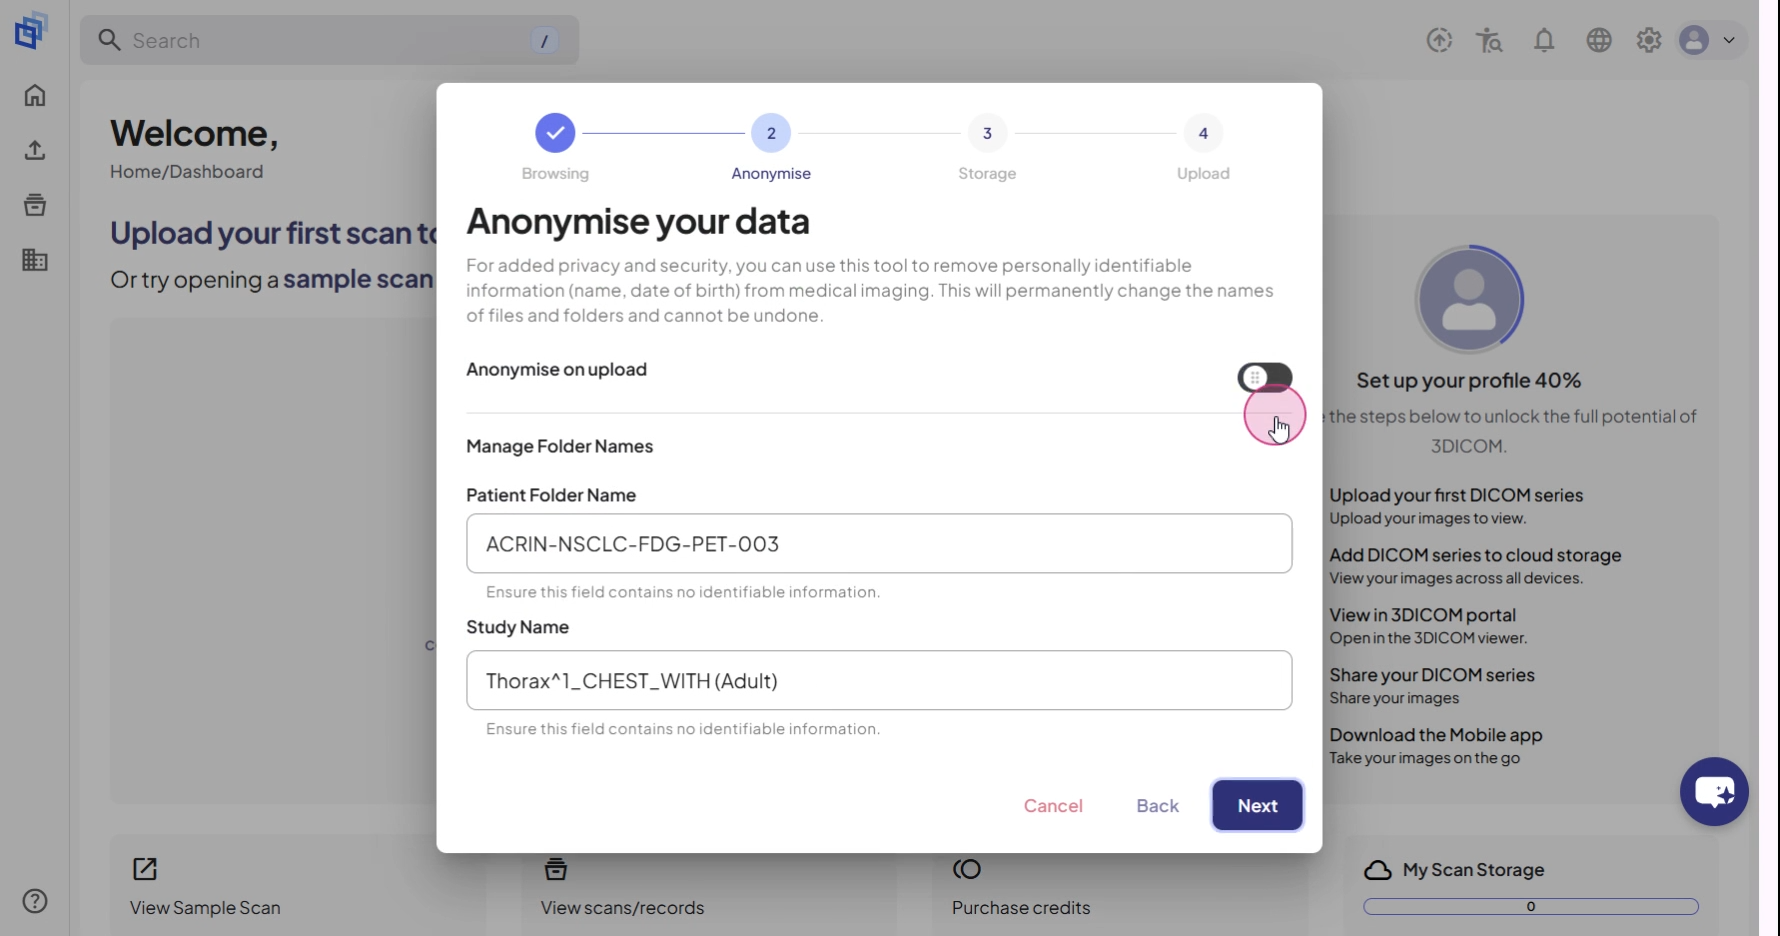
Step 8. Click Next to continue.
Configure storage options
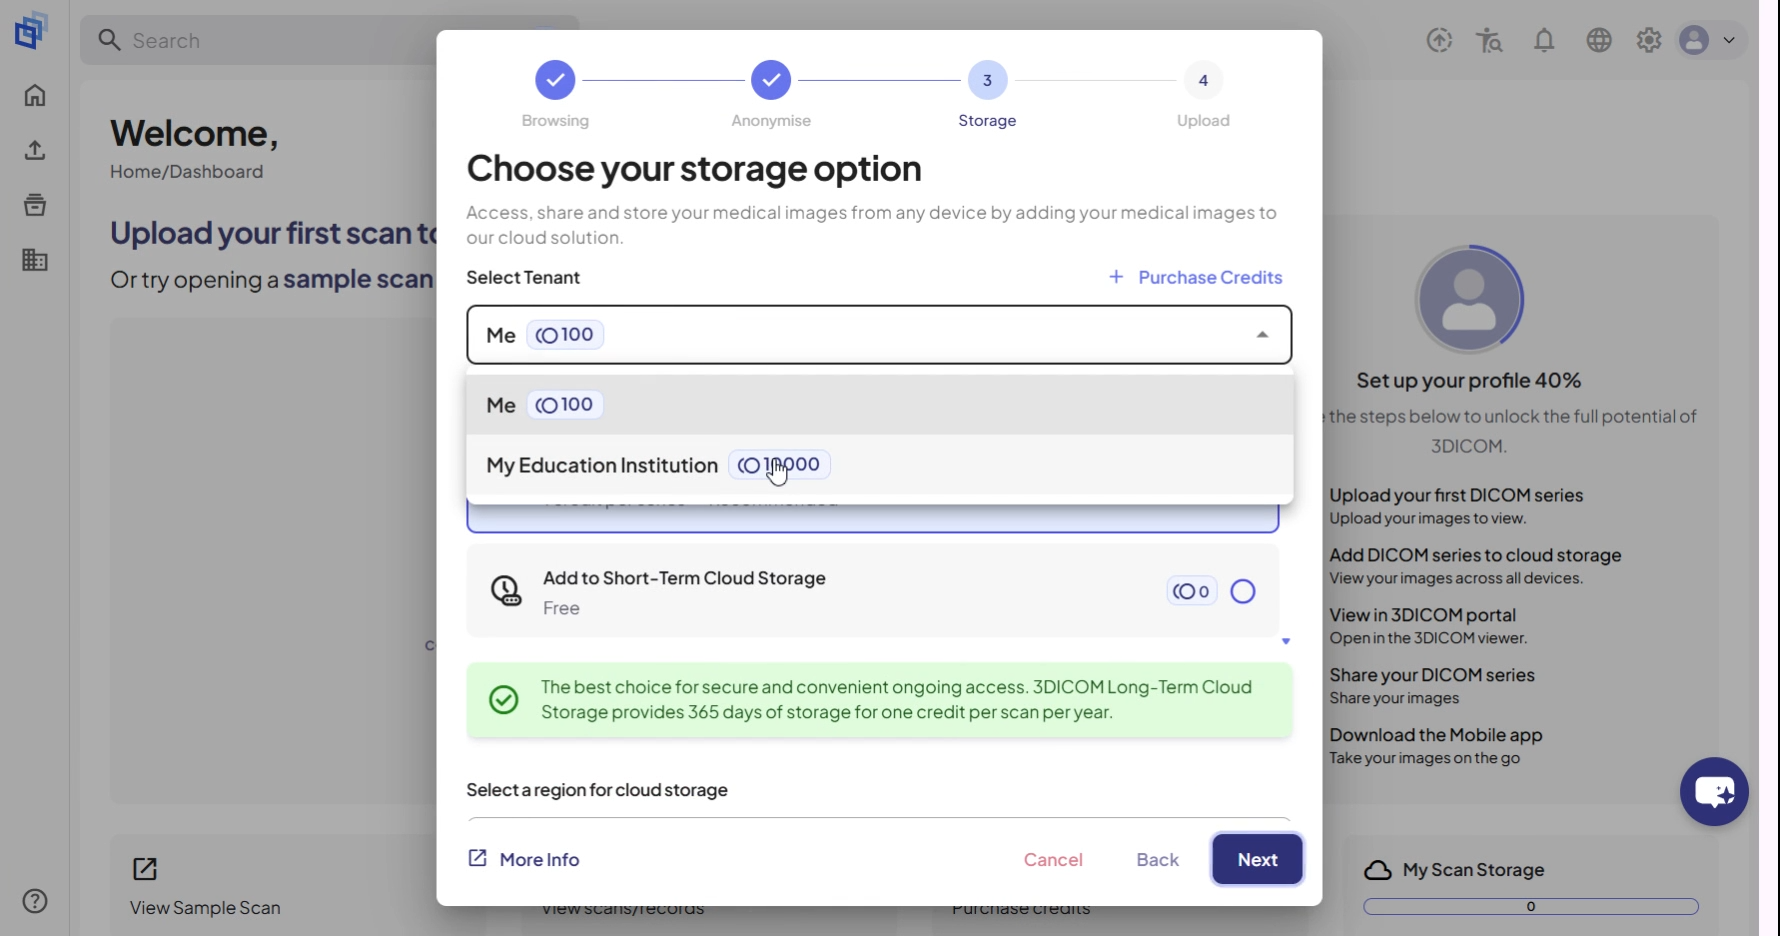
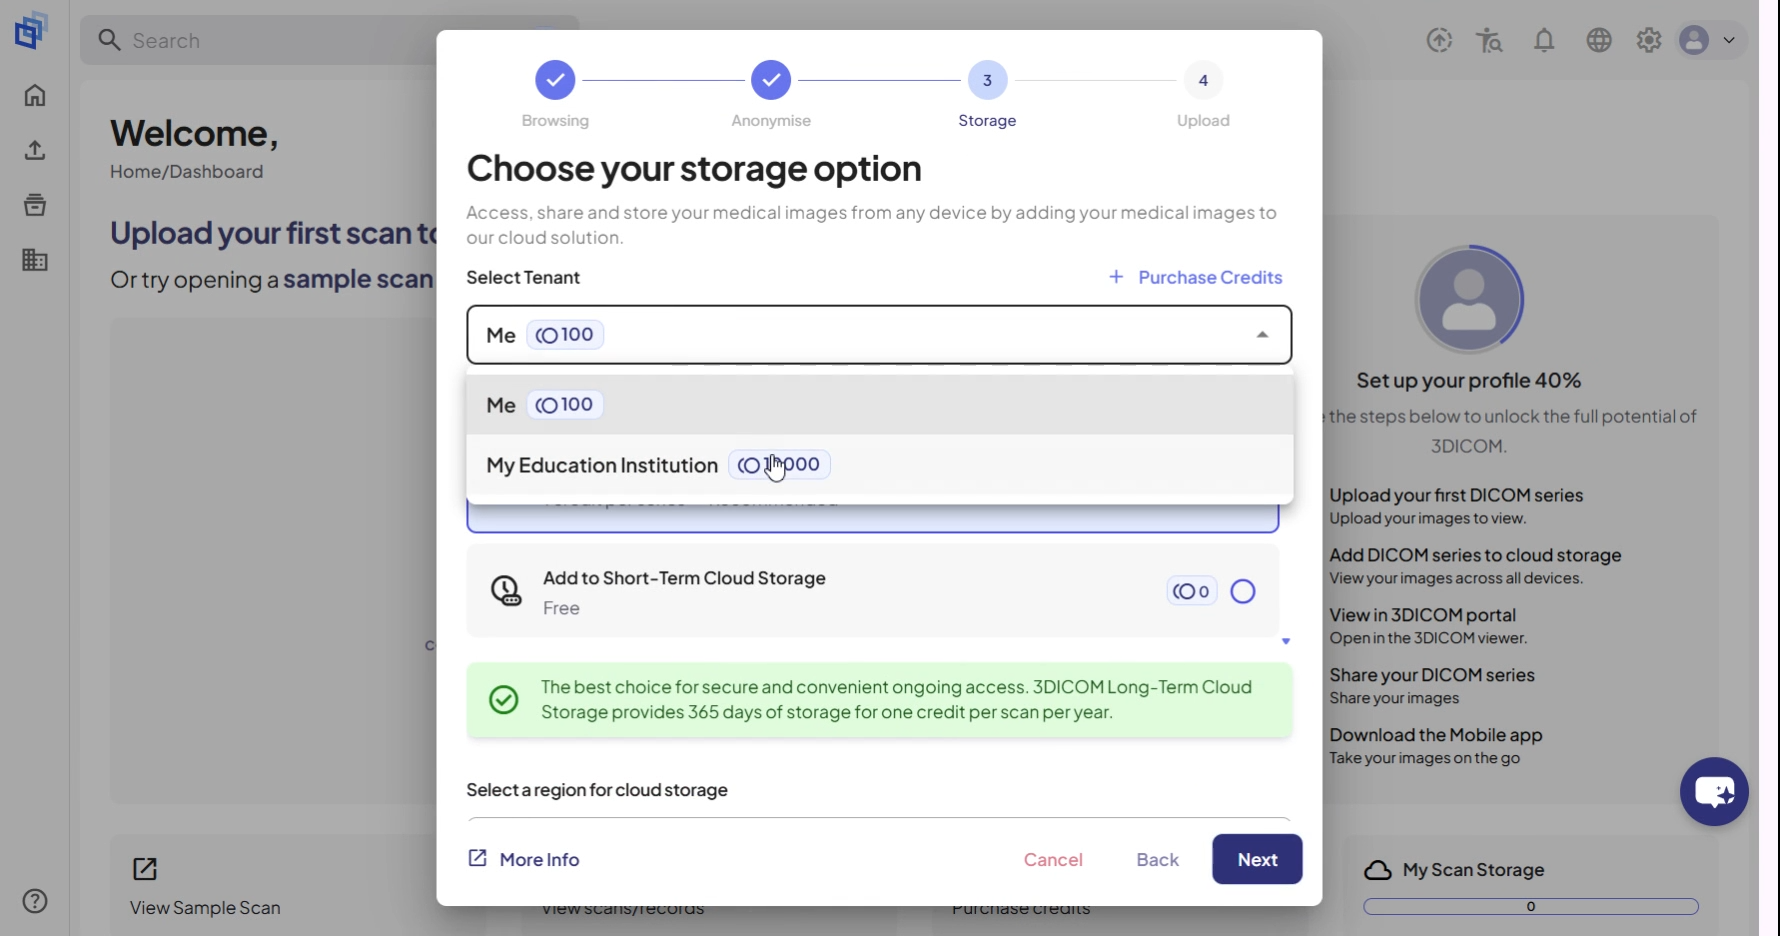
Step 9. In the Tenant dropdown, select where to store your files. Your personal account is selected by default, which keeps files private.
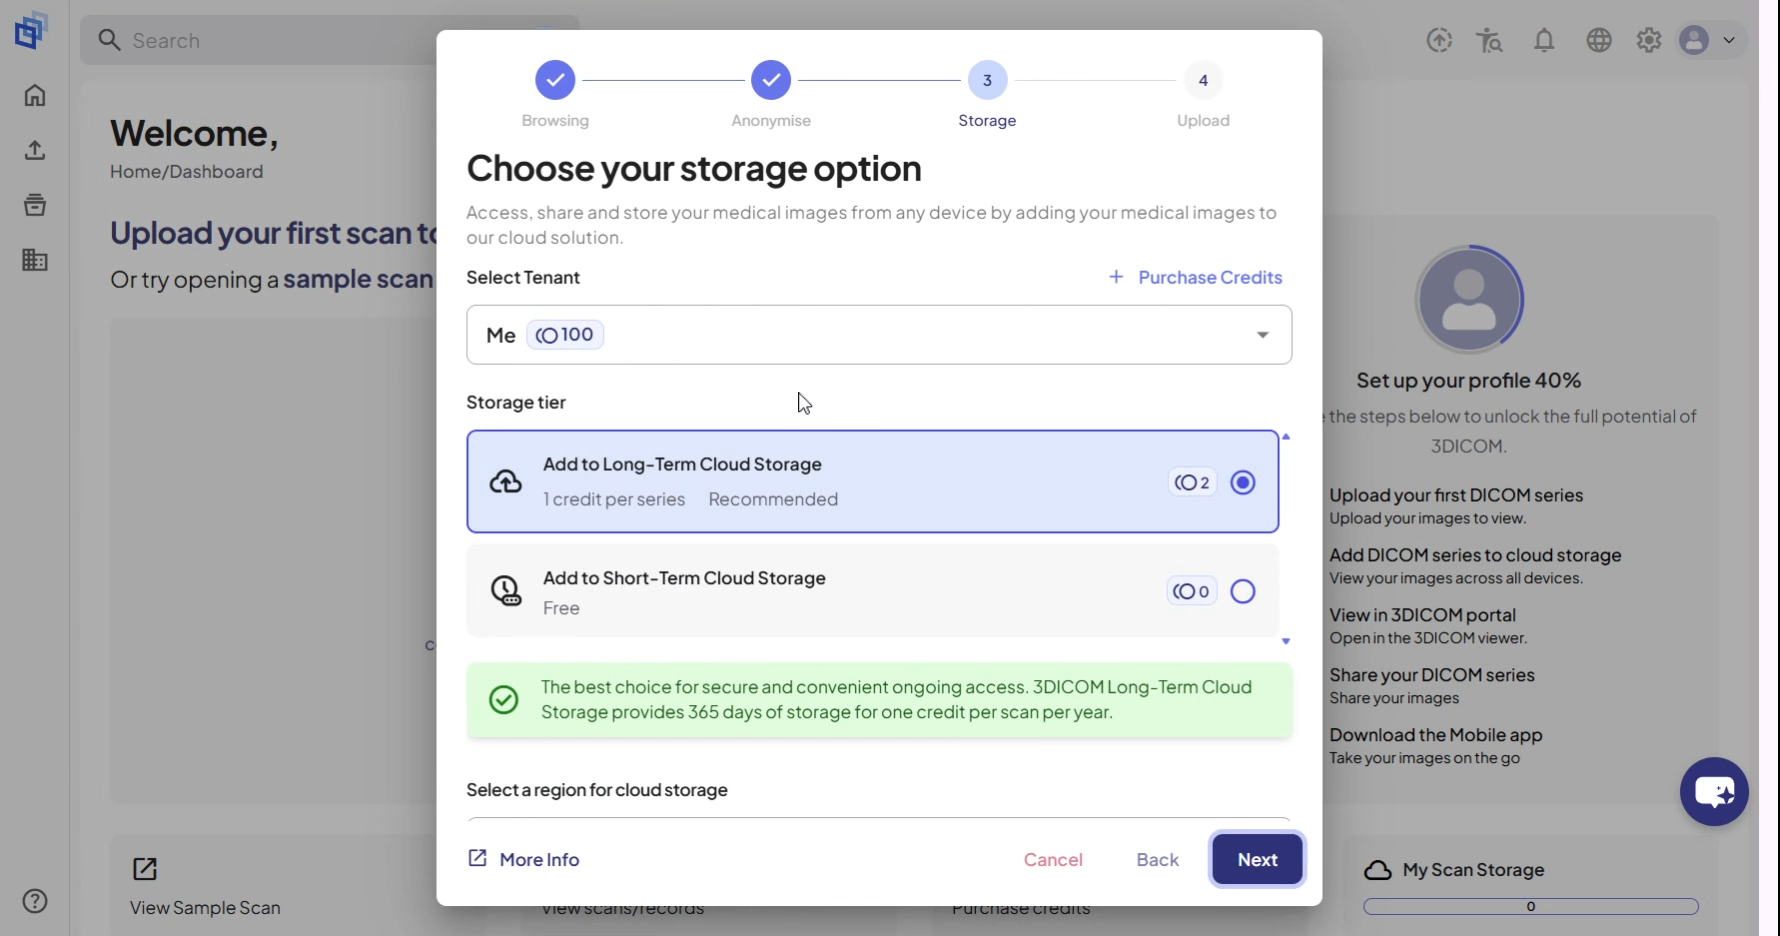
Step 10. Optionally, select your organization or school to share uploads with your group.
Step 11. Pick a storage tier. Long-Term Cloud Storage is selected by default and renews yearly for continuous access.
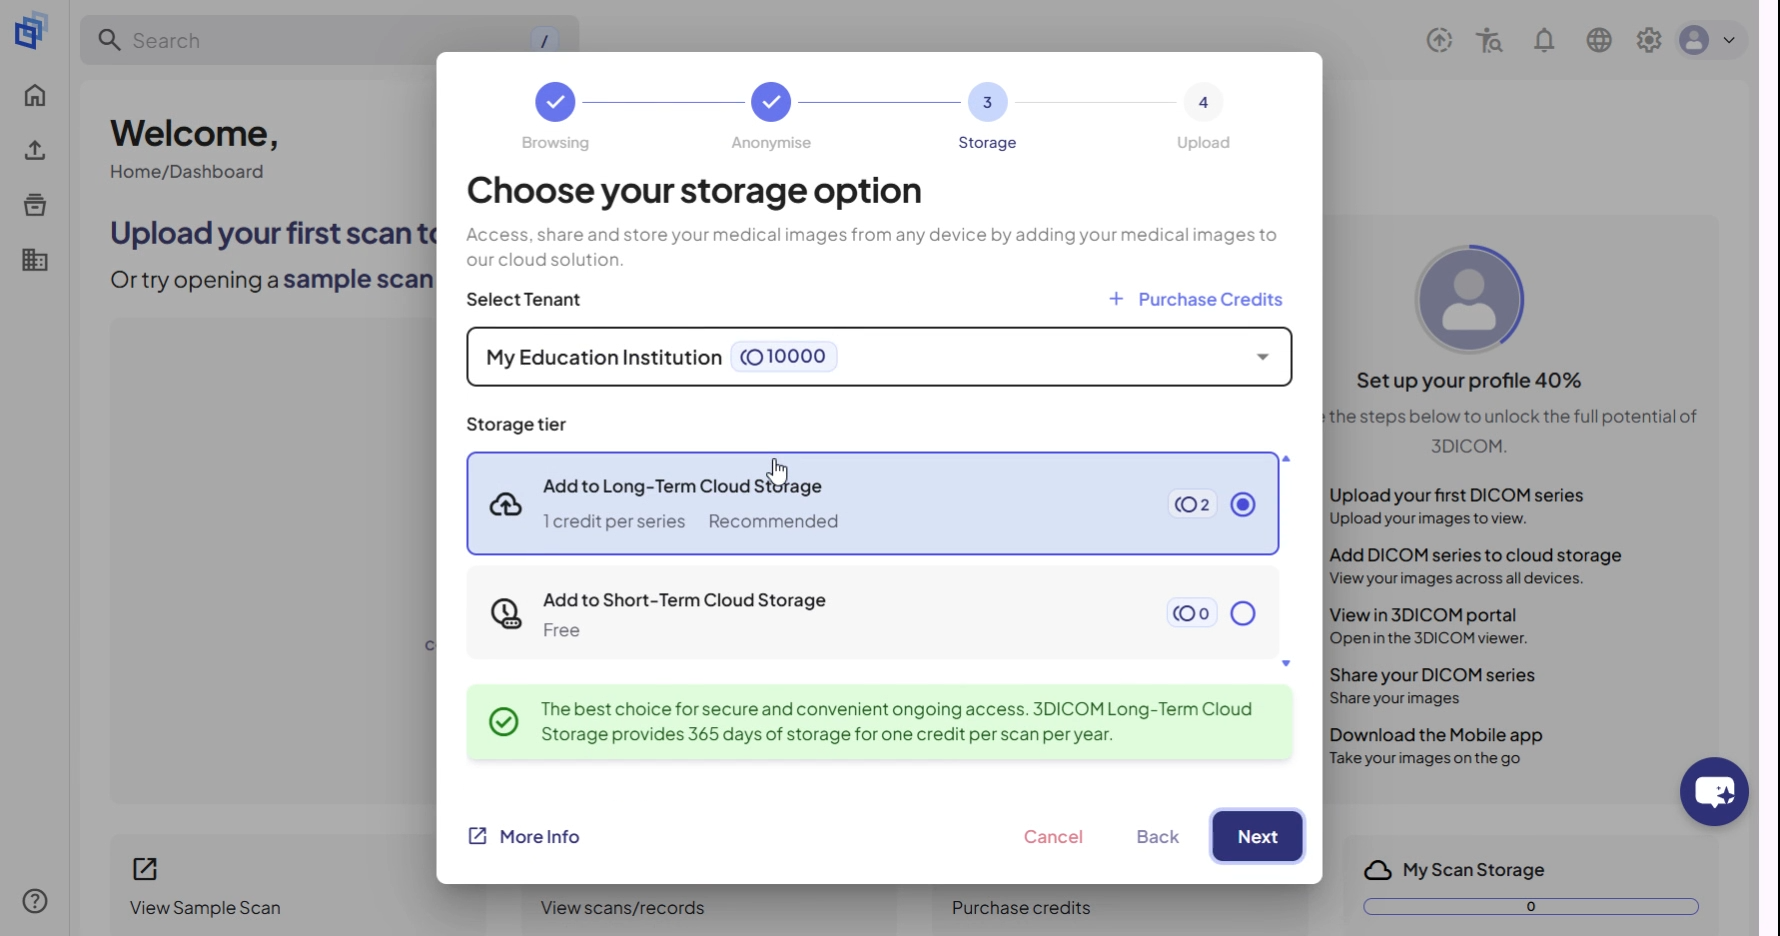
Step 12. Click Next to move on.
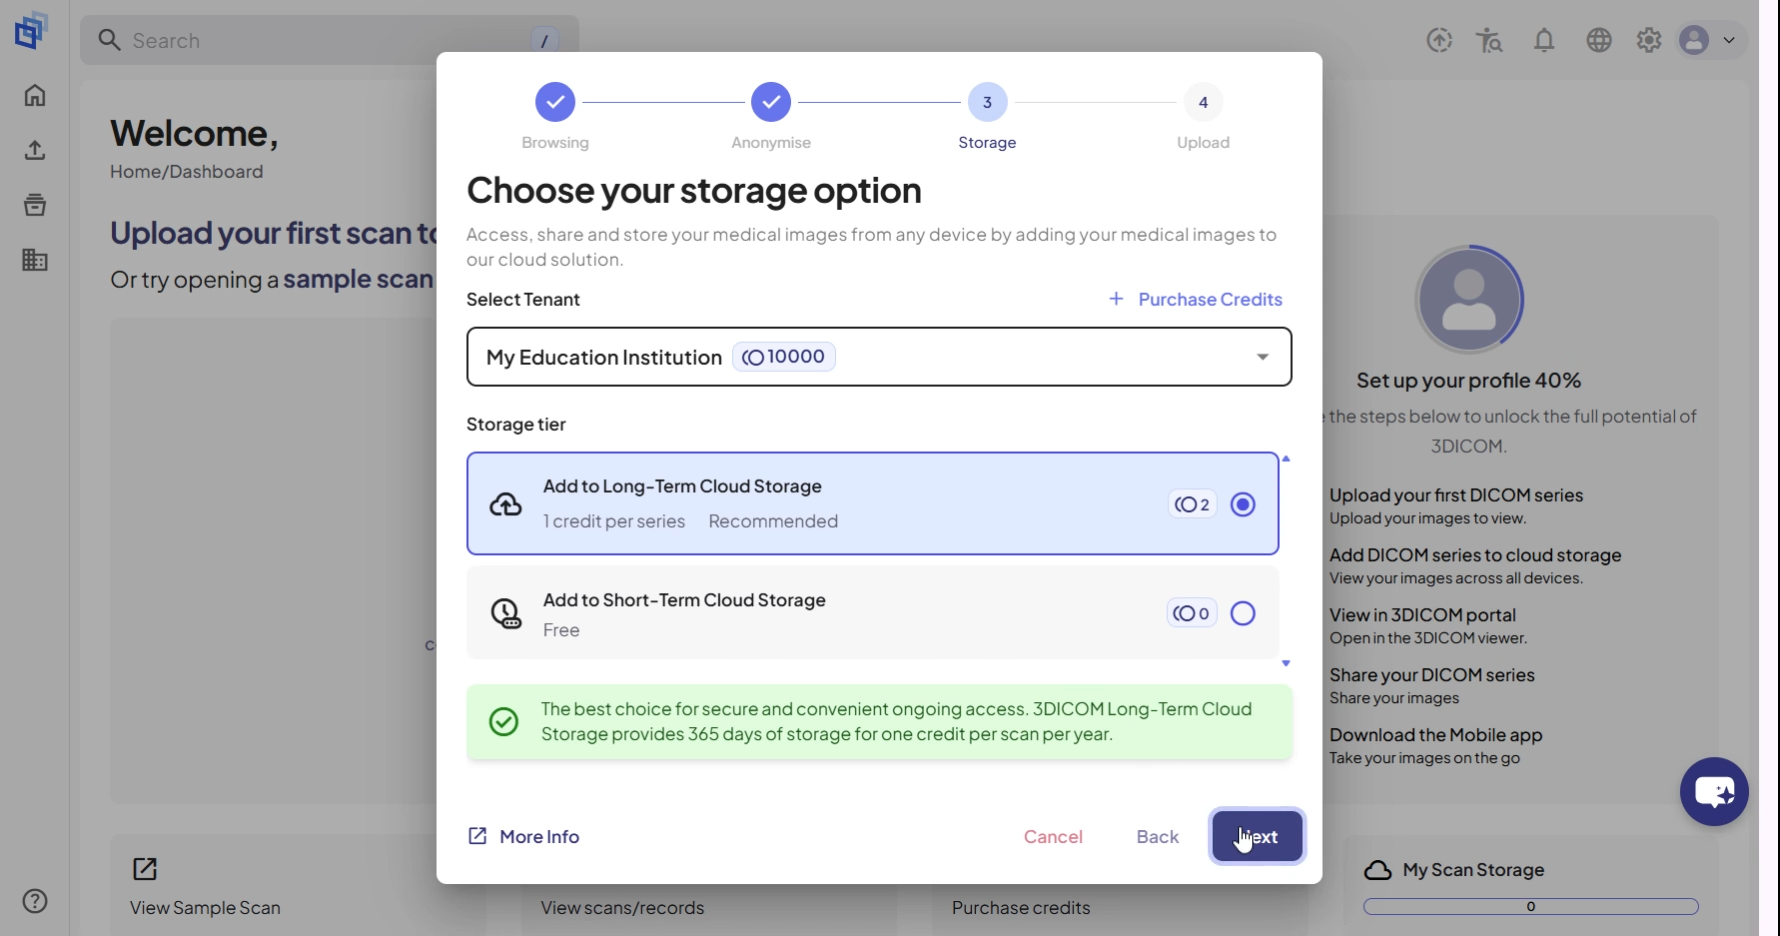
Upload and confirm
Step 13. Click the Upload button to start uploading your files.
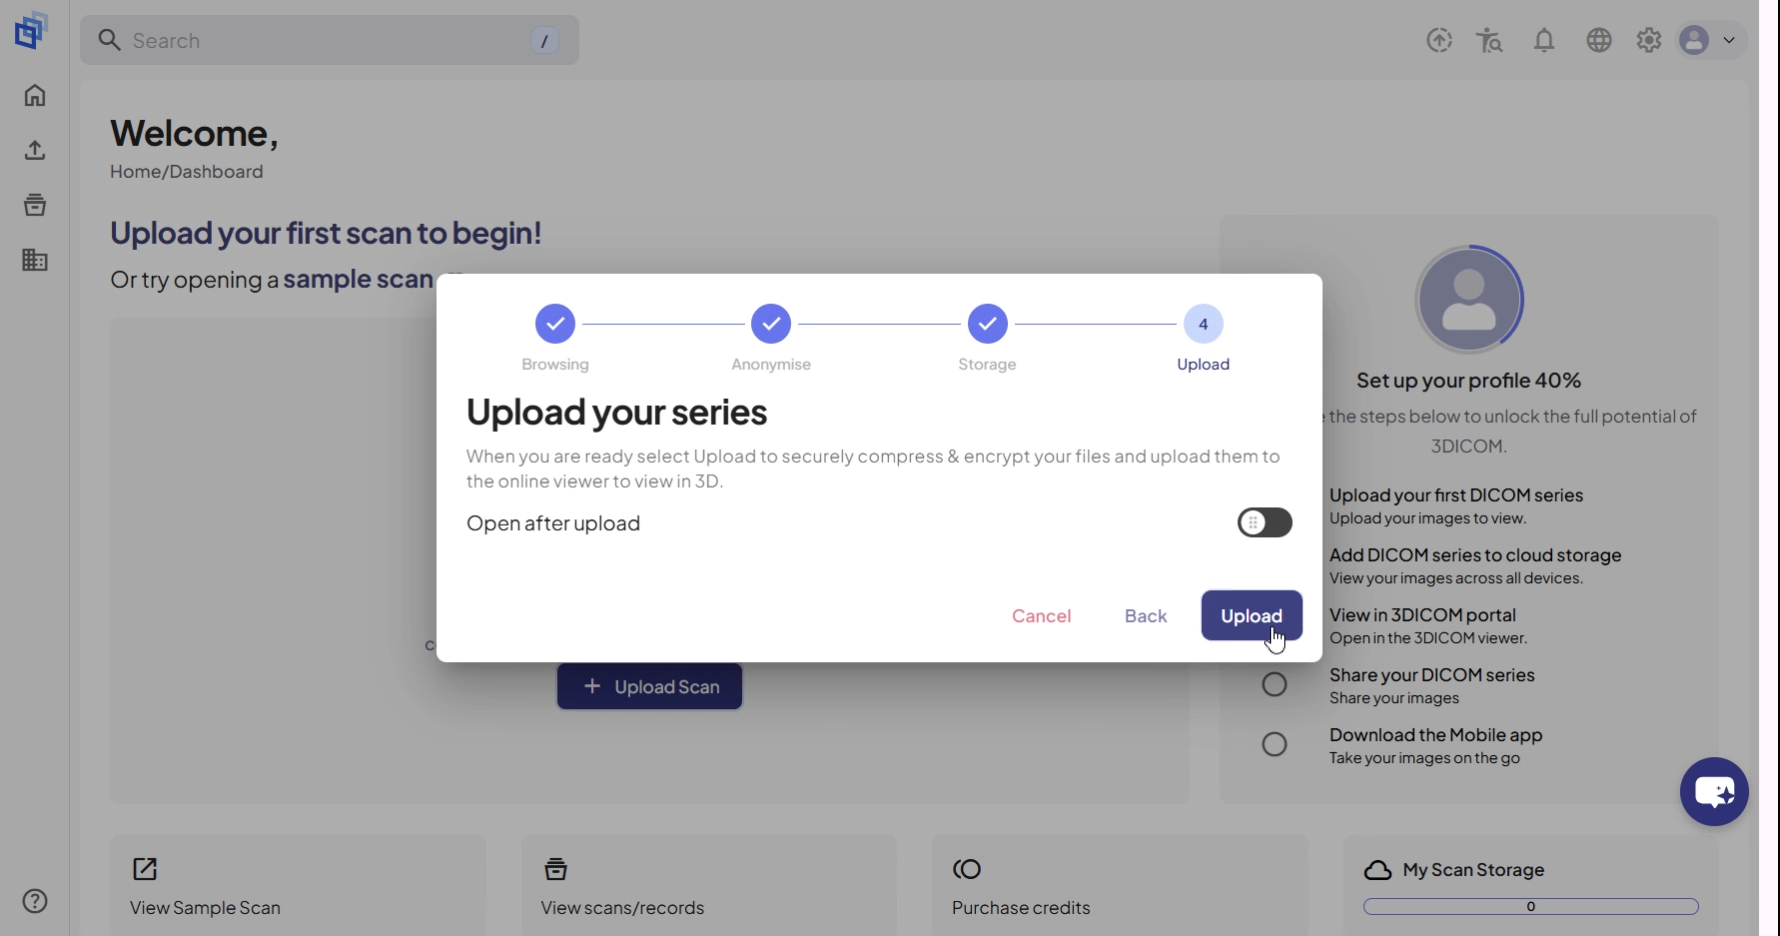
Step 14. Monitor your upload progress in the bottom-right pop-up window.
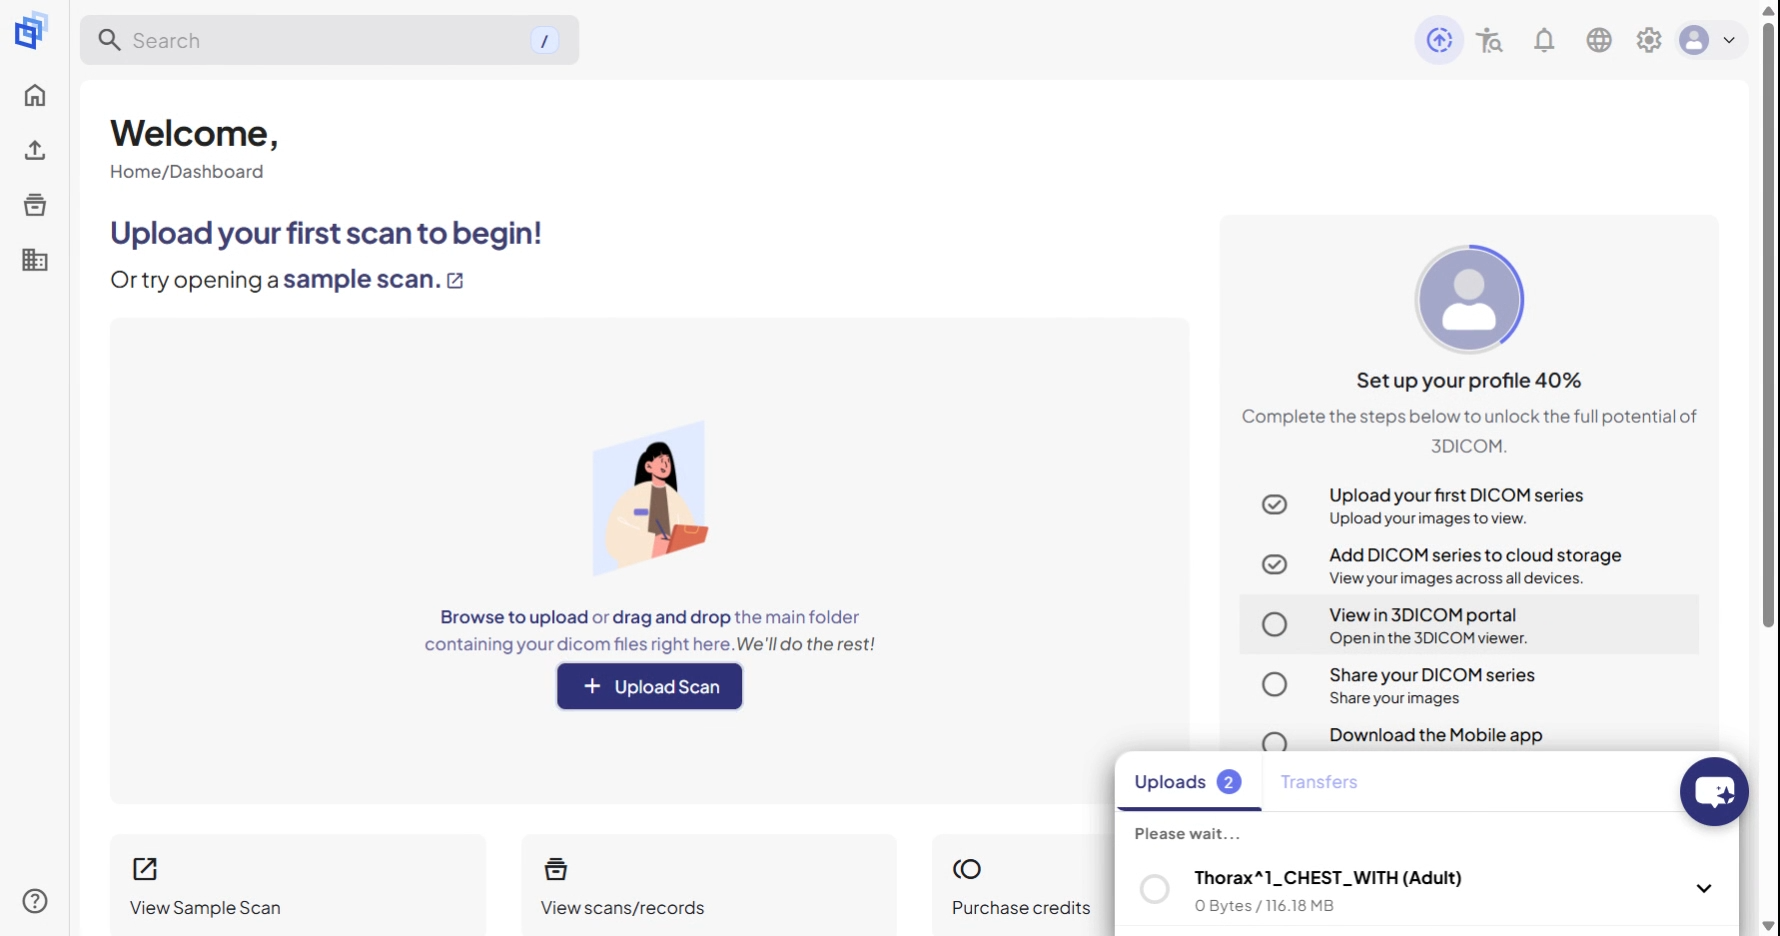
Step 15. When the upload is complete, a success banner appears at the top of the page.
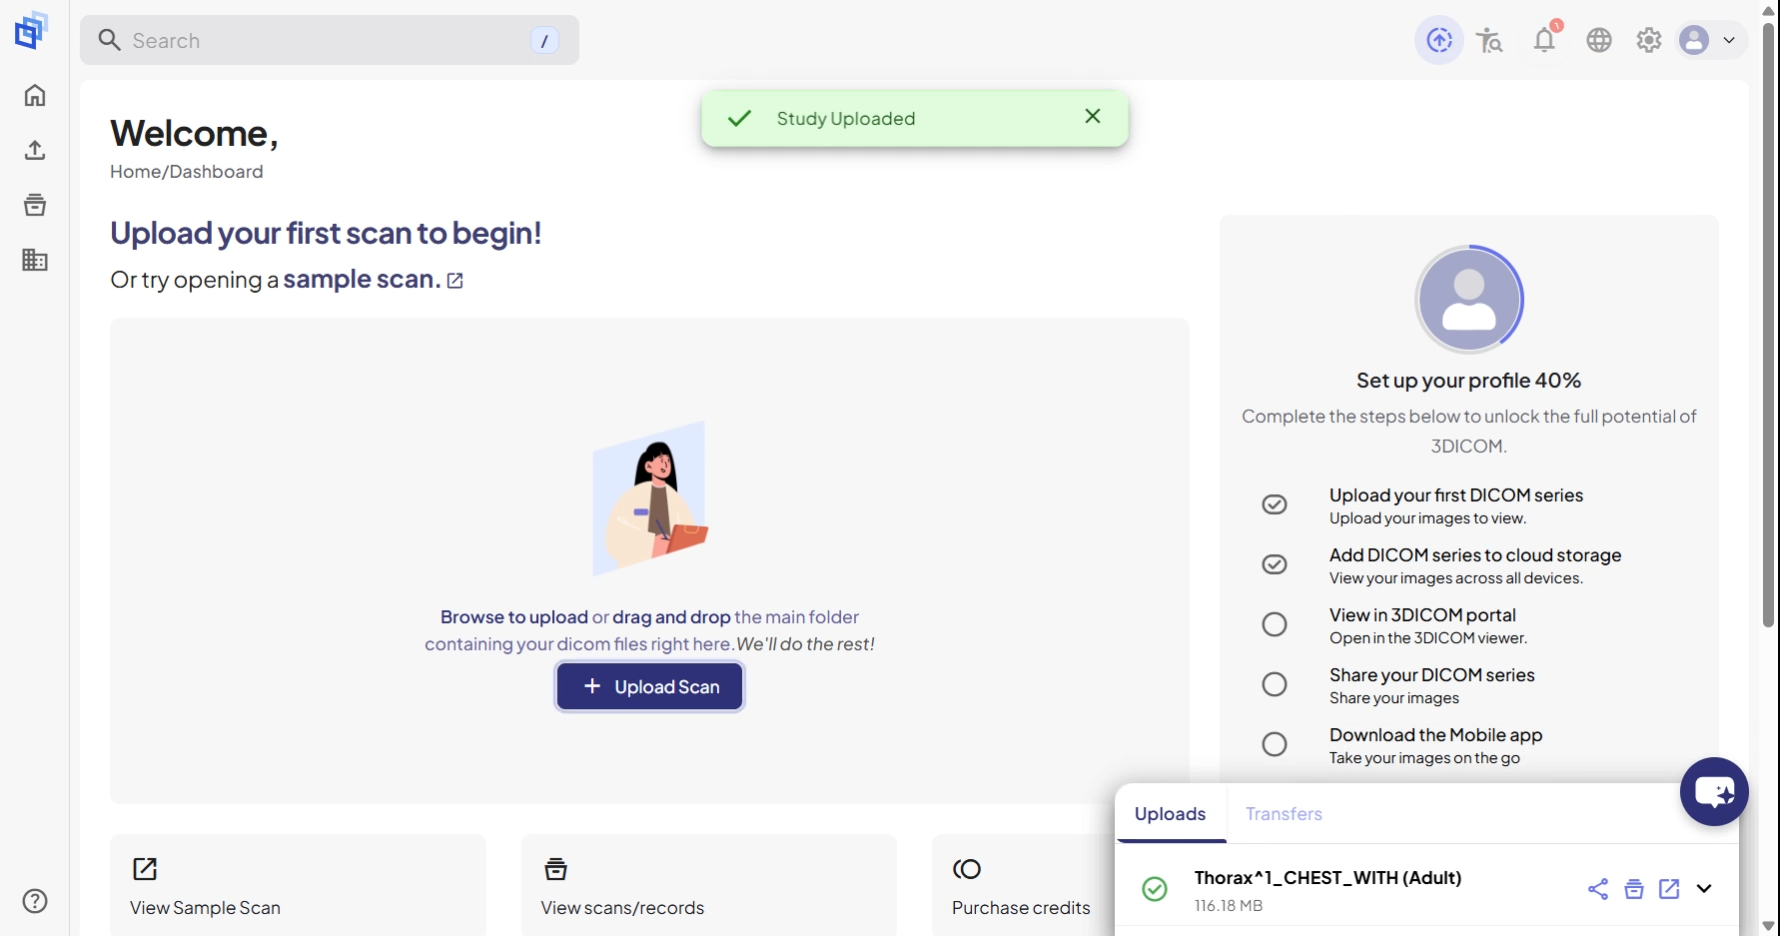
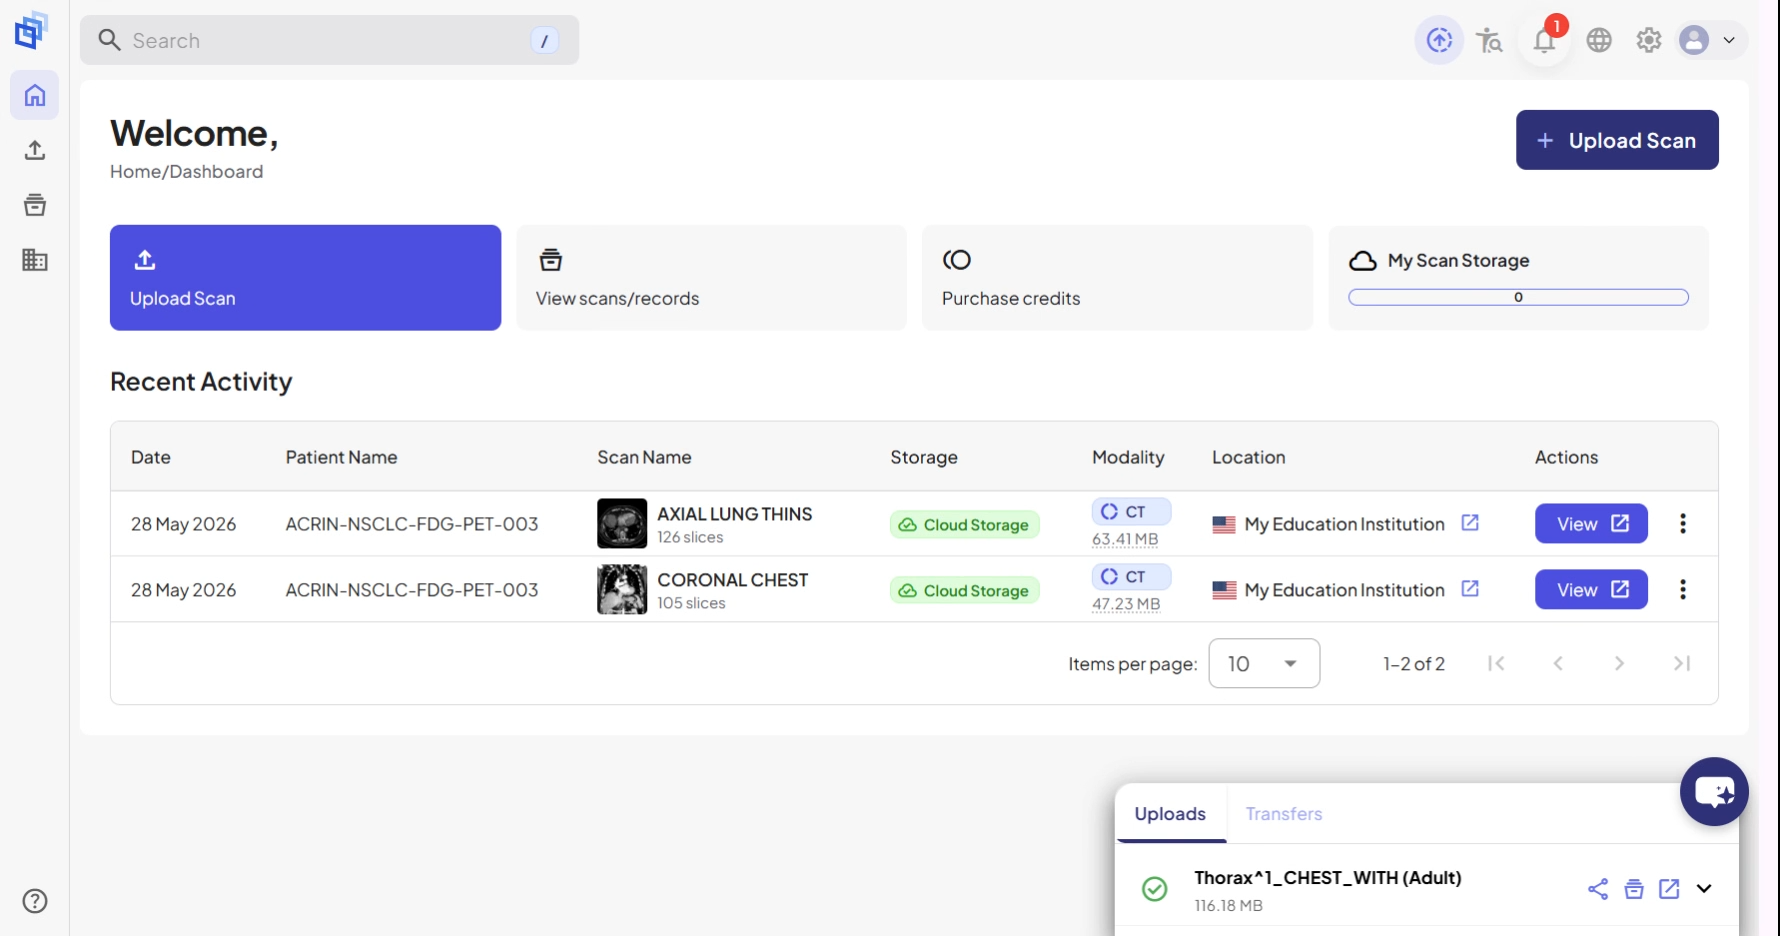
Step 16. Access your files on the Dashboard under Recent Activity or in the Scans and Records section.
Result
Your scans are now uploaded to 3DICOM with chosen privacy controls and storage options. Find them on the Dashboard for immediate review or secure sharing.