Essential tools for navigating and viewing images in 3DICOM Viewer
Overview
This guide introduces the essential tools in 3DICOM Viewer for exploring and interacting with medical images. Follow these steps to adjust image visibility, navigate slices, switch orientations, customize your workspace layout, and use 3D visualization controls.
Exploring image brightness and contrast
Adjust visibility with the window level tool
Step 1. Open your study in 3DICOM Viewer. By default, the Window Level tool is active when the viewer launches.
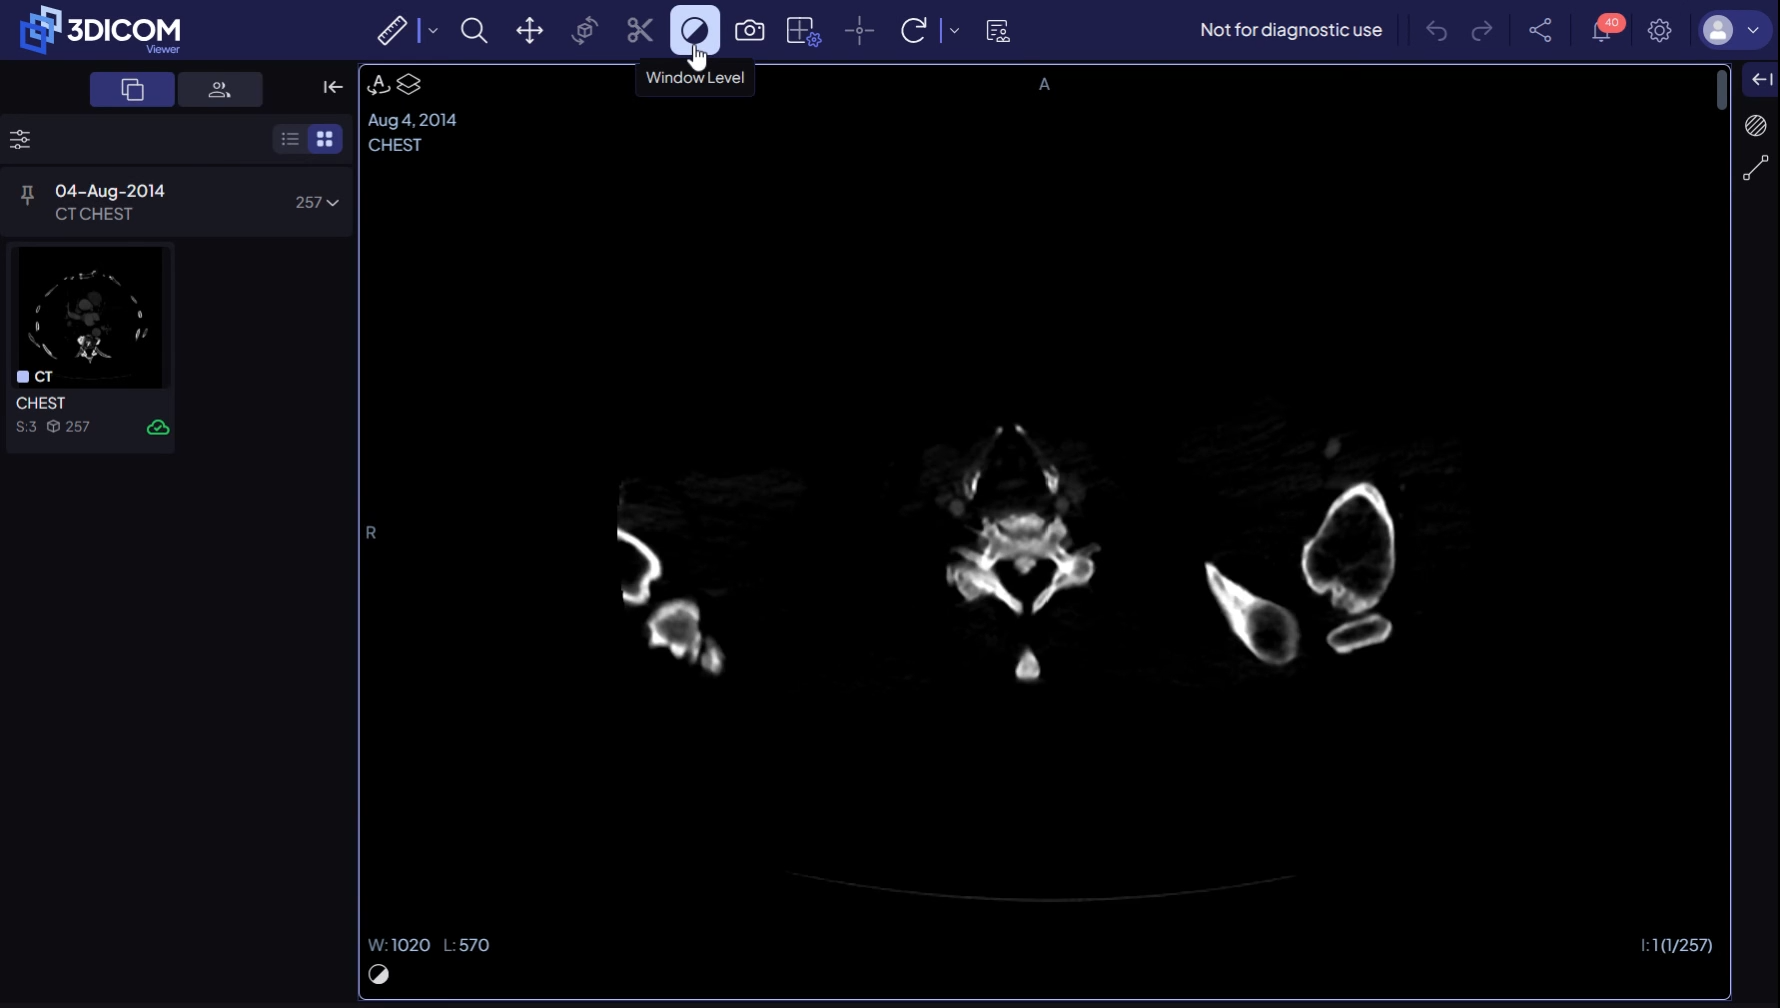
Step 2. Click inside any viewport to make it active.
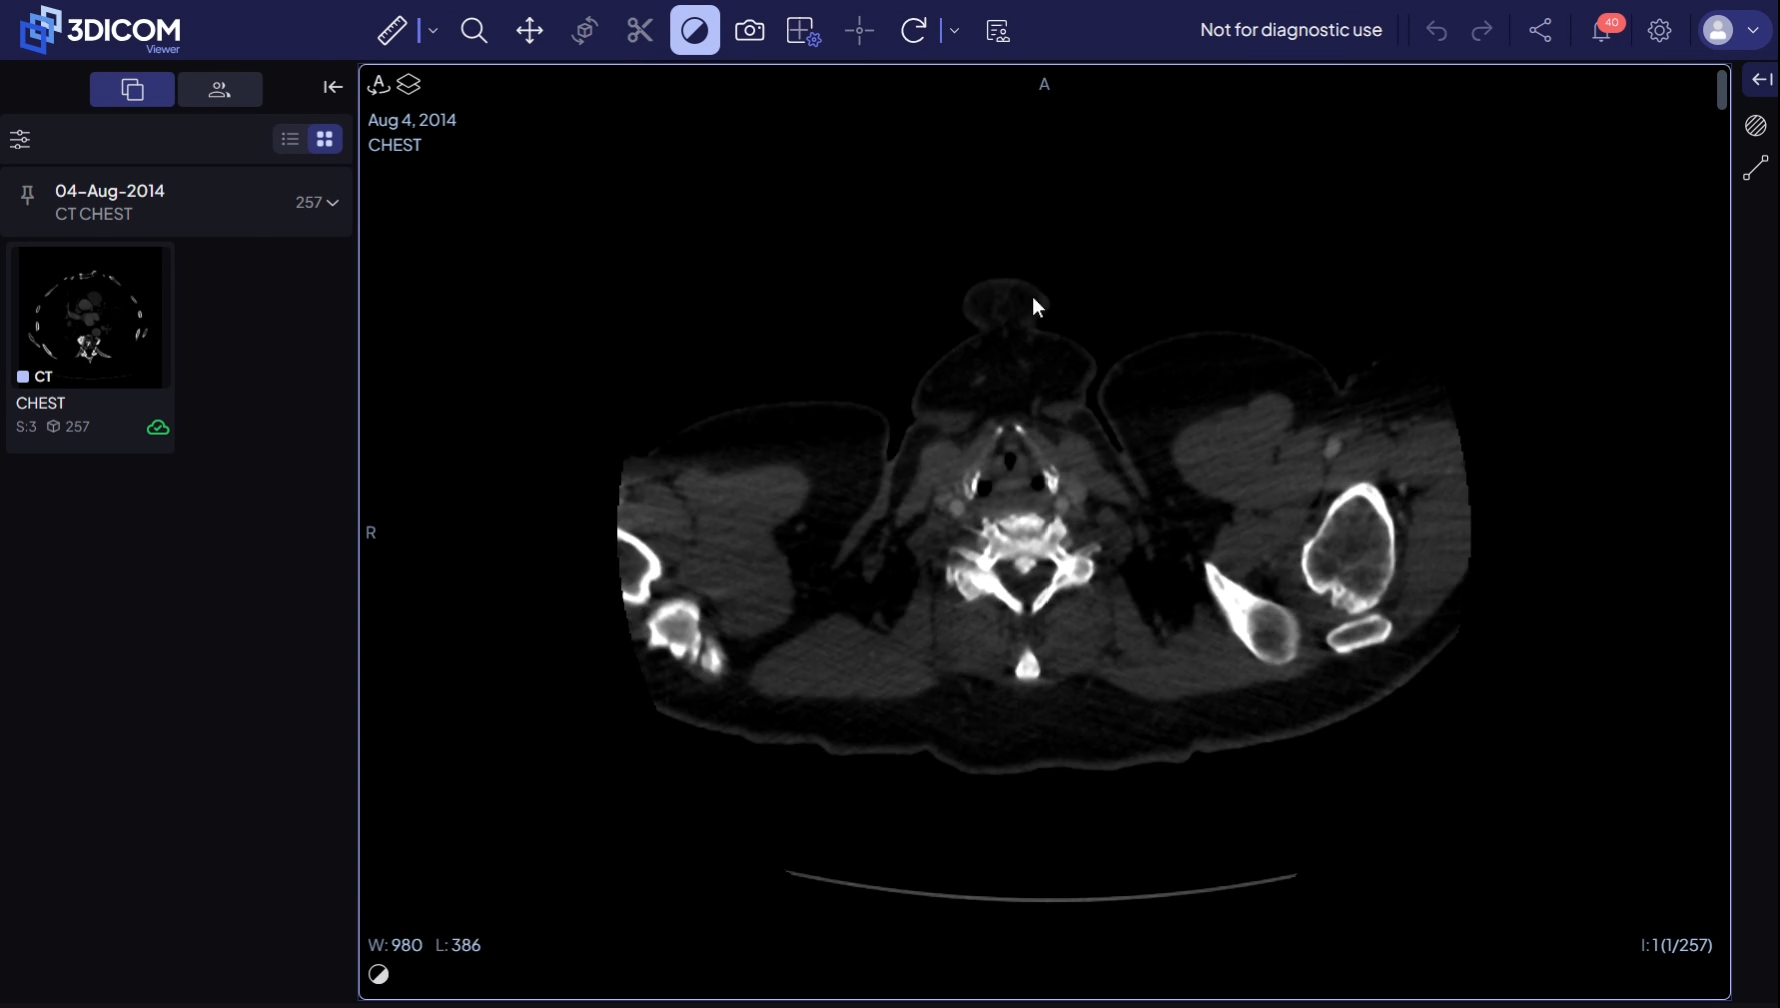
Step 3. Click and drag within the viewport to adjust brightness and contrast interactively.
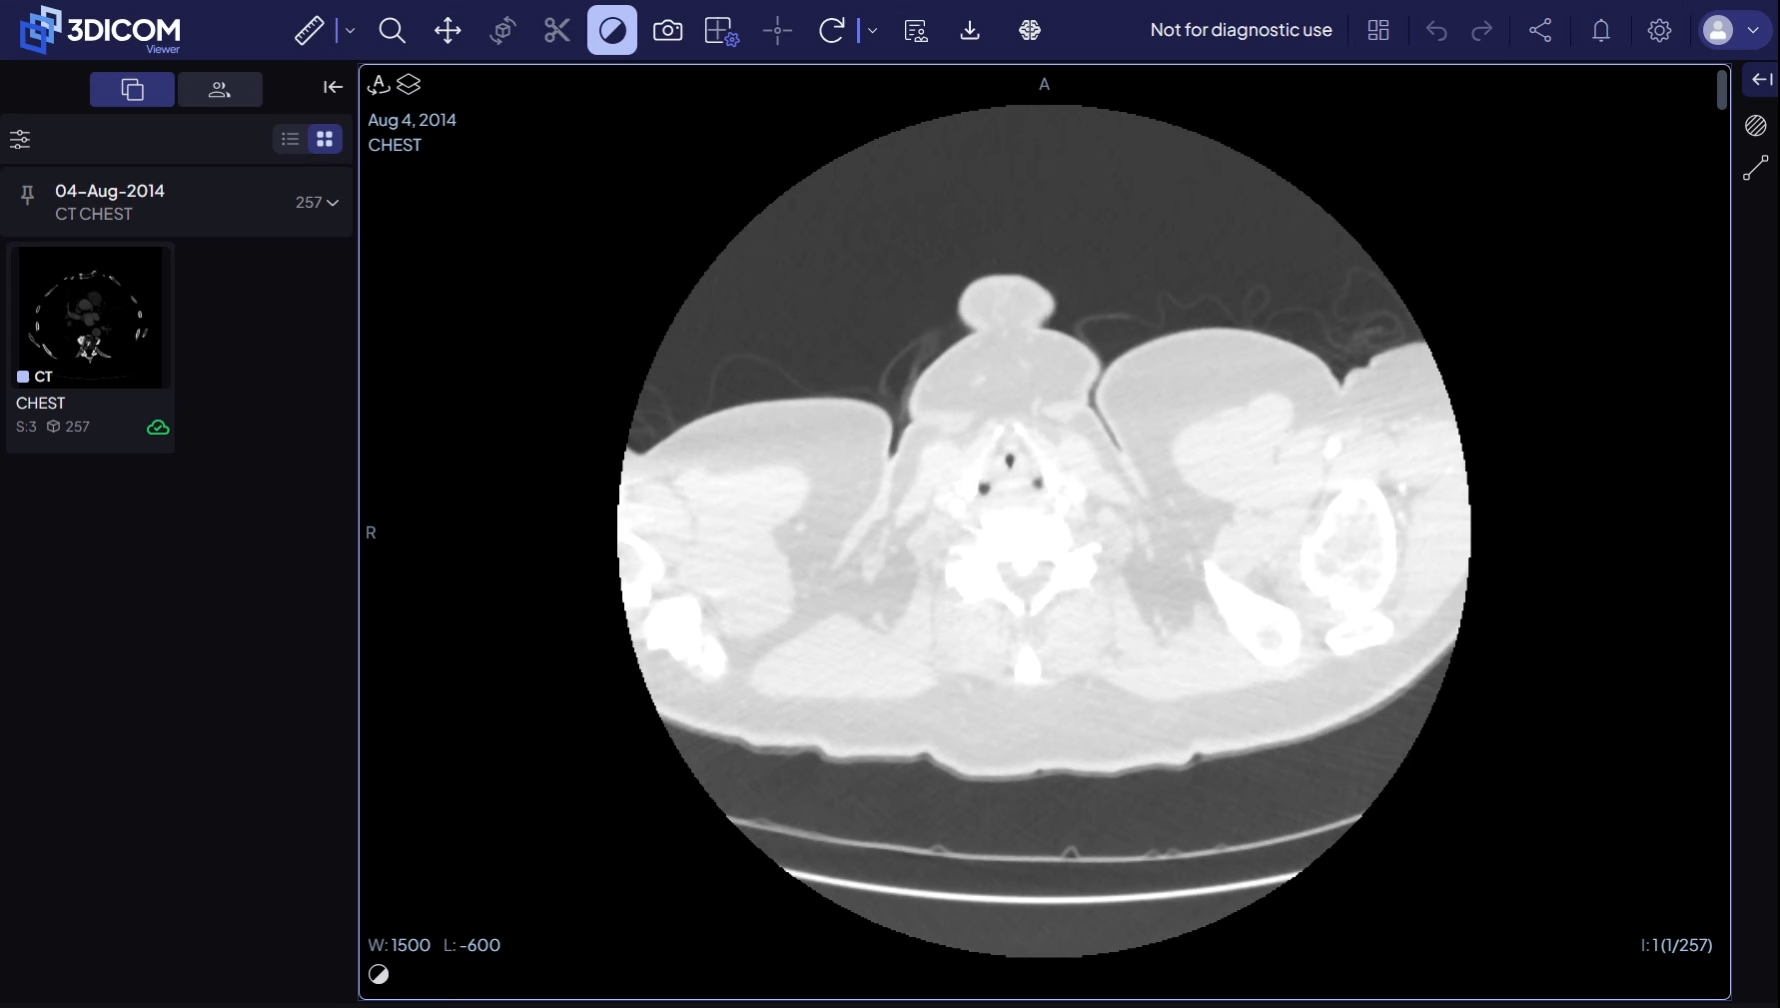
Step 4. To quickly apply common display settings, select a Window Preset from the bottom of the viewport. These presets adjust contrast and brightness for specific tissues or modalities.
Navigating images: zoom, pan, scroll, and reset
Zoom images
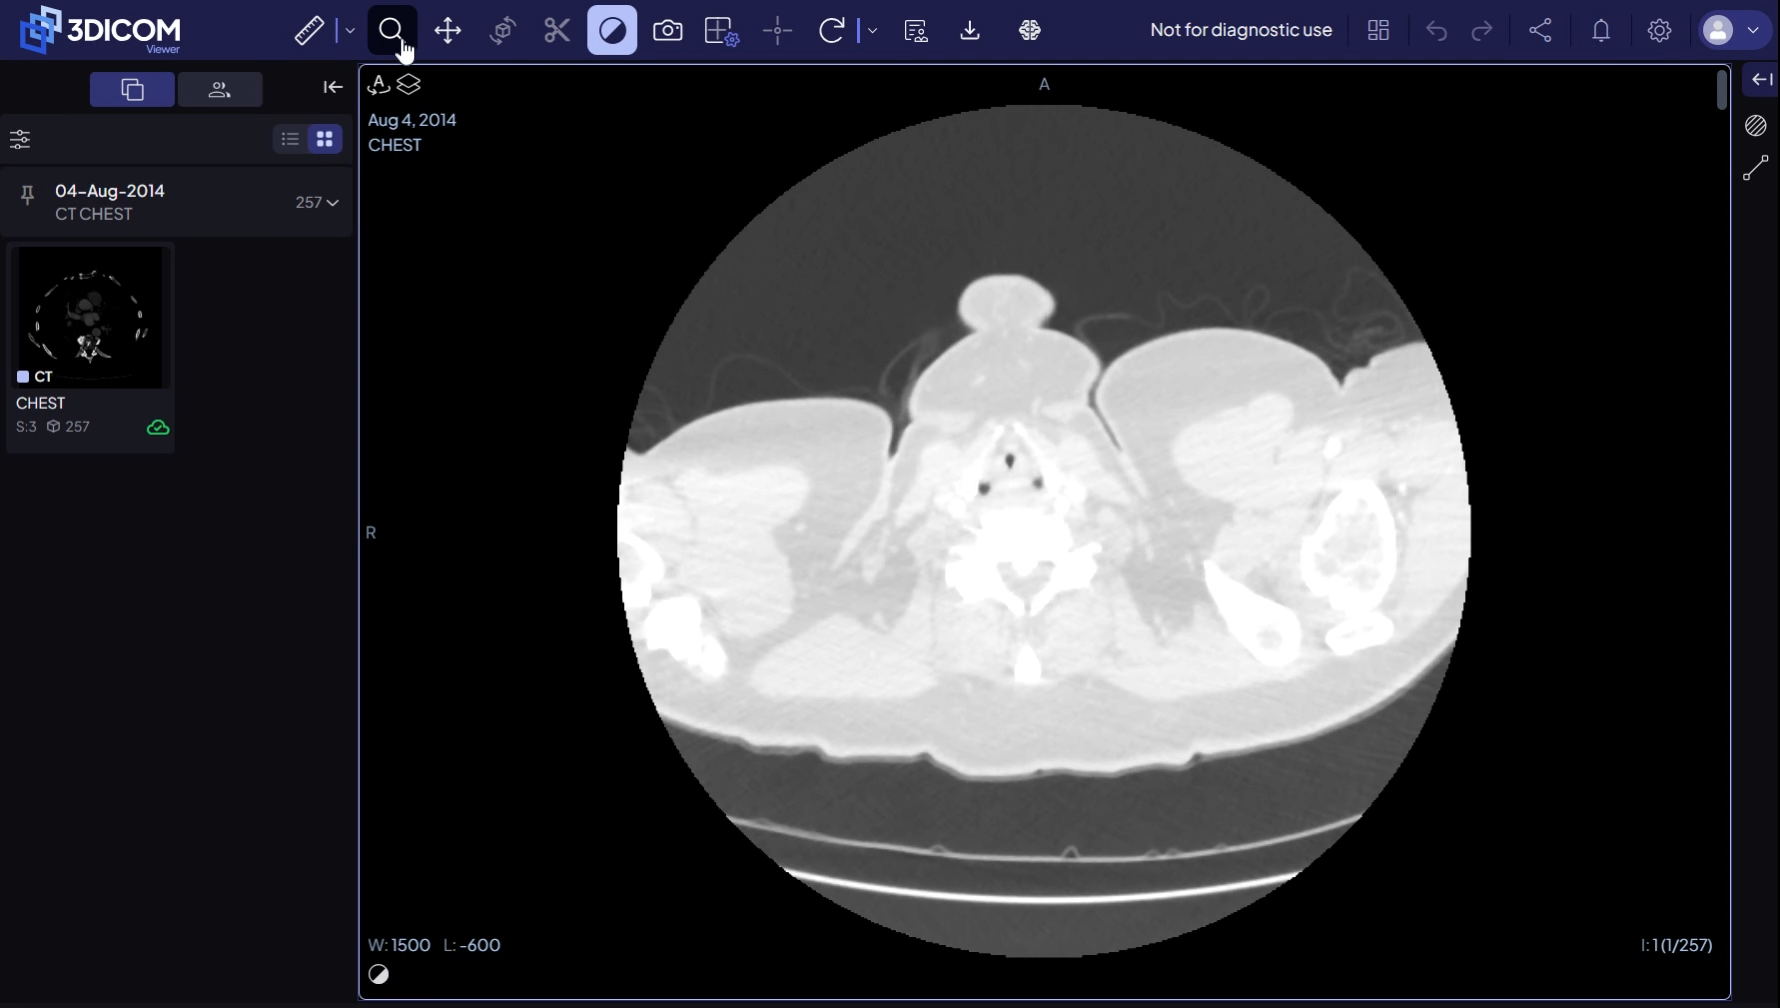
Step 5. Select the Zoom tool (magnifying glass icon) from the main toolbar.
Step 6. Click inside the viewport you want to zoom, and drag your cursor upward to zoom out or downward to zoom in.
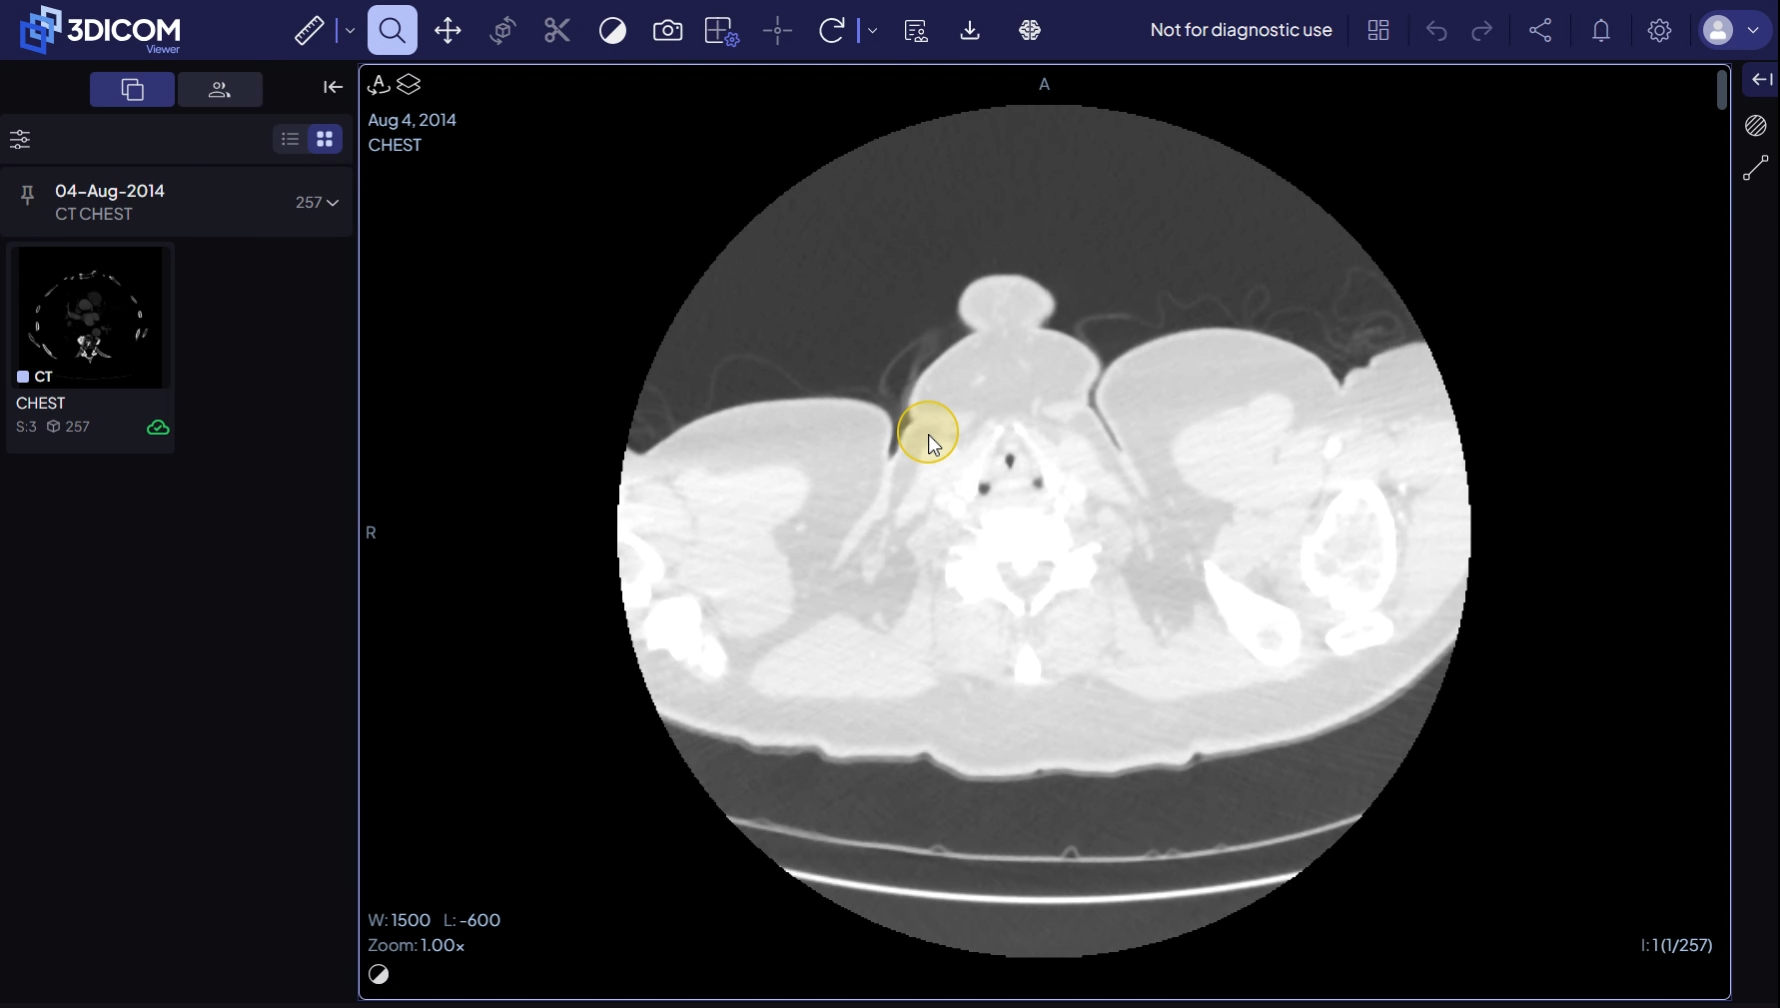
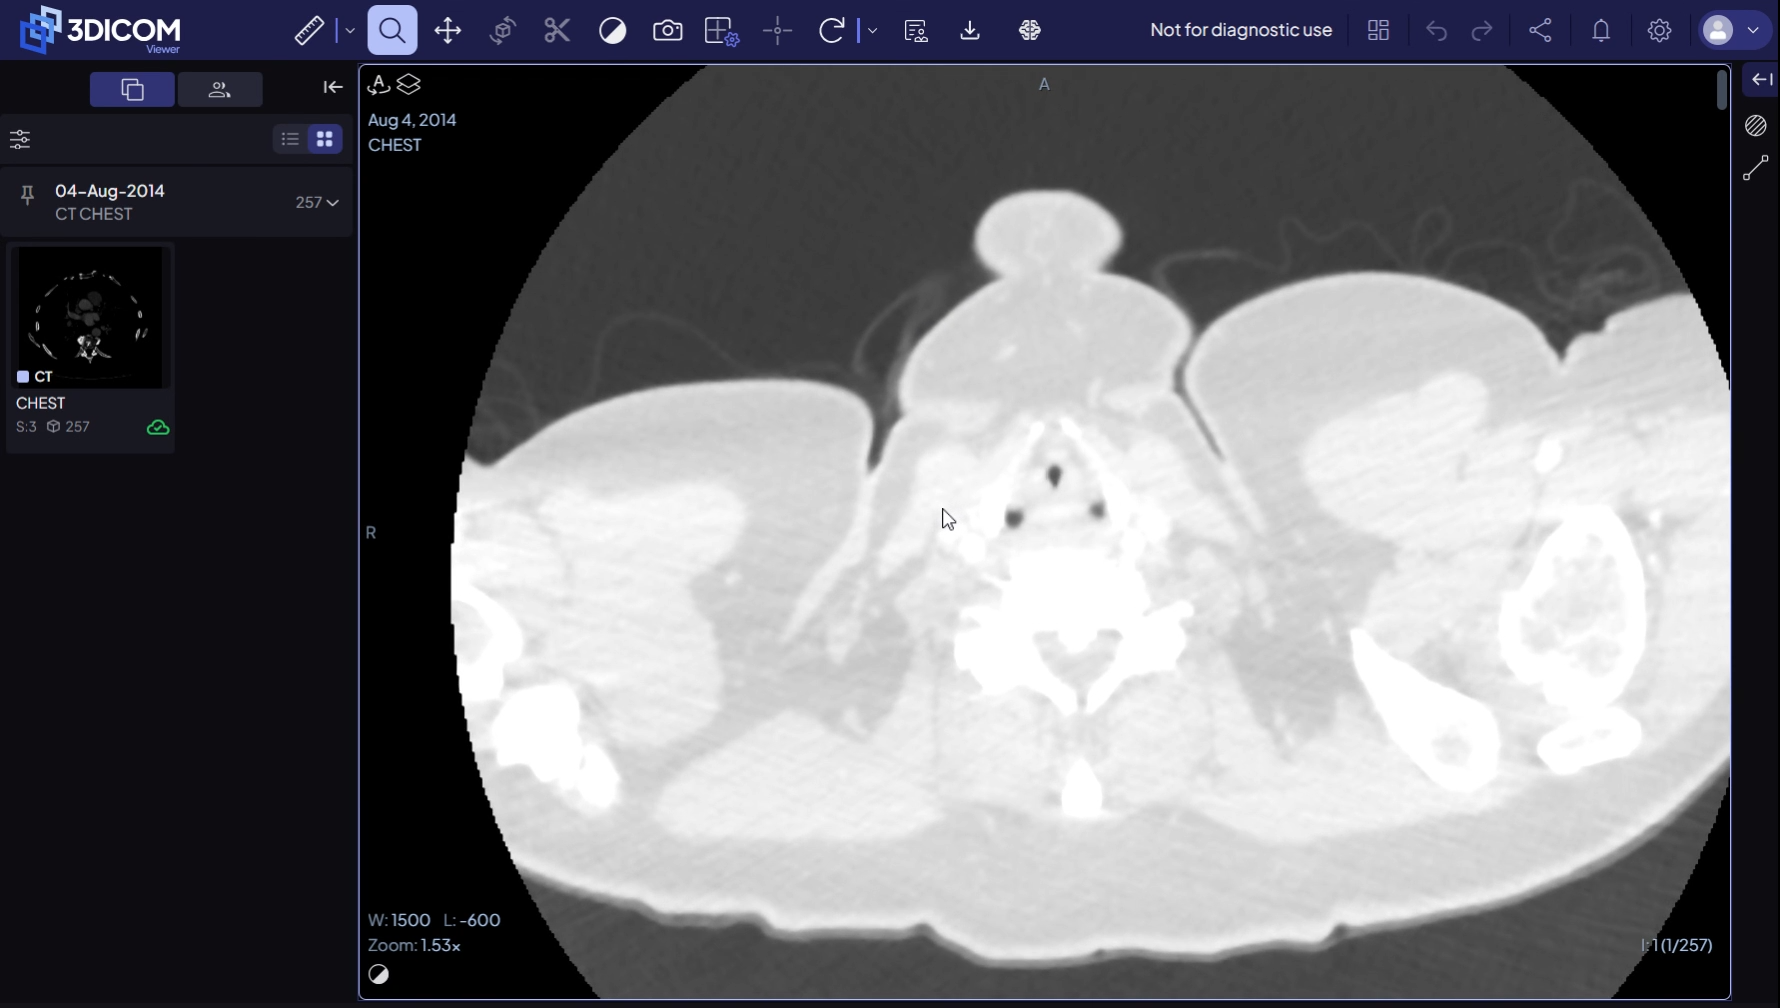
Step 7. Check the zoom indicator in the lower-left corner of the viewport to see your current magnification.
Pan images
Step 8. Select the Pan tool from the toolbar.
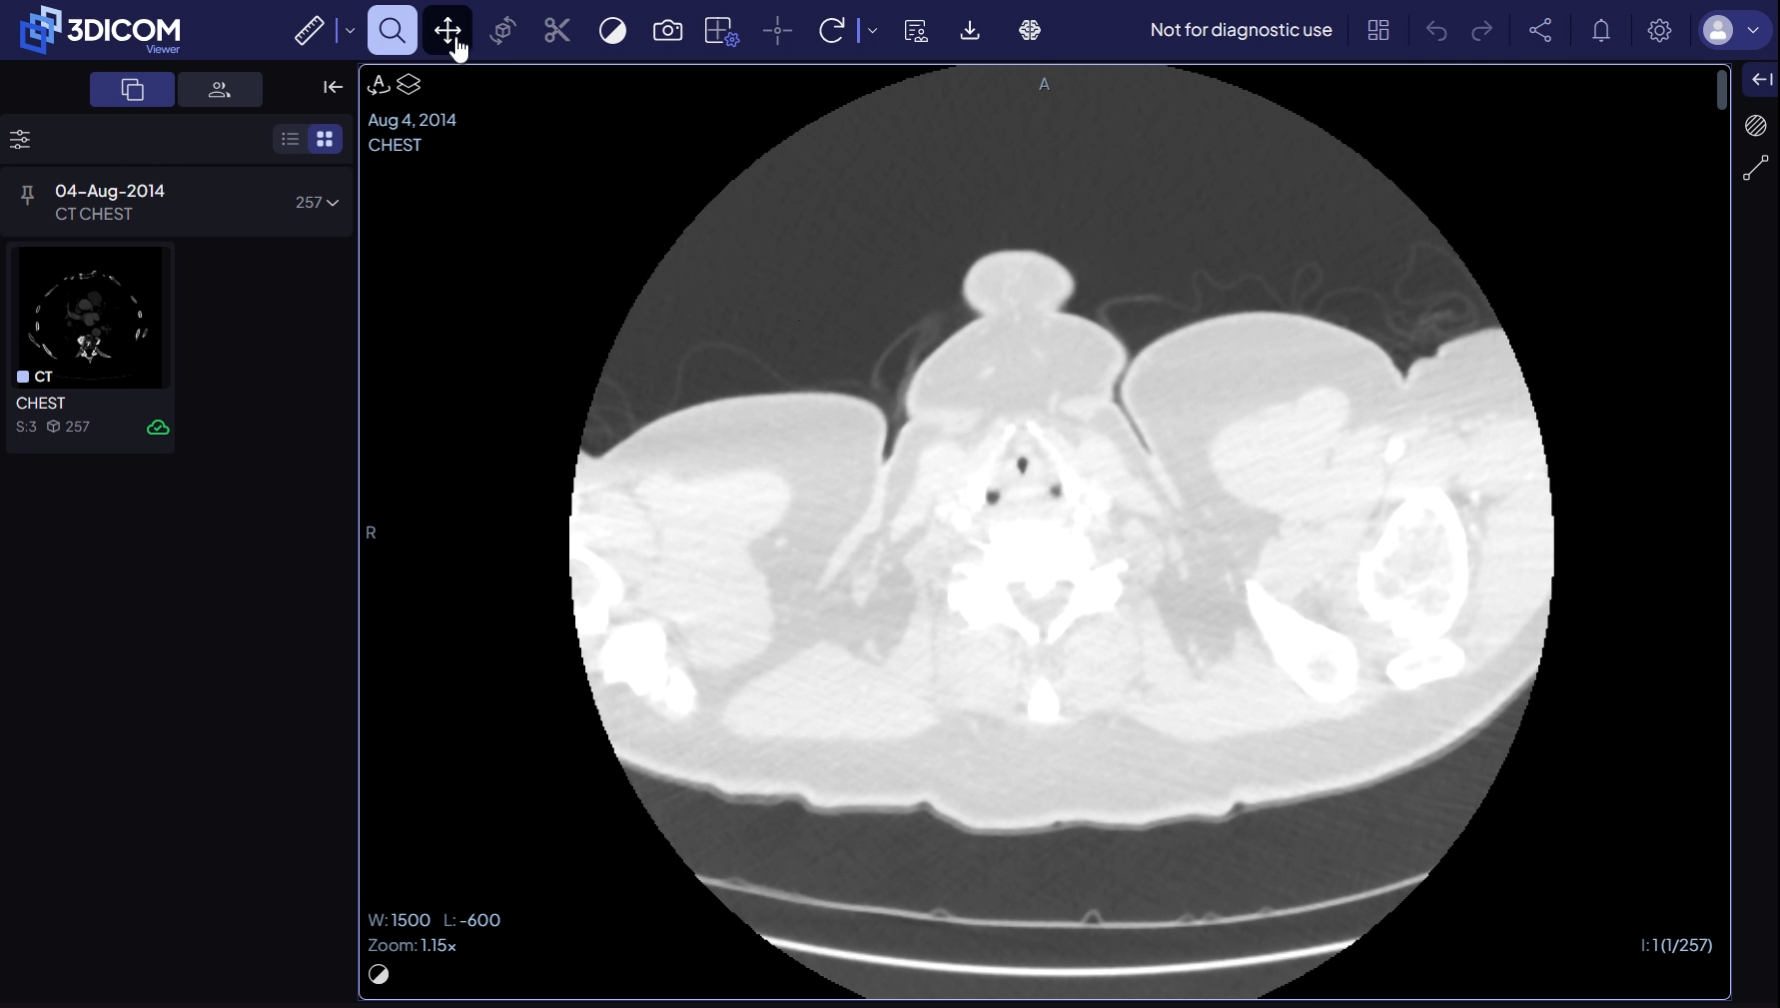
Step 9. Click and drag within the image to reposition it within the viewport.
Reset the view
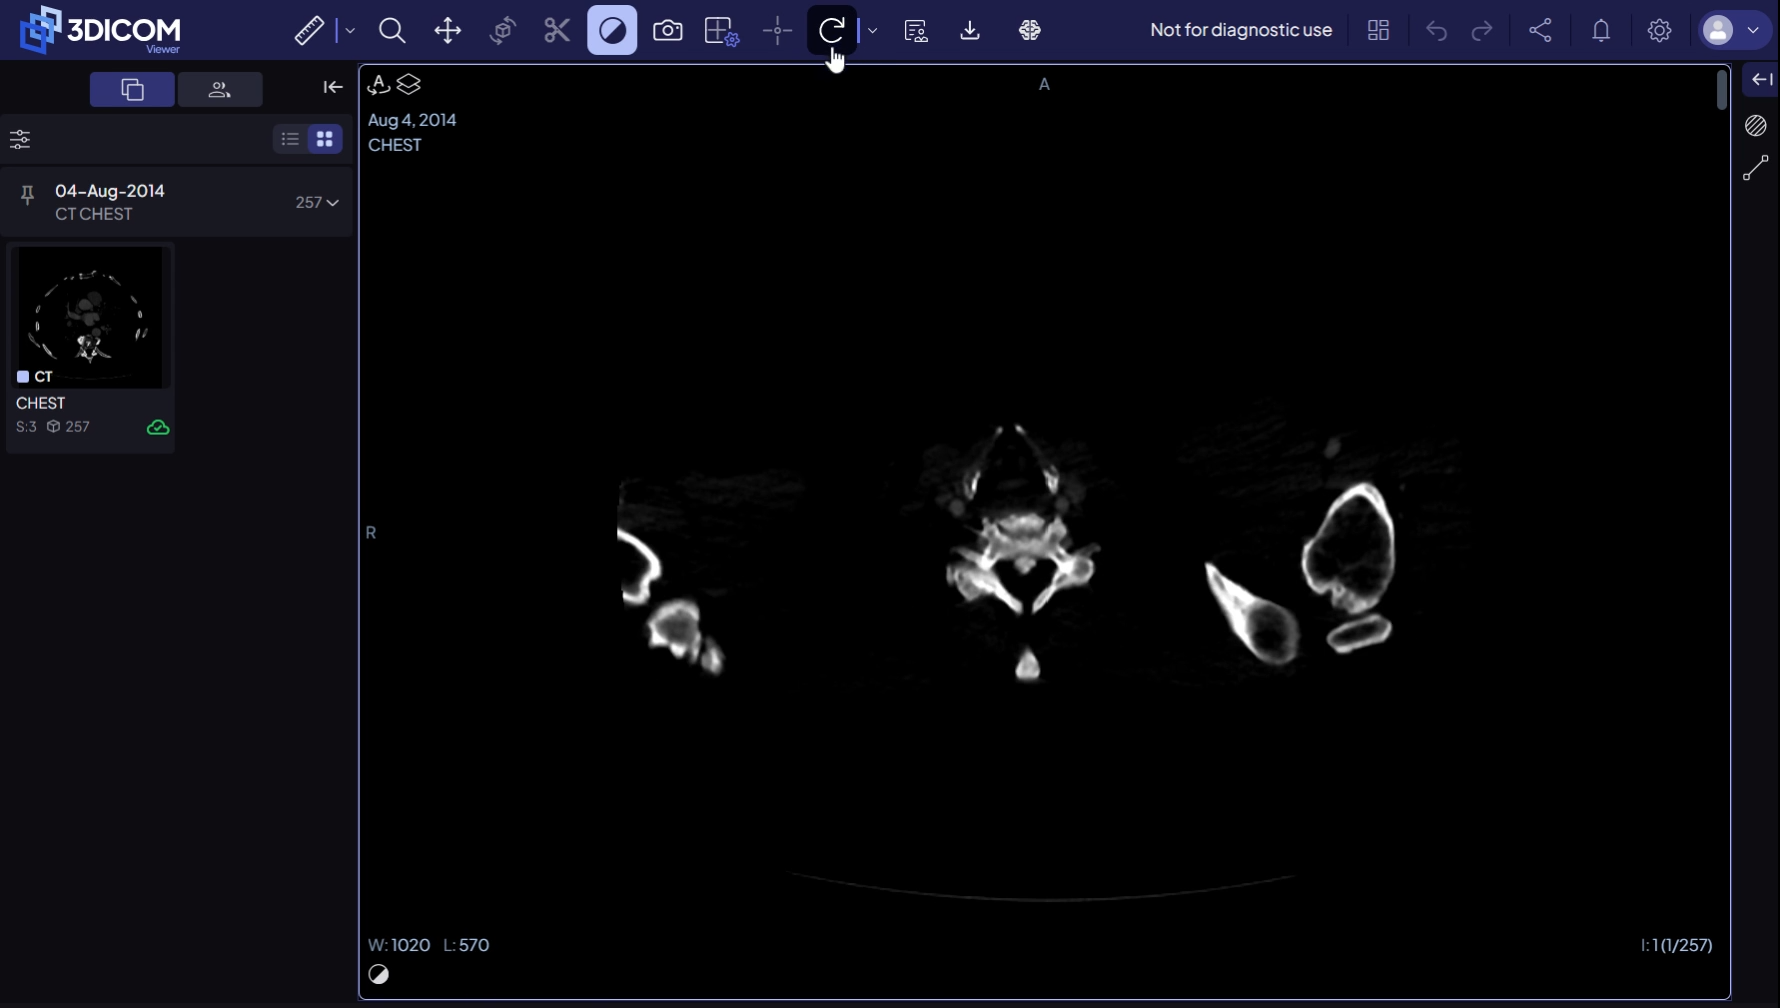
Step 10. To restore the default orientation and zoom, select the Reset View tool from the toolbar.
Scroll through slices
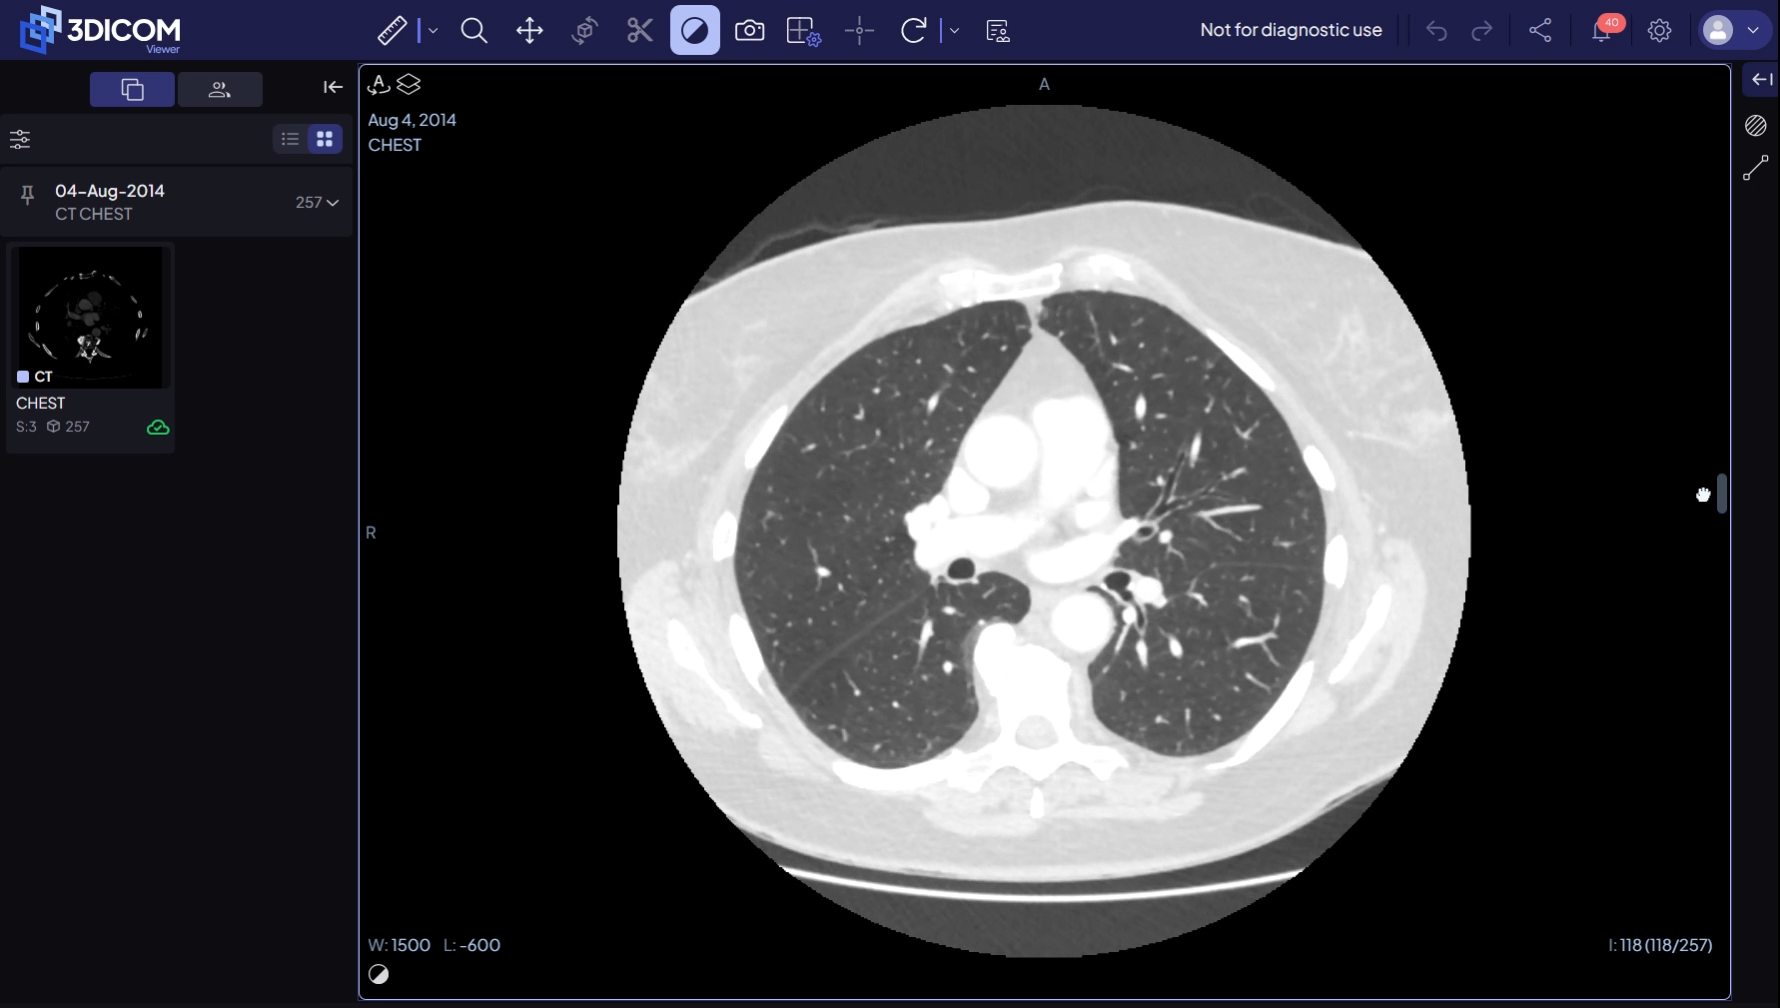
Step 11. Use the scroll tool to move through the image series. The scrollbar appears on the right side of the viewport, or you can use your mouse scroll wheel/trackpad.
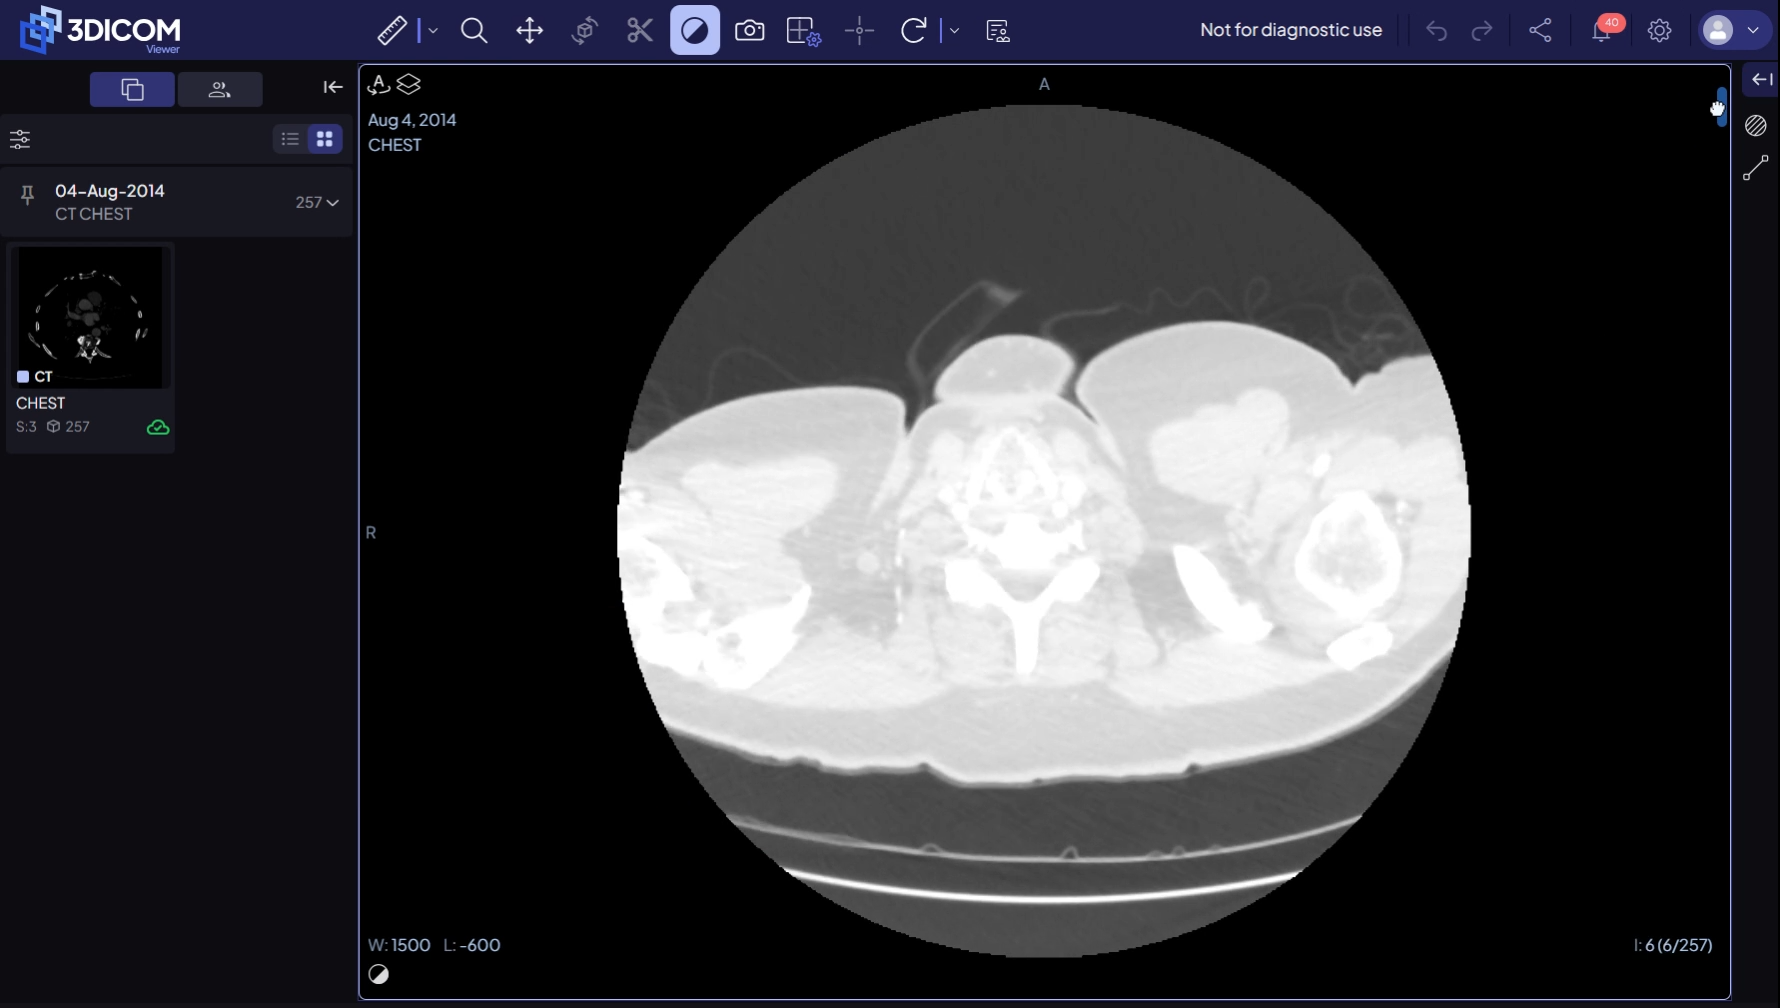
Step 12. Track your position within the series using the slice indicator in the lower-right corner of the viewport.
Viewing images from different orientations
Change viewport orientation
Step 13. By default, the study loads in a single viewport with the acquisition orientation.
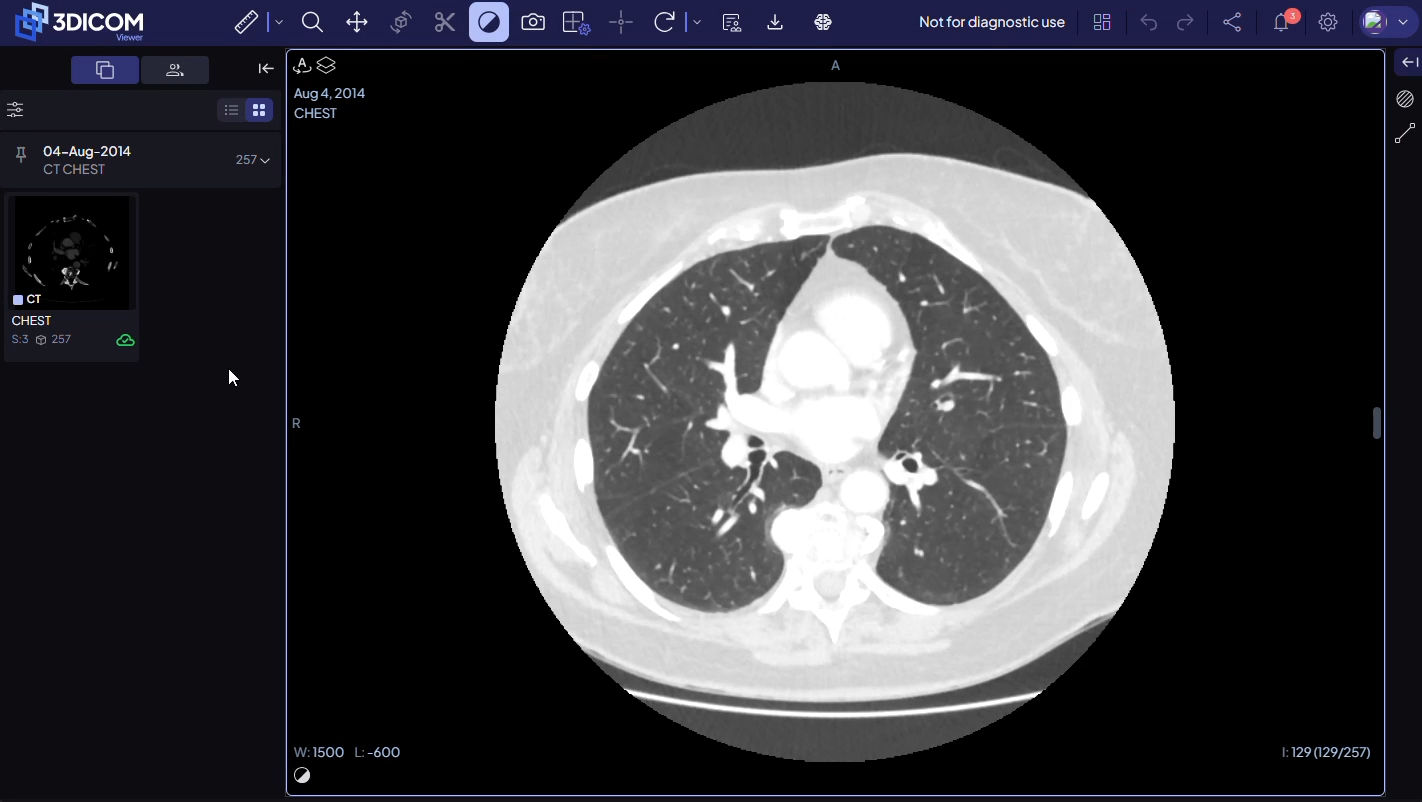
Step 14. To switch views, select the orientation indicator at the top of the viewport.
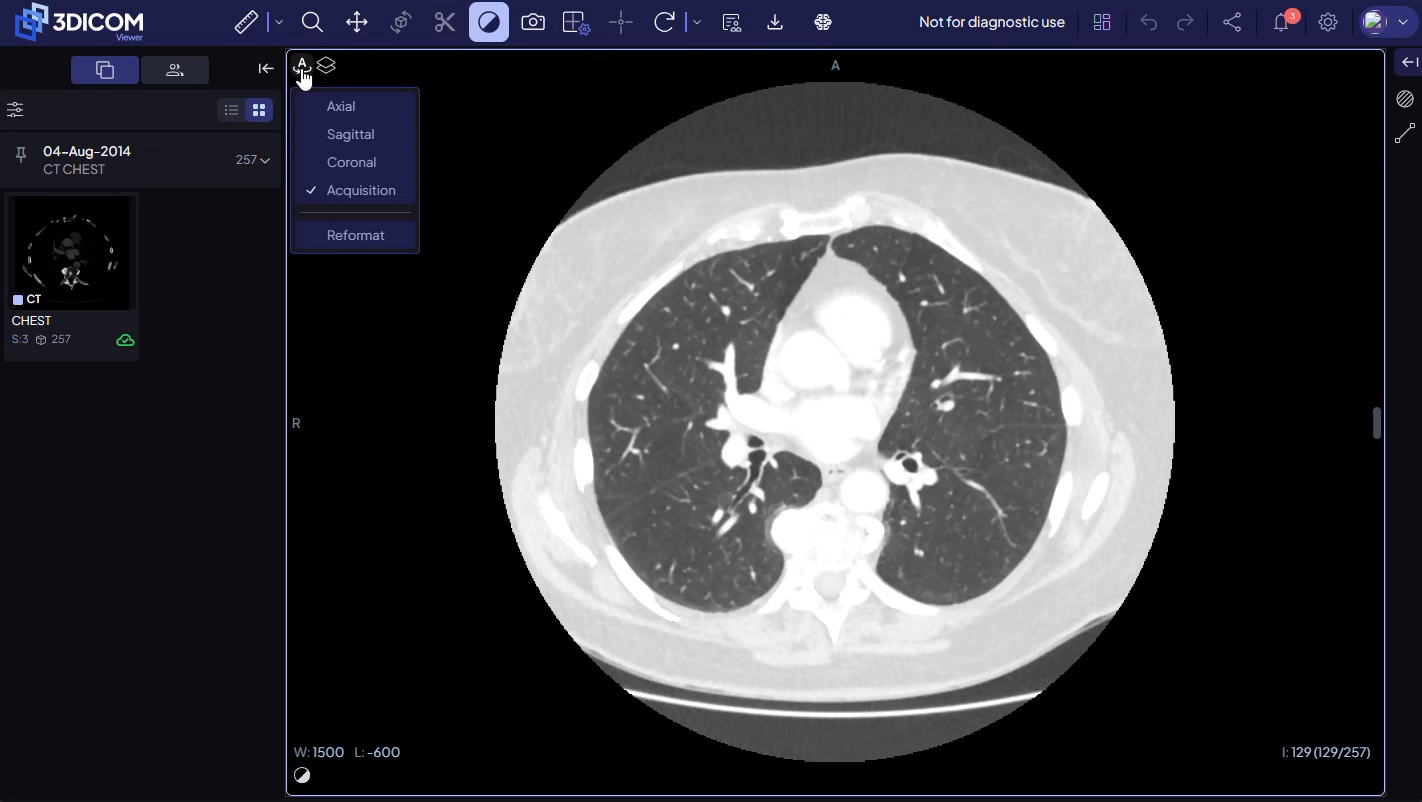
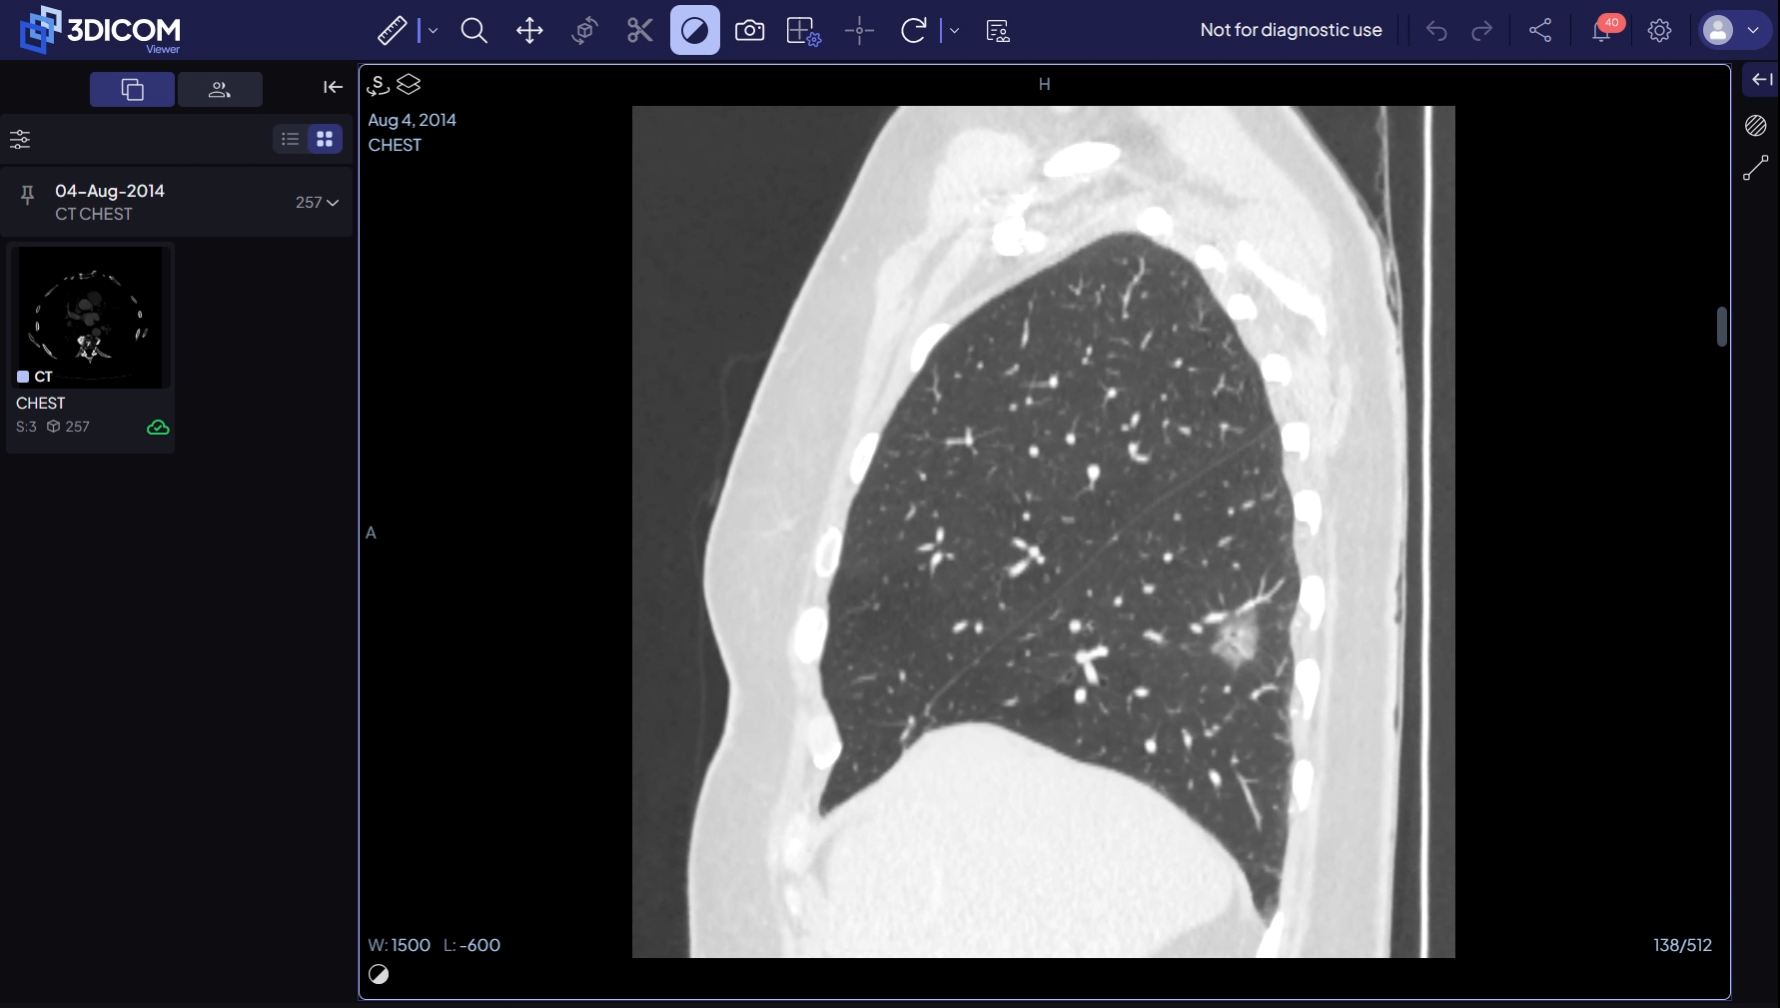
Step 15. Choose between Axial, Sagittal, and Coronal planes. This provides different cross-section perspectives of your study.
Use multiple workspace layouts
Step 16. By default, 3DICOM displays a single large viewport.
Step 17. Select the Change Layout button in the main toolbar to view layout options.
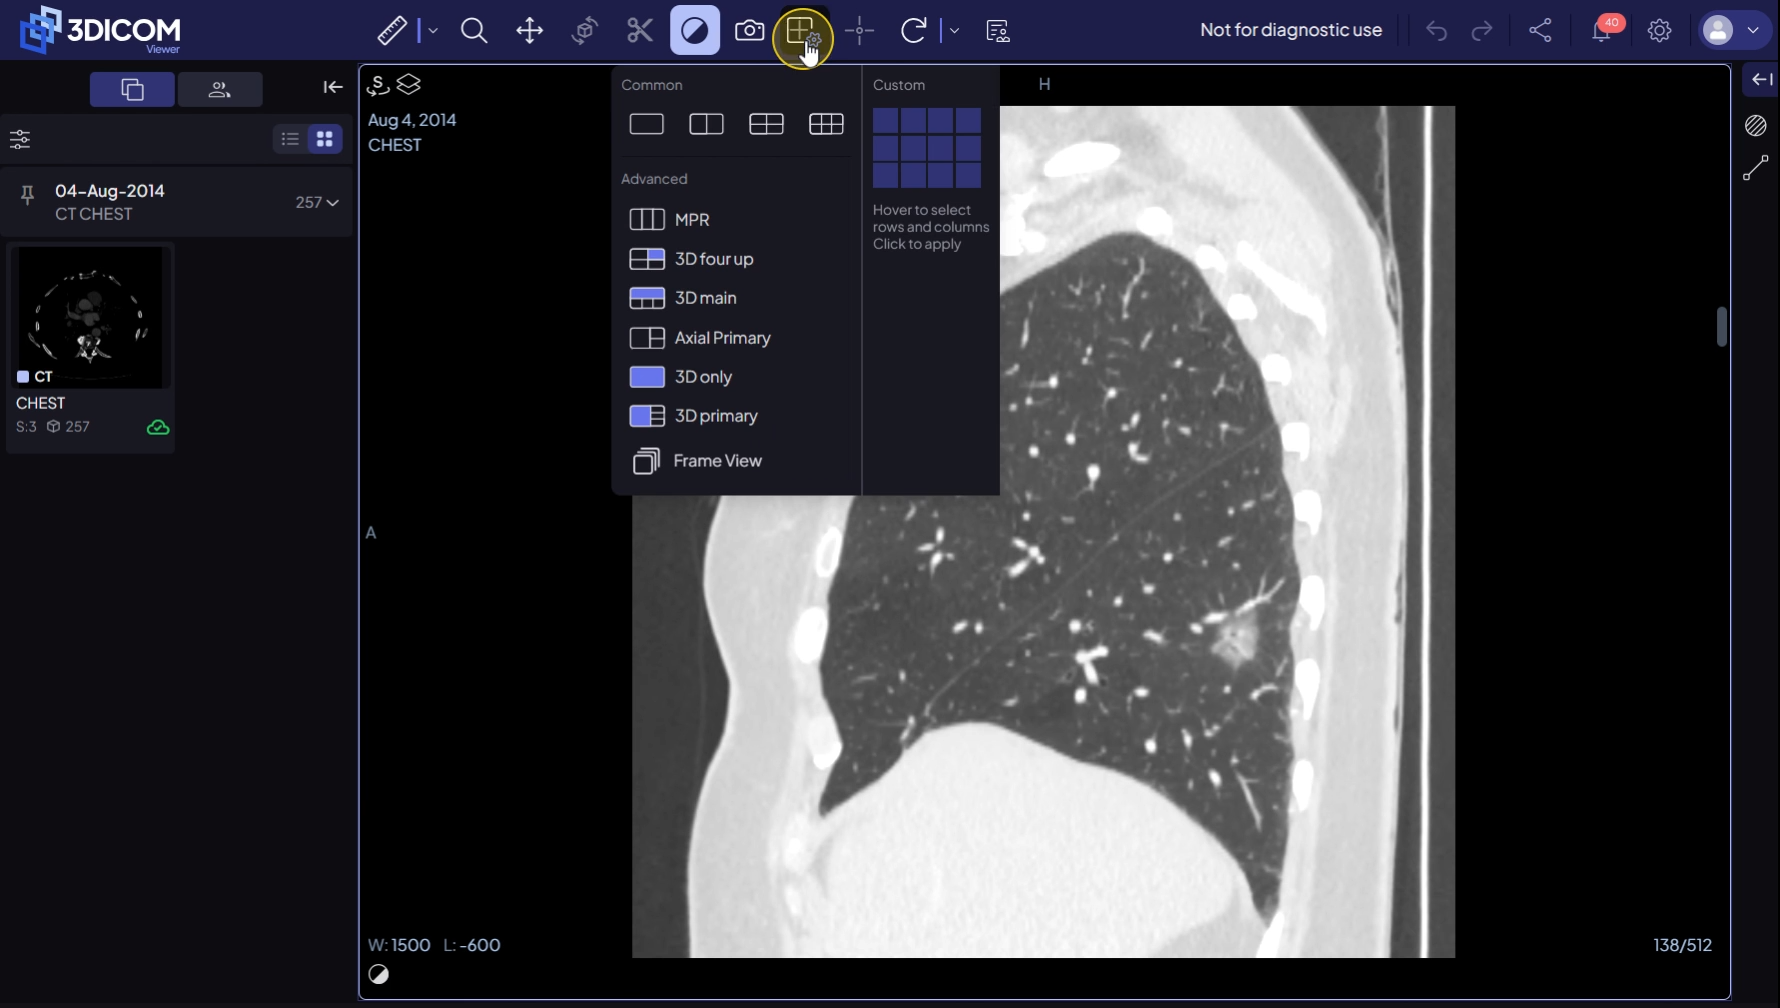
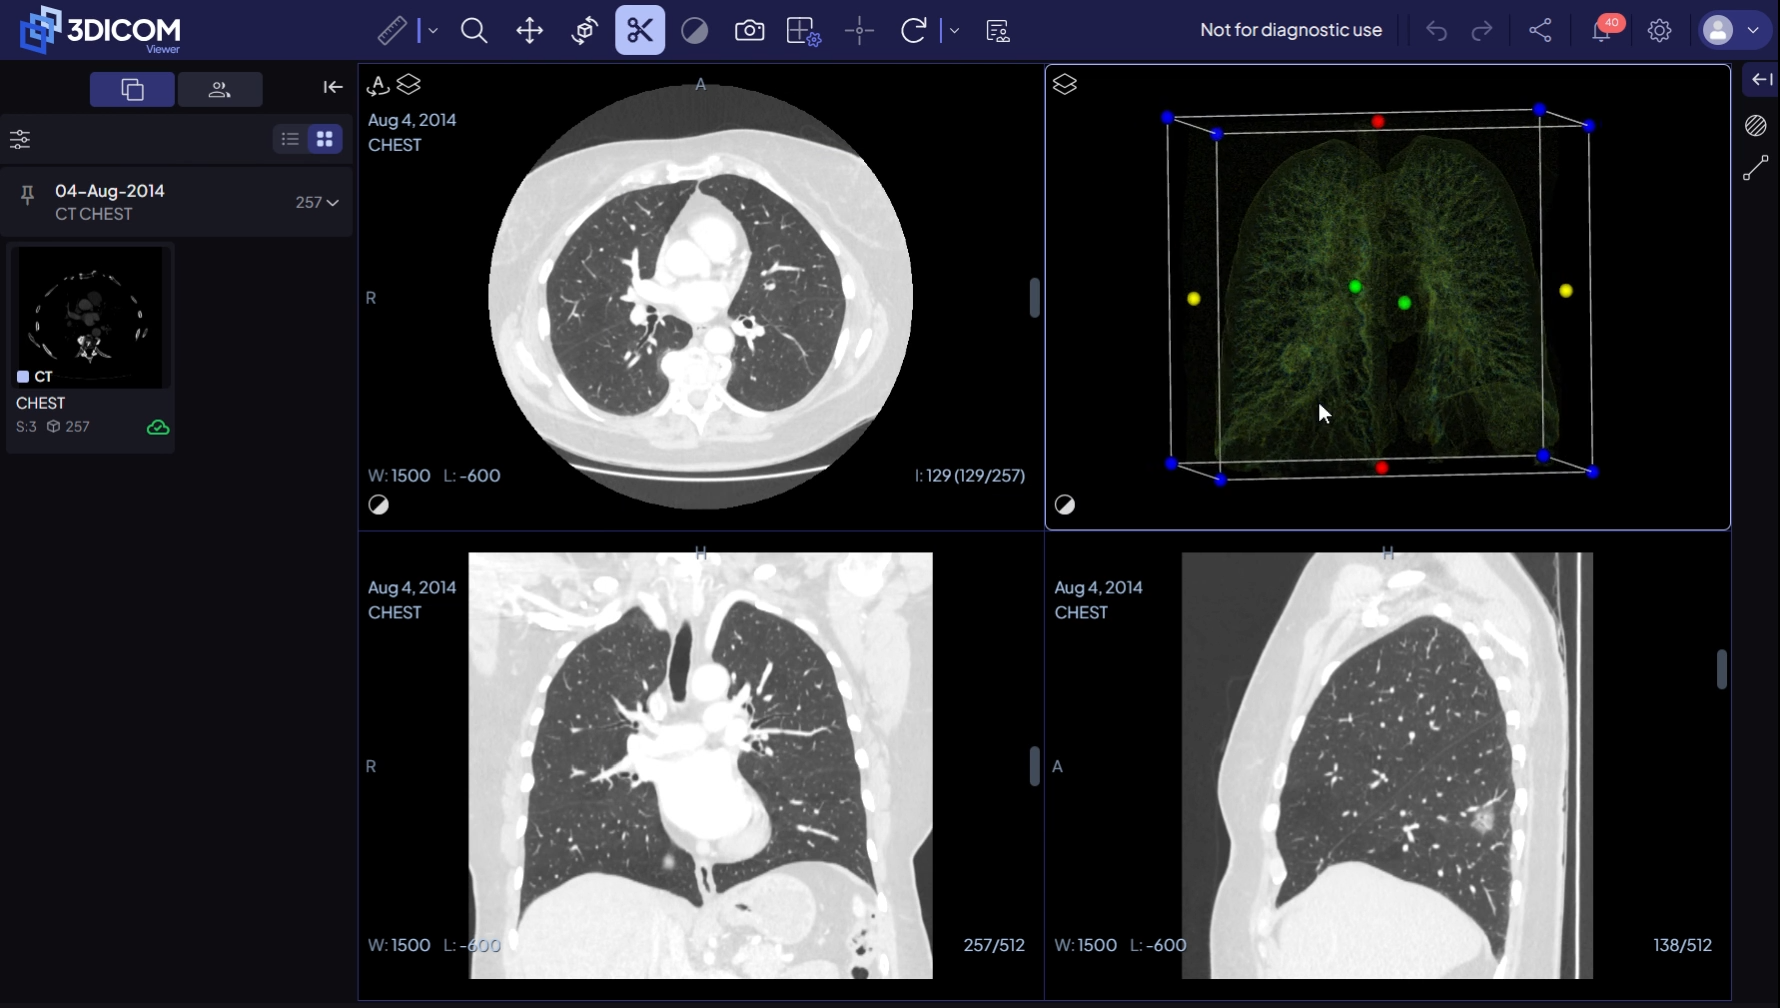
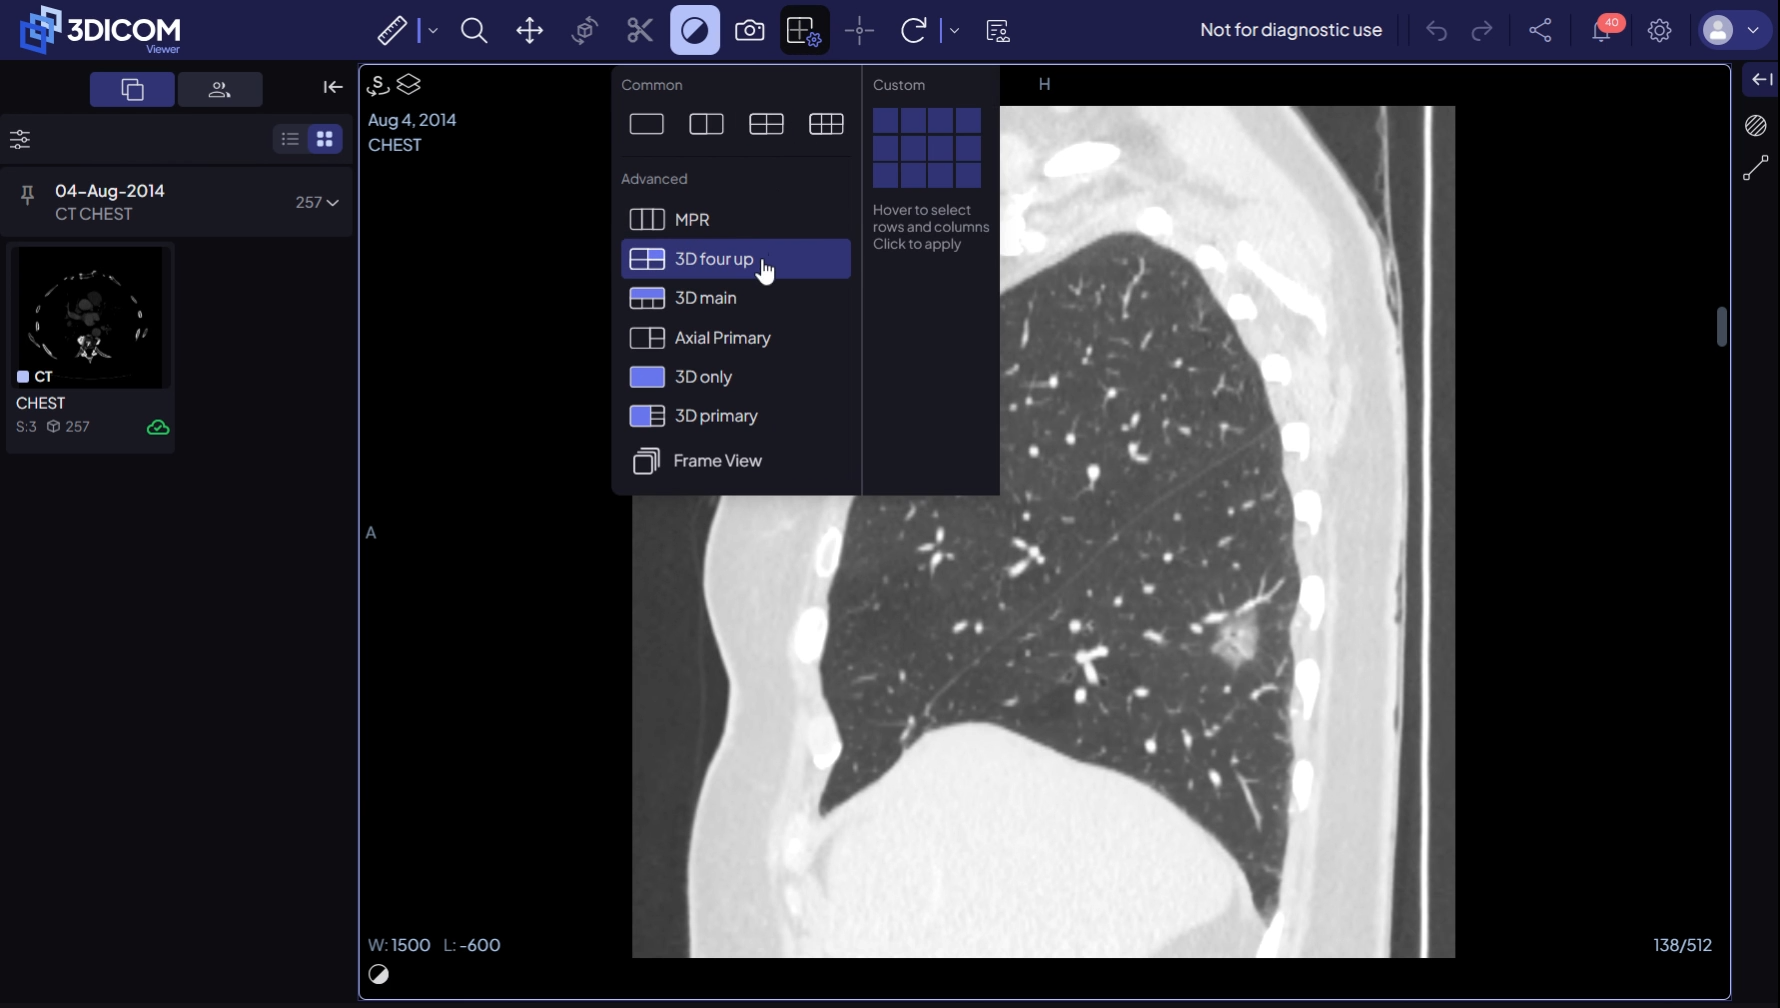
Step 18. Select a multi-viewport layout, such as 3D Four-Up Layout, to display three standard 2D views alongside a 3D reconstruction.
Using 3D navigation tools
Rotate the 3D model
Step 19. When the 3D viewport is active, the 3D Rotate tool is automatically selected.
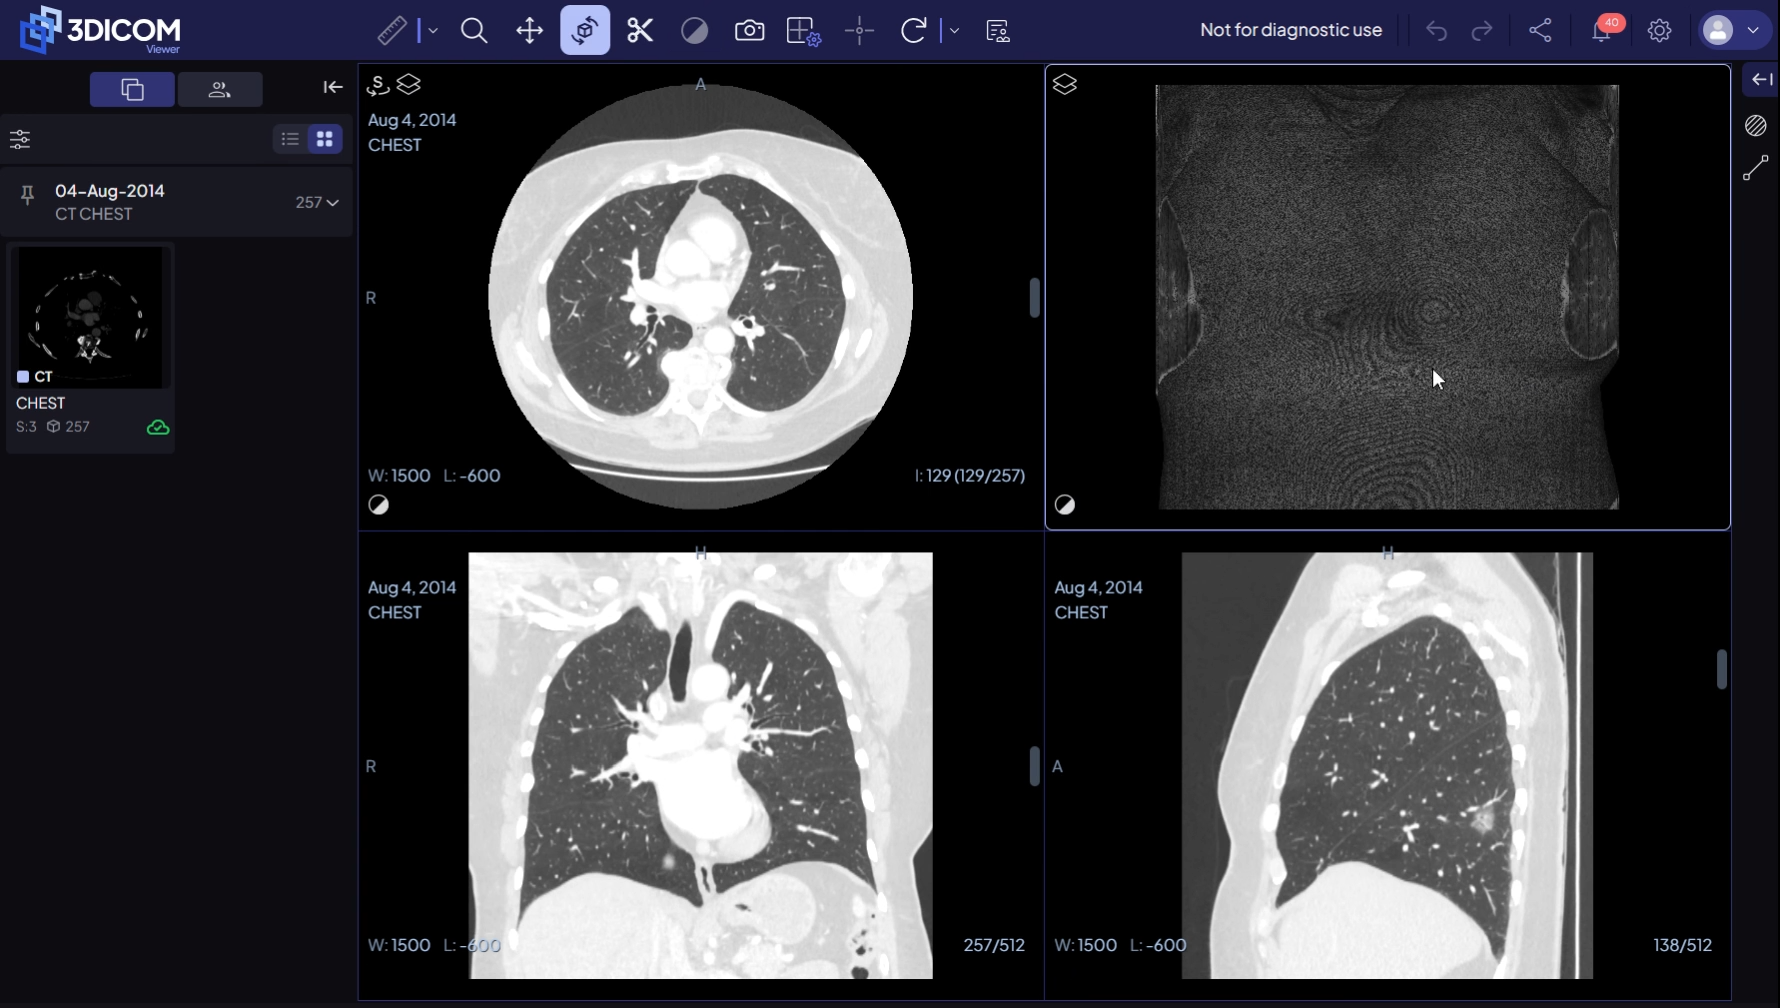
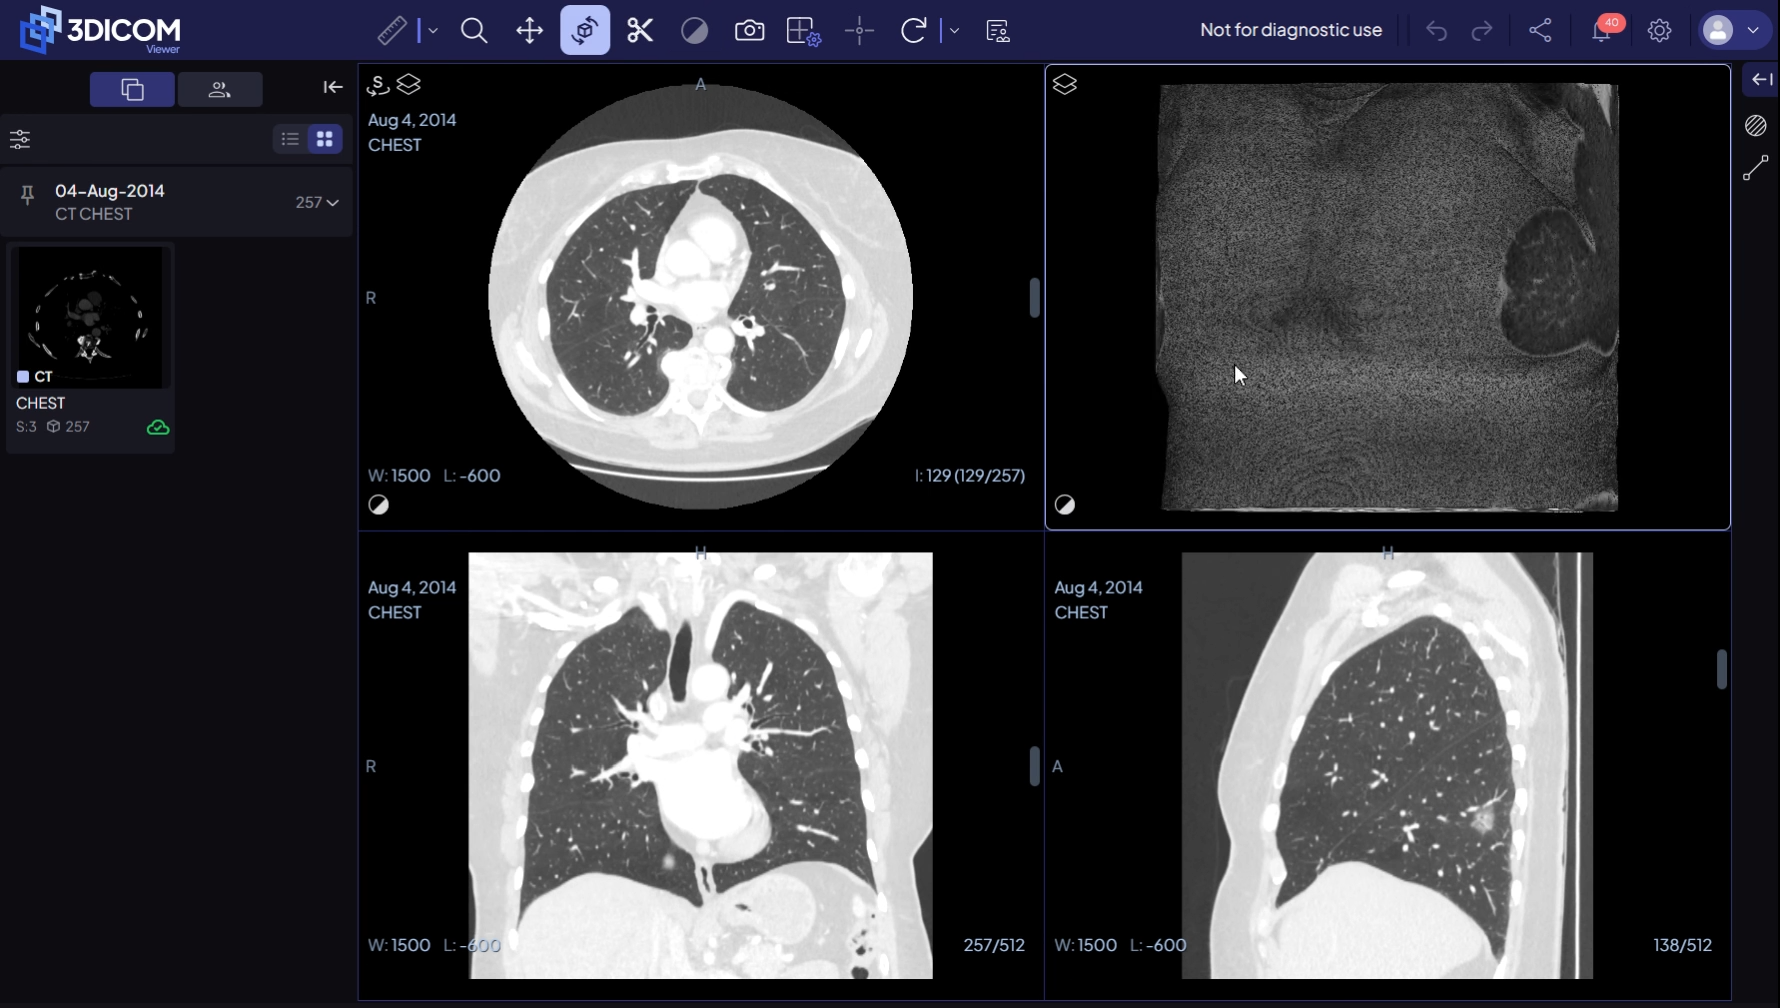
Step 20. Click and drag in the 3D viewport to rotate the model and view it from various angles.
Slice and remove structures in 3D
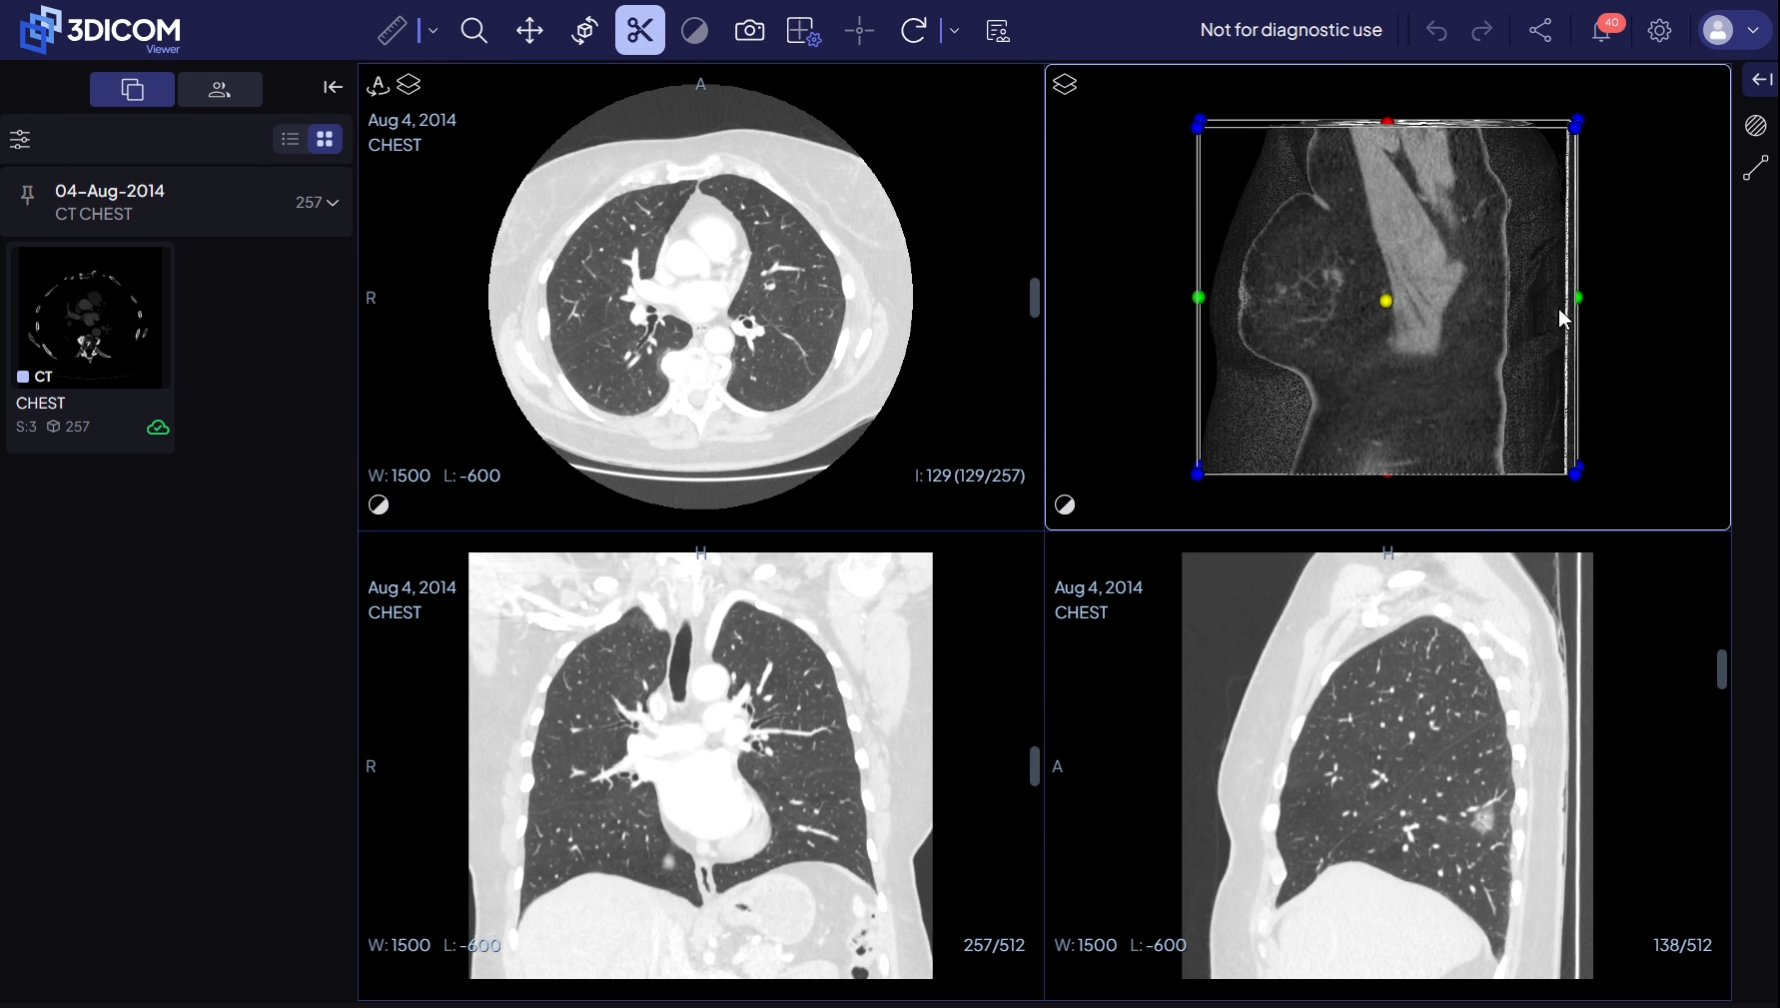
Step 21. Select the 3D Slice tool from the toolbar to interactively cut away model sections.
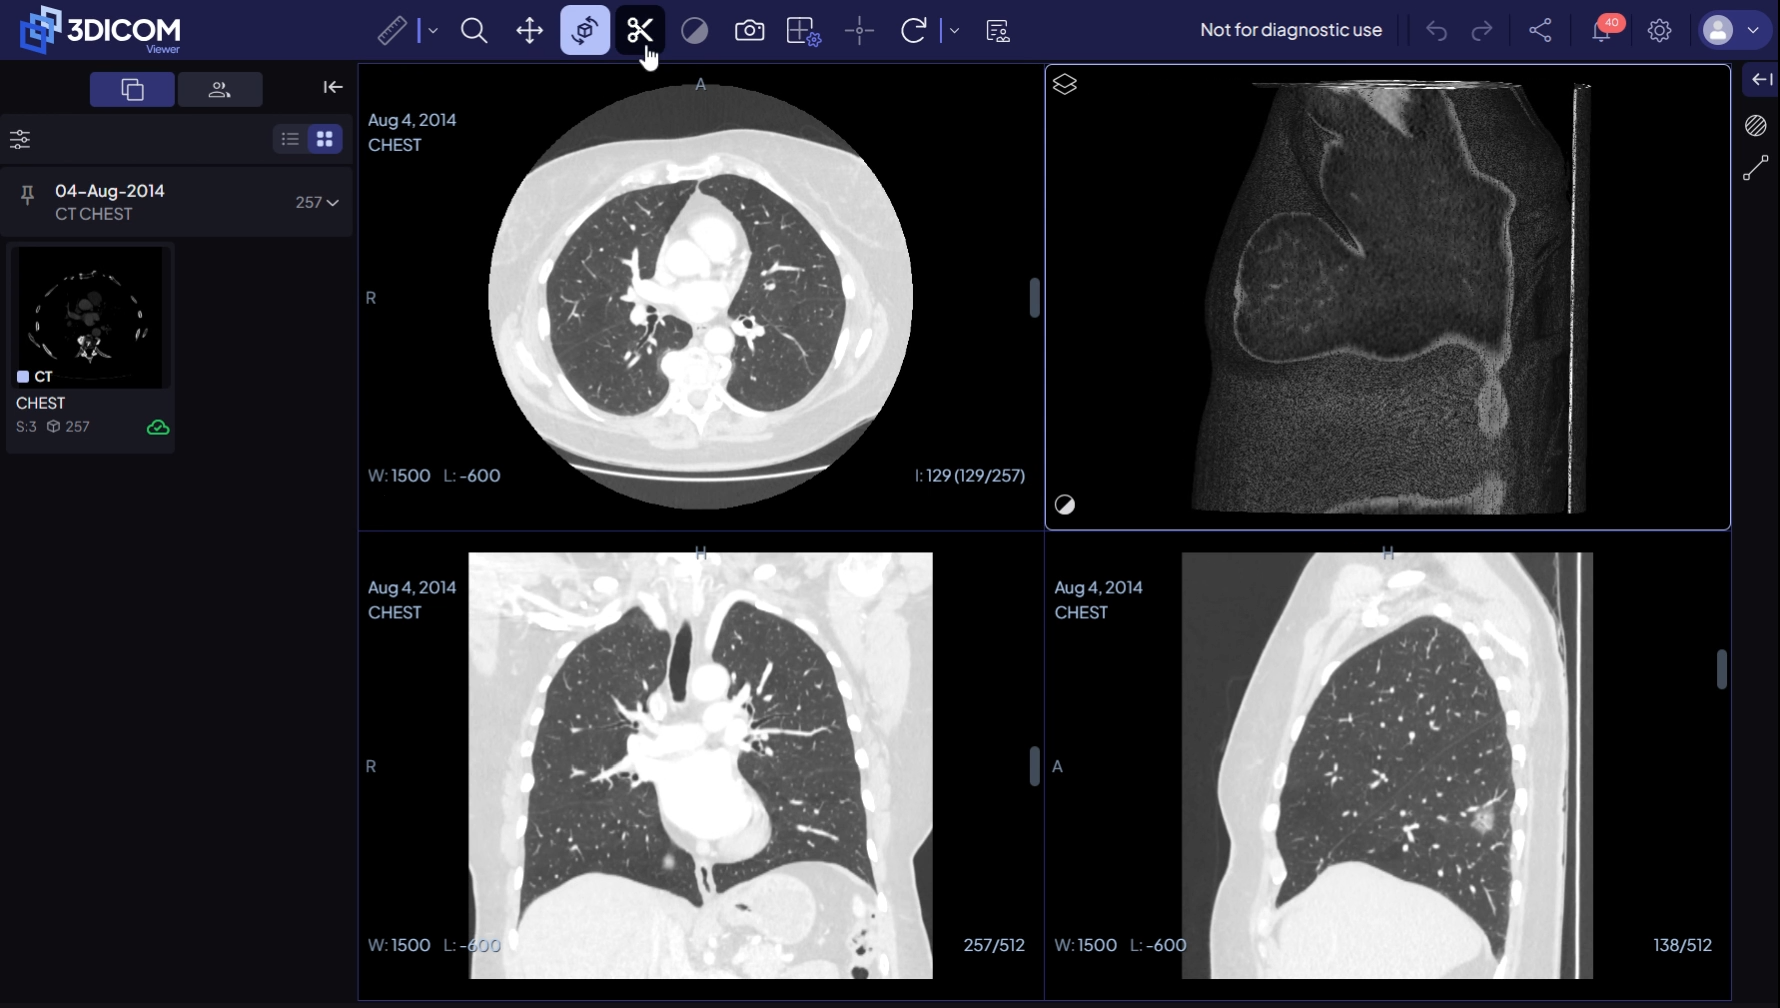
Step 22. Click and drag any colored node to remove model portions. For example, remove the scanning bed for a clearer lung view.
Apply 3D rendering presets
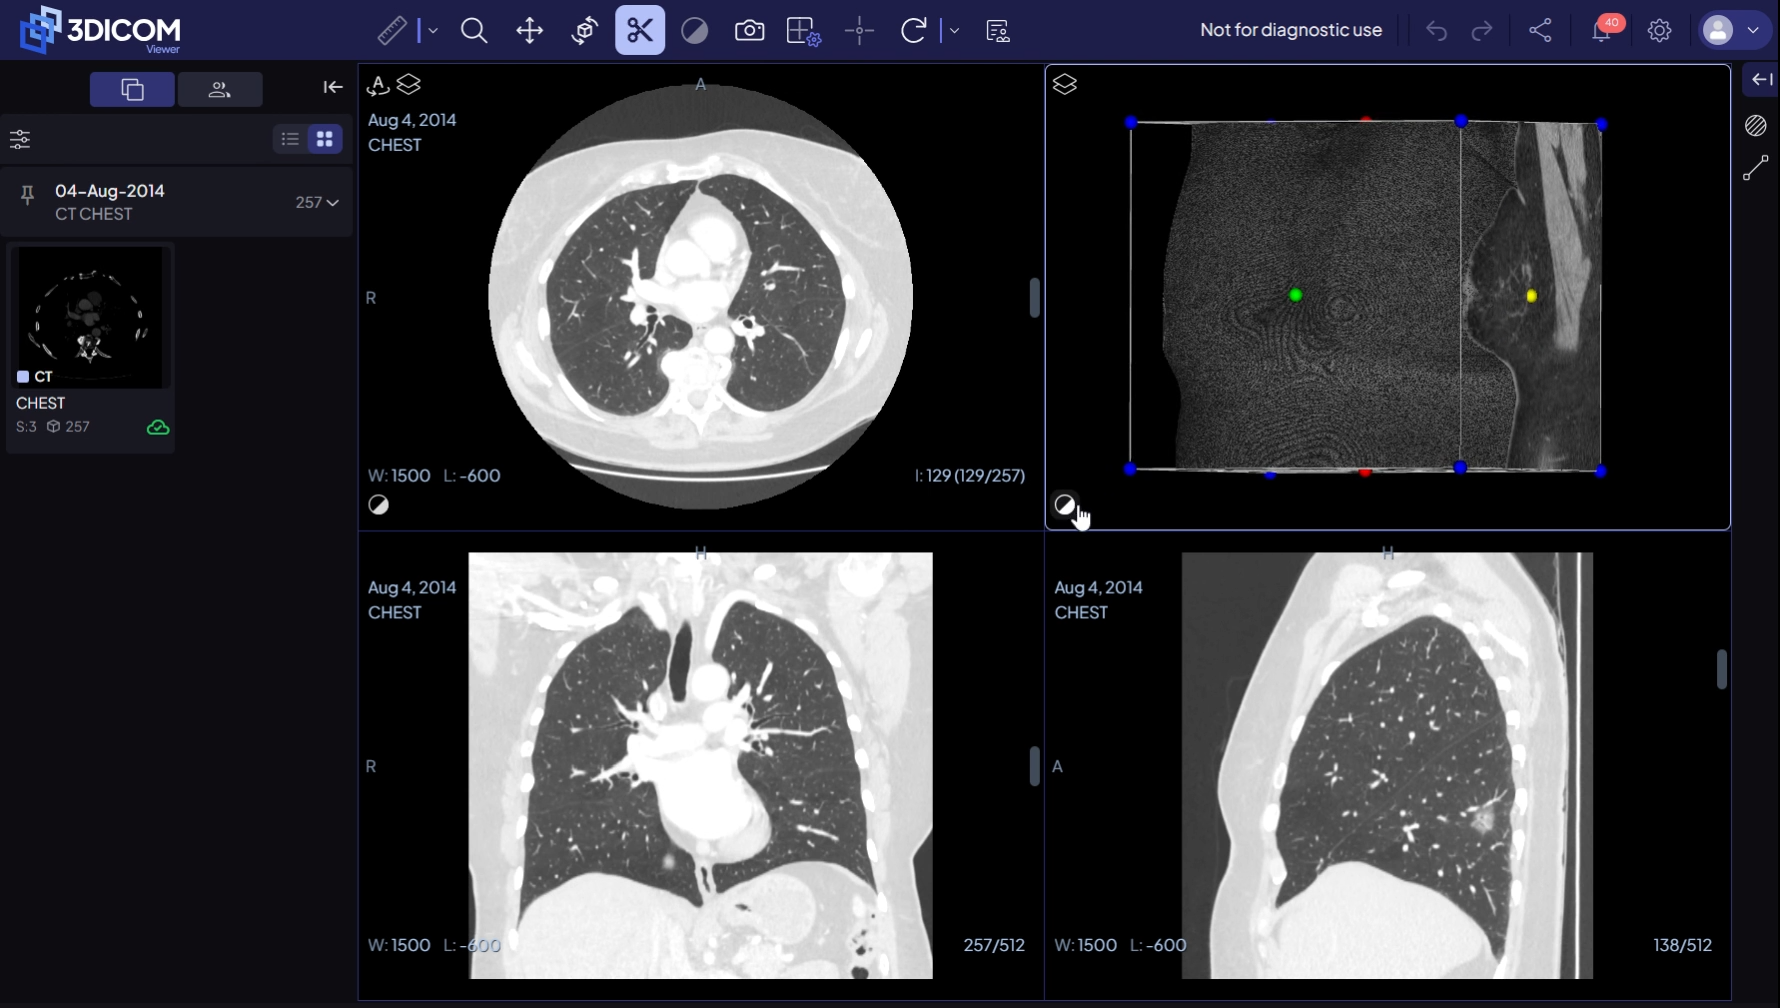
Step 23. Open 3D rendering options via the Window Level icon at the bottom of the 3D viewport.
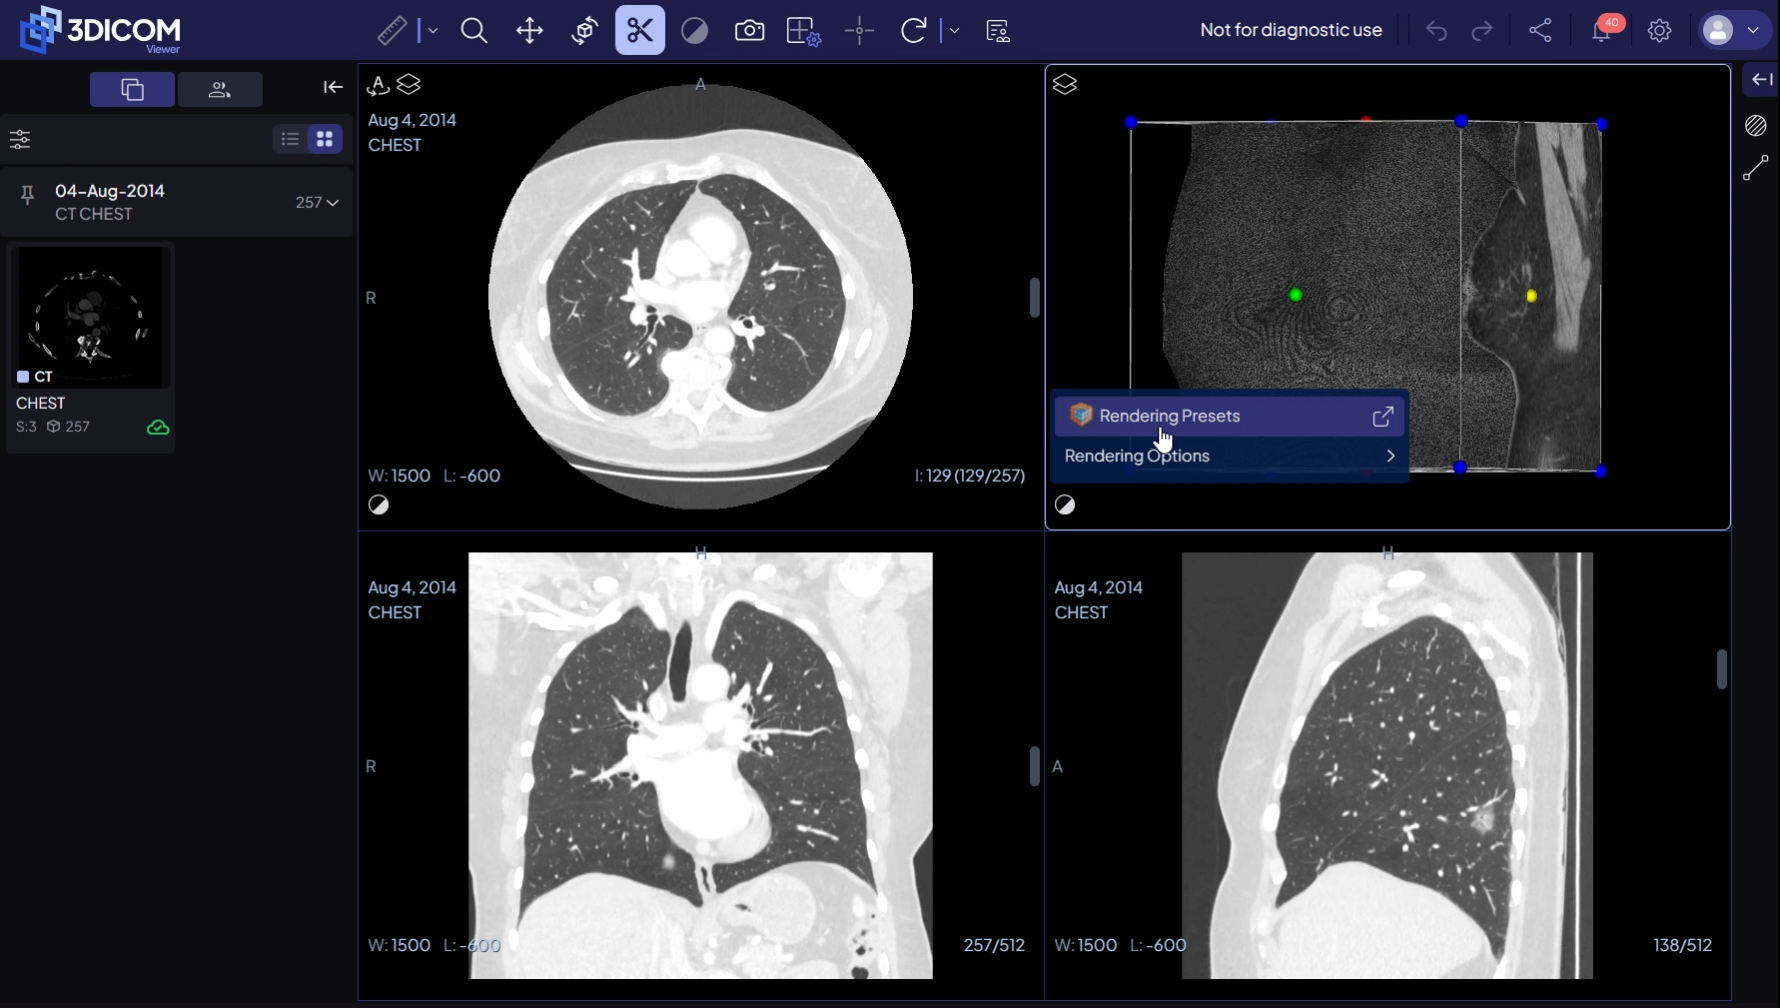
Step 24. Select a 3D preset, such as CT Lung, to highlight specific anatomical structures or tissues. Rendering presets change visual interpretation but never modify original image data.
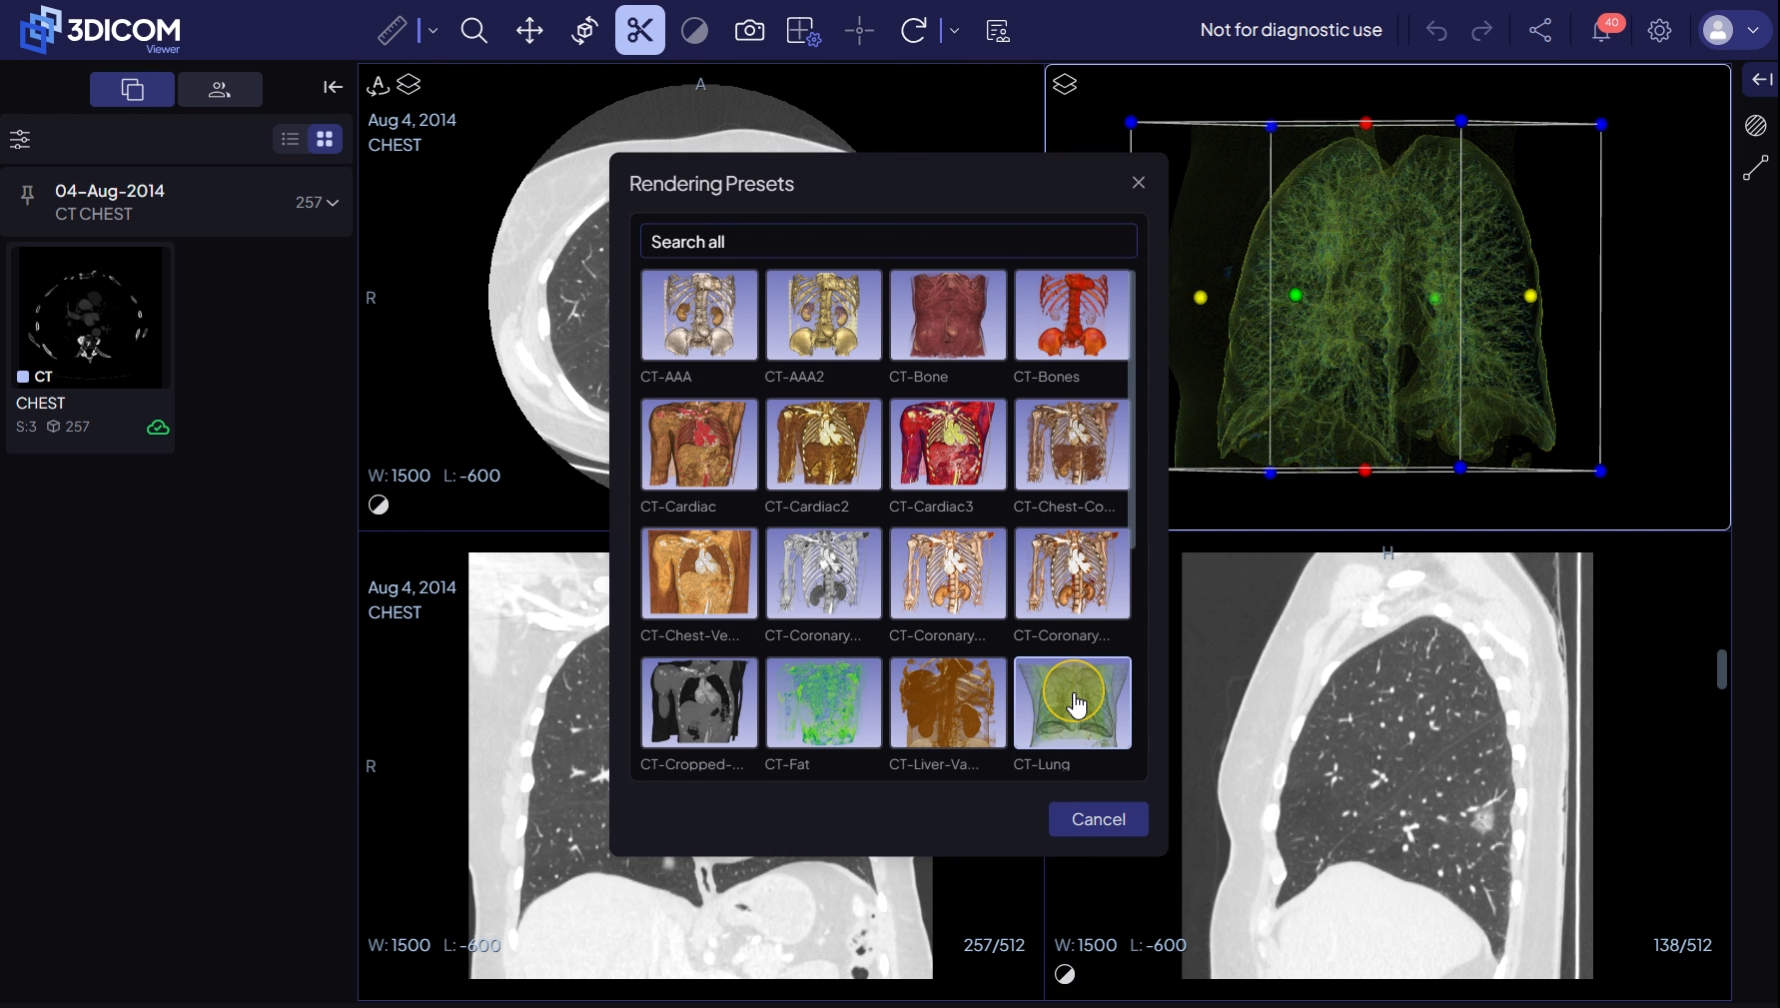
Result
After completing these steps, you will be able to interactively adjust, navigate, reorient, and visualize medical images in 2D and 3D using the core tools in 3DICOM Viewer.